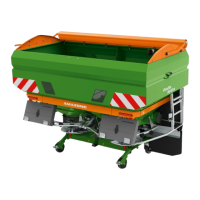
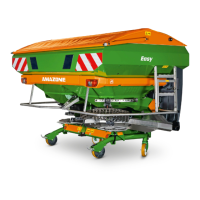
Cleaning, maintenance and repairs
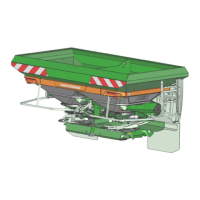
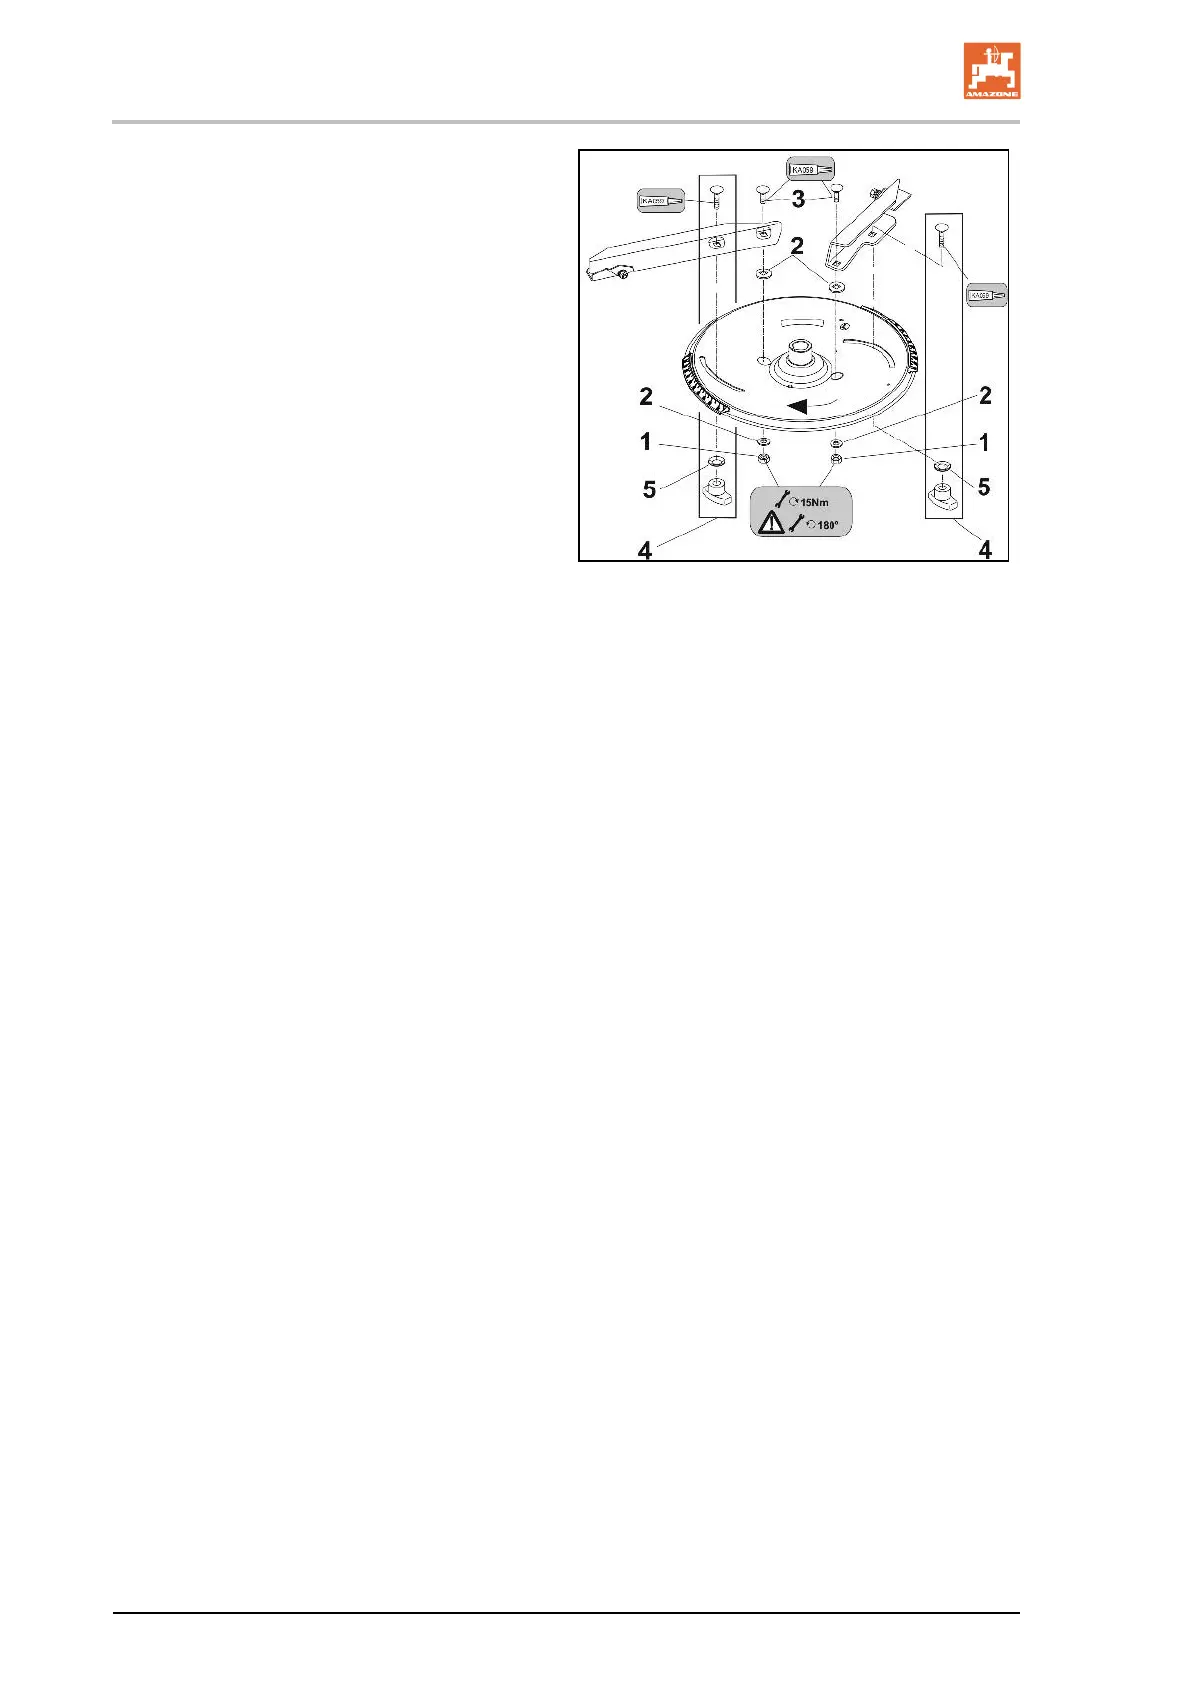
ZA-X BAG0235.4
(2) Washer
(3) Fixing bolt
(4) Quick-release screw connection
(5) Plate spring
1. Release and remove the fixing bolt.
2. Release and remove the quick-release
screw connection.
3. Replace the spreading vane.
4. Replace the used self-locking nuts of the
fixing bolts with new ones.
5. Apply the assembly paste (KA059) to the
screw threads.
6. Secure each spreading vane with a fixing
bolt, washer and an unused self-locking nut
so that they can move on the spreading
disc.
7. Tighten the self-
locking nut with a tool to the
extent that you can still just swivel the
spreading vane by hand.
8. Install the respective quick-release bolted
connection, consisting of a round-headed
screw, plate spring and wing nut. Ensure
that the open side of the spring plate is
pointing towards the spreading disc.
9. Swivel the read-off edge of each spreading
vane until it reaches the setting required for
the desired working width.
10. Firmly tighten the respective wing nut of the
quick-release screw connection by hand
(without using a tool).
93
 Loading...