Appendix C
Creating a Custom Pure Dye Plate
130 Applied Biosystems 7300/7500/7500 Fast Real-Time PCR System Installation and Maintenance Guide
Notes
9. Repeat step 8 (steps c through f) for the remaining filters.
10. After you determine the optimum concentration for each filter, determine the
optimum concentration for the custom dye:
• Compare the results from all filters.
• Select the concentration that yields the highest possible signal in all filters, but
does not saturate.
Unloading the
Plate
PHYSICAL INJURY HAZARD. During instrument operation, the
sample block can be heated to 100 °C. Before performing the following procedure, be
sure to wait until the sample block reaches room temperature.
1. In the ROI Inspector. click .
2. Remove the plate from the instrument:
a. Press the tray to open it.
b. Remove the plate.
c. Press the tray to move it into the instrument.
Note: If you cannot open the tray, the sample block may be in its raised
position, locking the tray position. To lower the block, select
InstrumentCalibrate, then exit the ROI Inspector.
3. Click .
Creating a Custom Pure Dye Plate
1. Prepare 5 mL (7300/7500 system) or 2 mL (7500 Fast system) of the custom pure
dye at the concentration determined in step 10 on page 130.
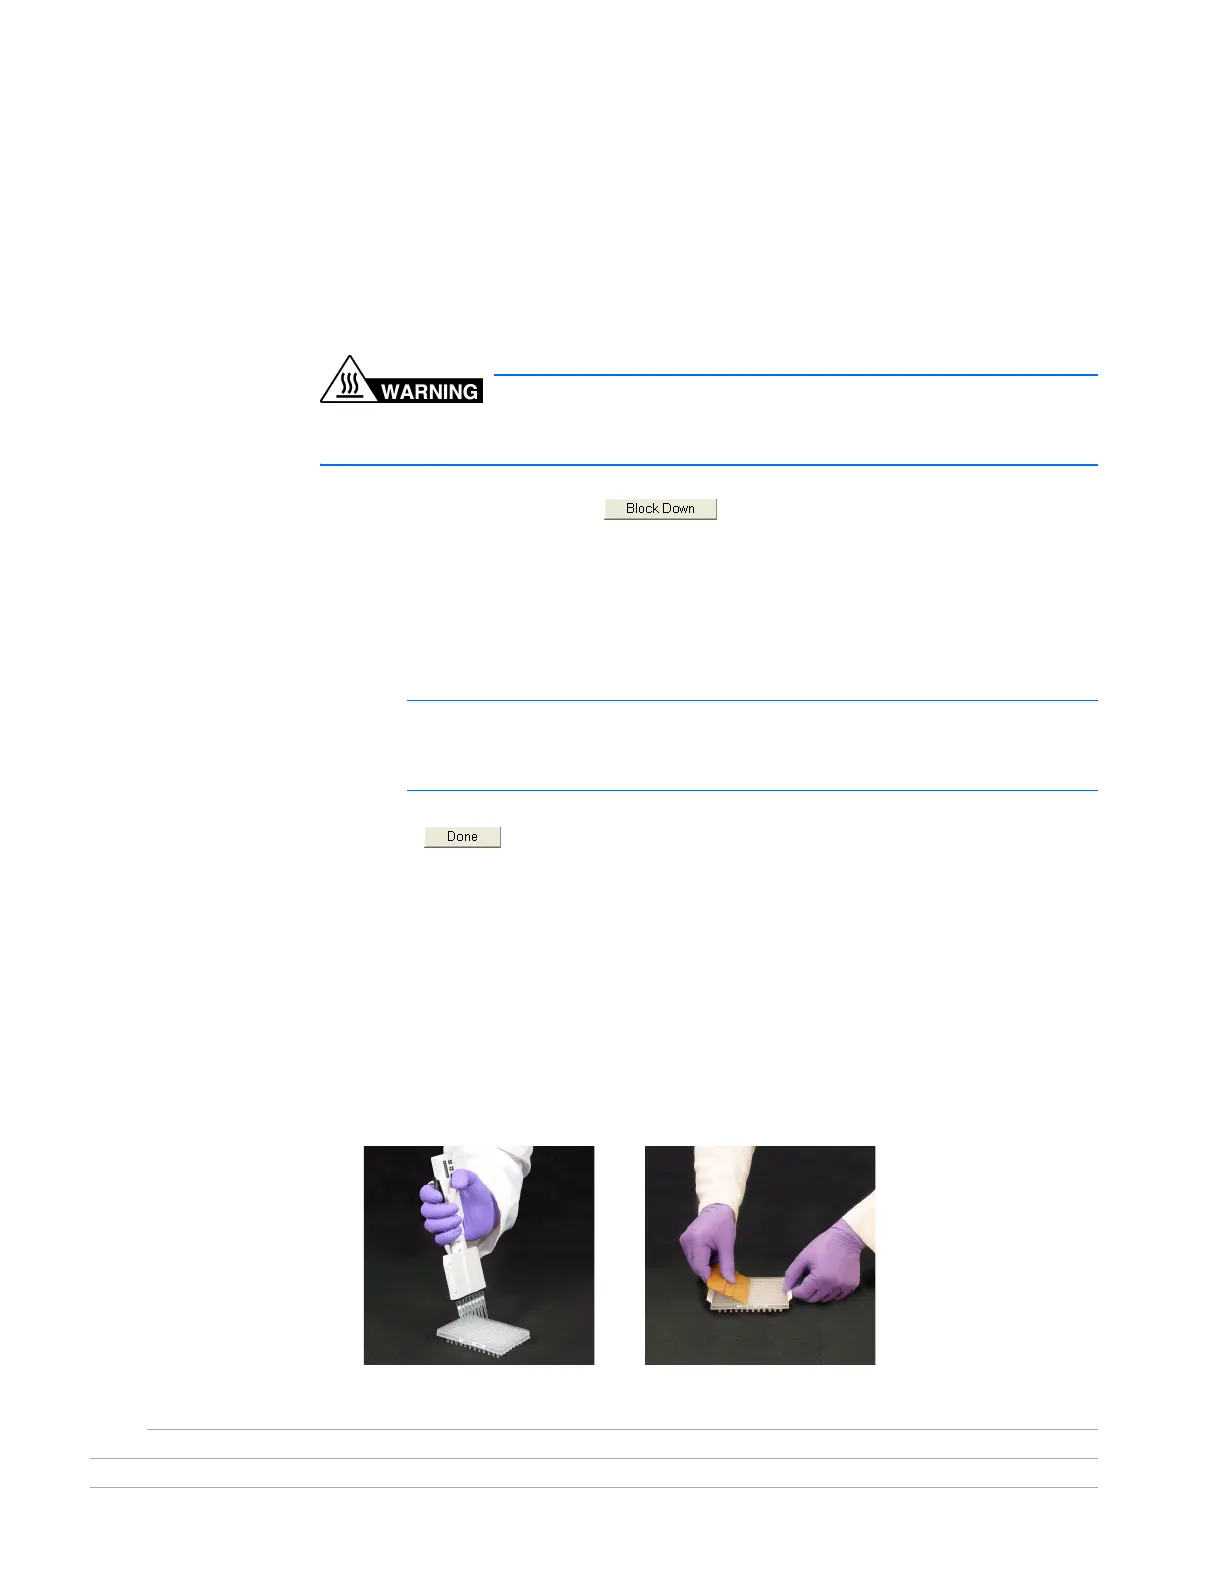
2. Pipette 50 µL (7300/7500 system) or 20 µL (7500 Fast system) of the diluted
custom dye to all wells of an optical reaction plate.
3. Seal the wells of the reaction plate using an optical adhesive cover.