SECTION 3 GETTING STARTED PAGE 50
EXPORT CONTROLLED – SEE PAGE 3
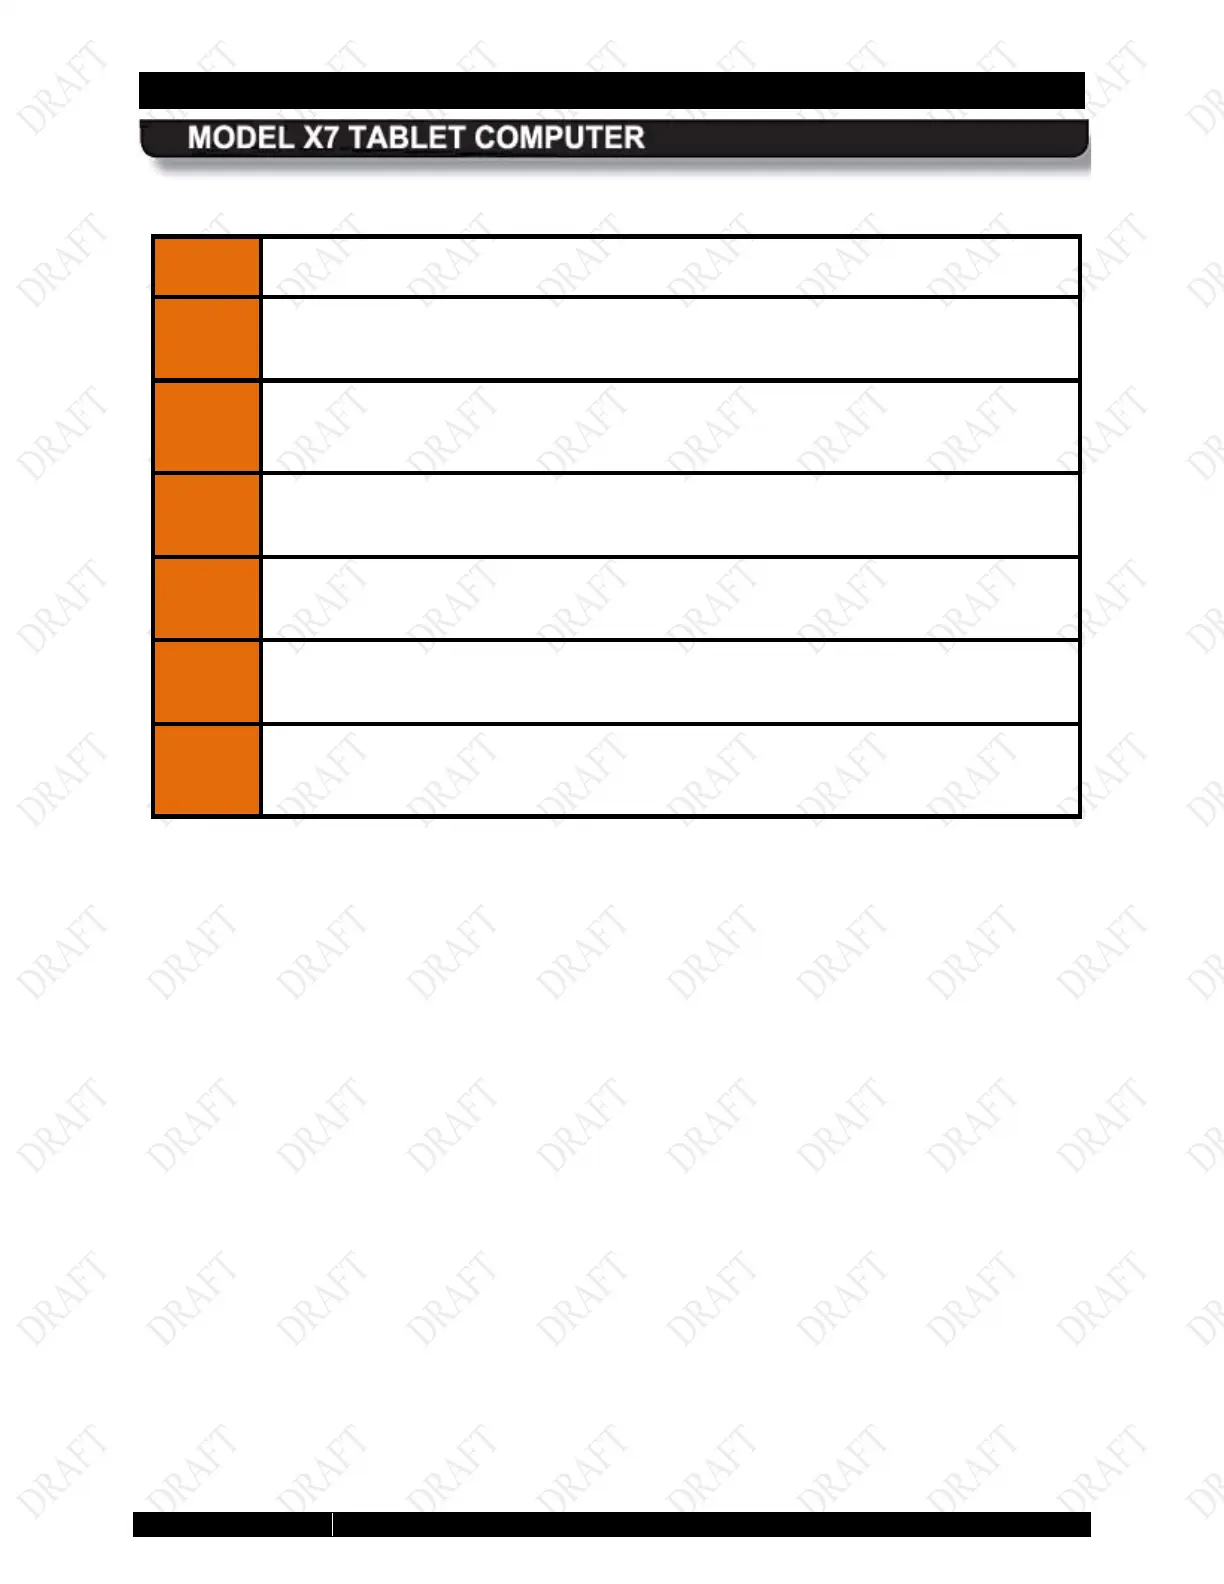
Table 2. Install the X7 Batteries
STEP ACTION
1.
Place the flat surface of the first battery on the left side compartment tray with the
locking slots facing toward the computer.
2.
Push and hold the battery latch and slide the battery toward the computer until
the locking bar engages and the battery is flush against the compartment wall.
Rock the battery slightly if necessary to engage the locking bar.
3.
Release the battery latch to lock the battery in place.
4.
Perform steps 1-3 to install the second battery.
5.
Connect the AC adapter to the jack on the bottom of the X7 and plug the adapter
power cord into an AC outlet.
6.
Allow the batteries to charge until the Charge/Fault indicator turns off. This could
take anywhere from 2 to 4 hours depending on the level of charge when the
batteries were received. You can work with your X7 while the batteries charge.