Light Gauge Metal Roof and Wall Panels Installation • August 2016 15
ASC Building Products
A Division of ASC Profiles LLC
ASC'S LIGHT
GAUGE ROOFING
2. #14 WOOD SCREW
SEE ILLUSTRATION
ON PAGE 7
1"
O.H.
2X BLOCKING
PERFORATE
FASCIA AS
REQUIRED
EAVE (E1)
BOTTOM POLYETHYLENE
CLOSURE SET IN
SEALANT ALL AROUND
ROOFING NAILS
@ 24" O.C.
1/2"
1 3/8"
1 3/8"
2"
1/2"
3/8" HEM
3-3/8"
4-3/8"
3/8" HEM
1/2"
3"
2"
1/2"
3"
1/2"
3"
1/2"
4 3/8"
2"
1 1/2"
1/2"
3"
2"
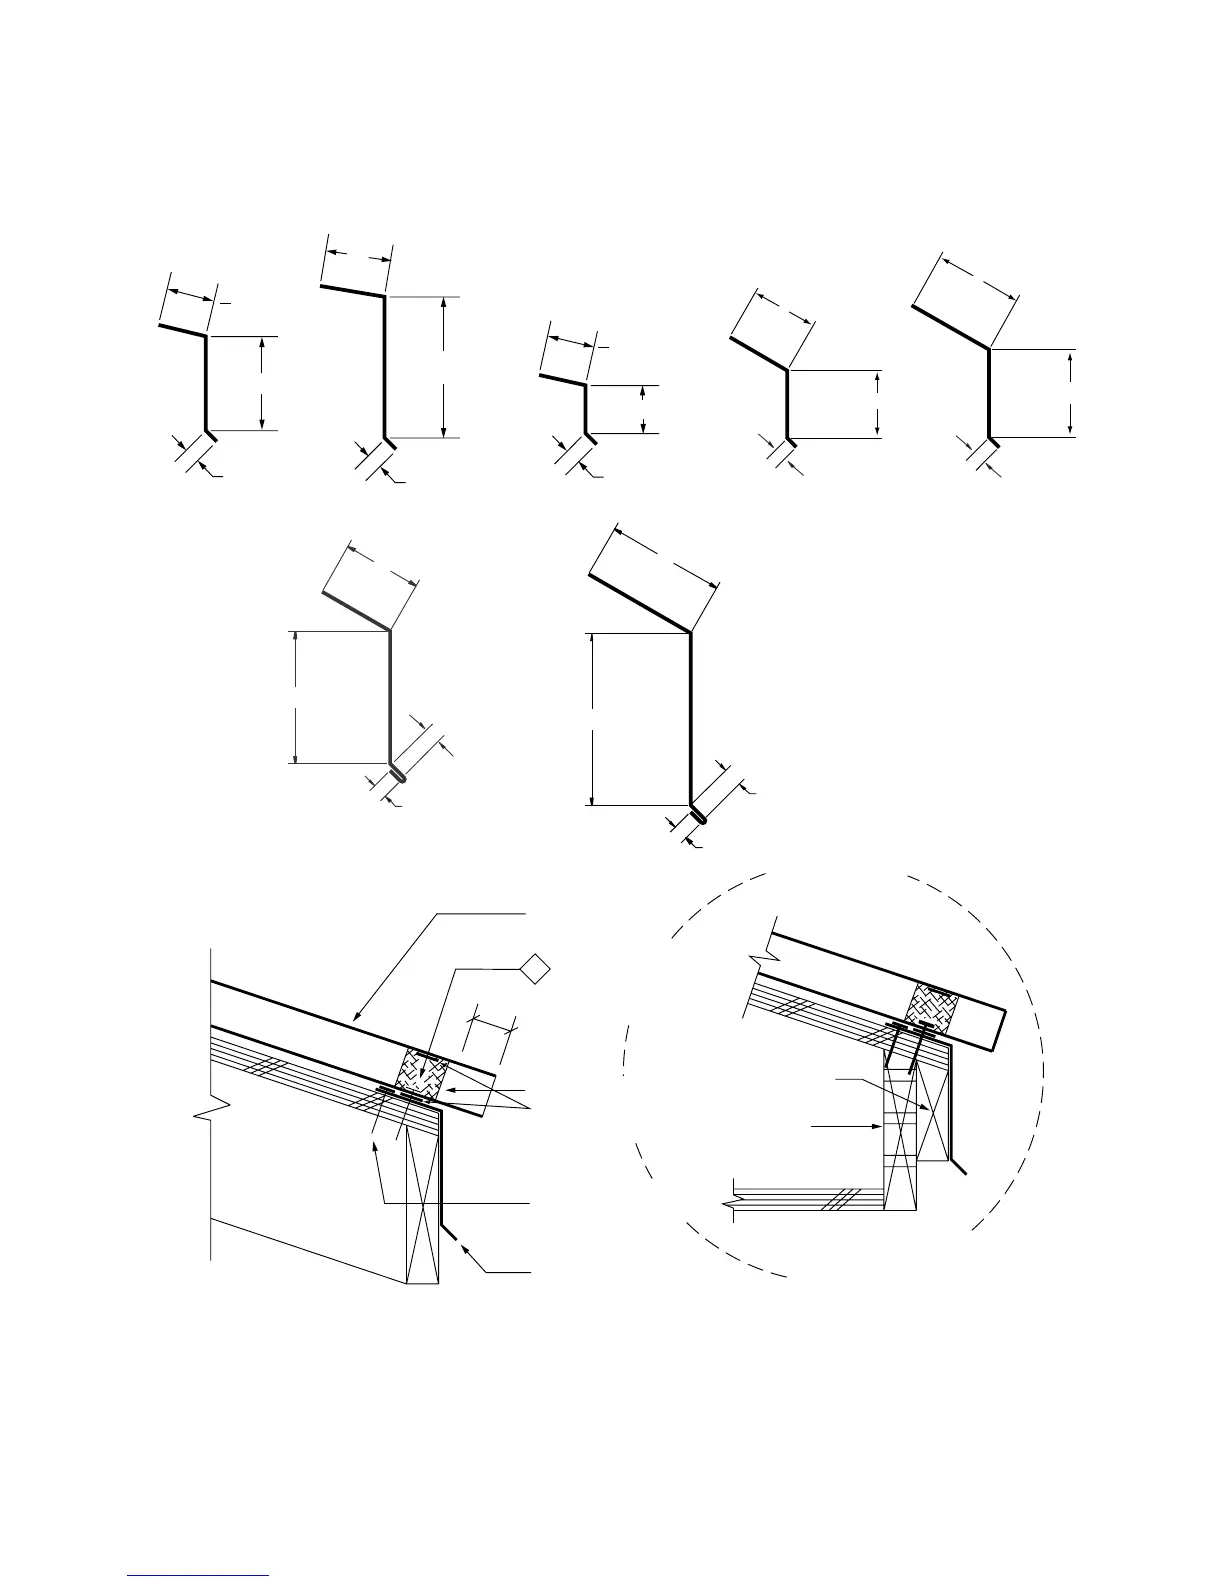
Procedures
• Carpentry must be completed as indicated prior to
installation of the Vented Eave.
• Attach the eave flashing using roofing nails evenly
spaced at 24" o.c.
• Caulk and lap the flashing a minimum of 3".
(see page 44)
• Panels should overhang the eave 1" minimum.
Eave and Vented Eave Flashings
This flashing must be installed prior to the panels.
ER1
ER2
E2E1 E4 E5E3
Vented Eave