34
SECTION 3 – Installation and connection
Figure 37
Connecting the configuration PC
Table 24
Connecting the configuration PC
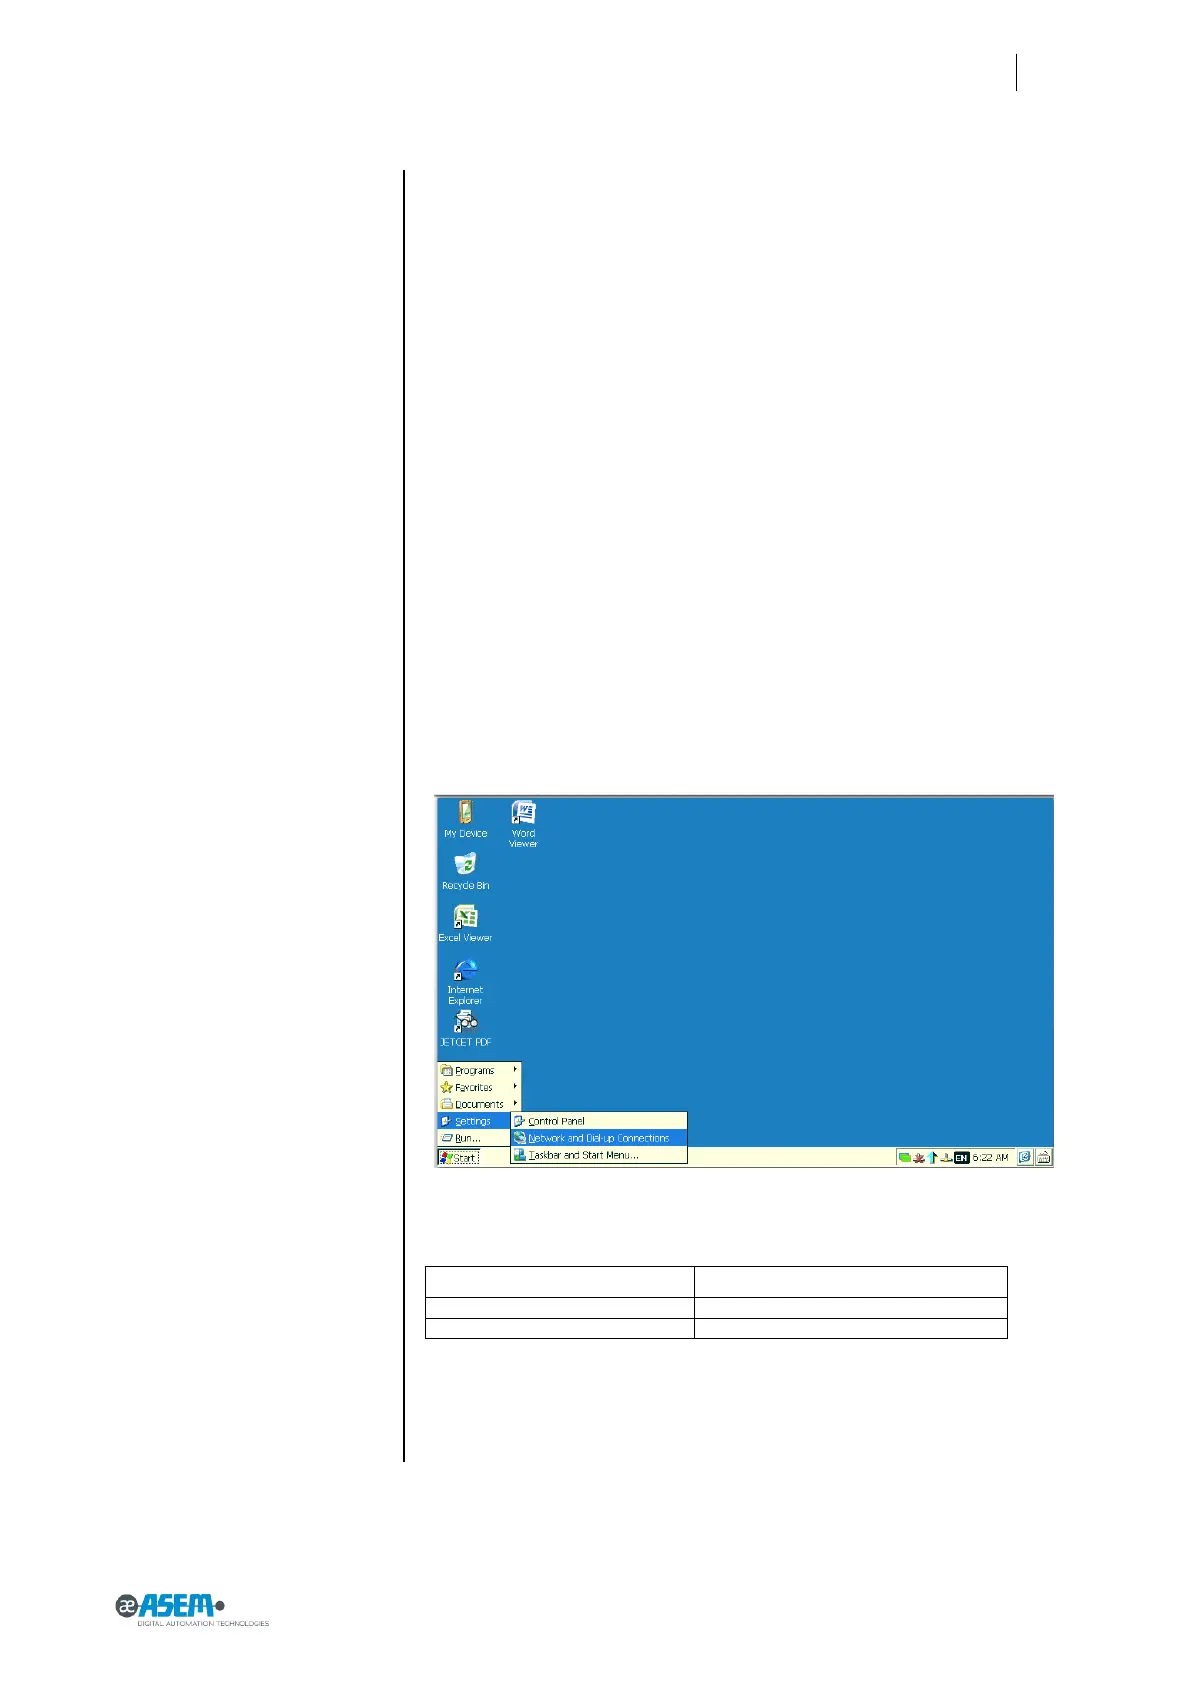
3.9 Connecting the configuration PC
You can connect the configuration PC to HMI30 in several ways:
1) By using a Ethernet cross cable connected by one end to the configura-
tion PC and on the other end to one of two Ethernet ports of HMI30.
2) By connecting HMI30 to a Ethernet switch on which the configuration PC
and HMI30 are both connected
3) By connecting HMI30 and the configuration PC to the office LAN
Please note that HMI30 comes with DHCP service enabled. It means that in case
of the point 3 above it is enough to connect HMI30 in LAN and the DHCP server of
the LAN will assign automatically an IP address to HMI30.
In case there is not a DHCP server available, you must assign a static IP address to
HMI30 compatible with the IP address of the configuration PC.
For Example if the PC has IP address 172.17.17.20 you must configure for exam-
ple HMI30 with the IP address 172.17.17.182. To configure the IPC address in the
panel you must:
Click on the start Button, select “Settings” -> “Network and Dial-up Con-
nections”
According to the Ethernet port you want to configure choose the port to
configure according to the table:
LAN Connection in control panel
For instance if you need to configure LAN1 double click on FEC1, Click on
“Specify an IP address” and write the IP address and default Gateway
like in the figure below