Ch. 13. Cell Body and Sample Stage GuideSec. 13.3. Sample Stage / Cell Body Disassembly
6.
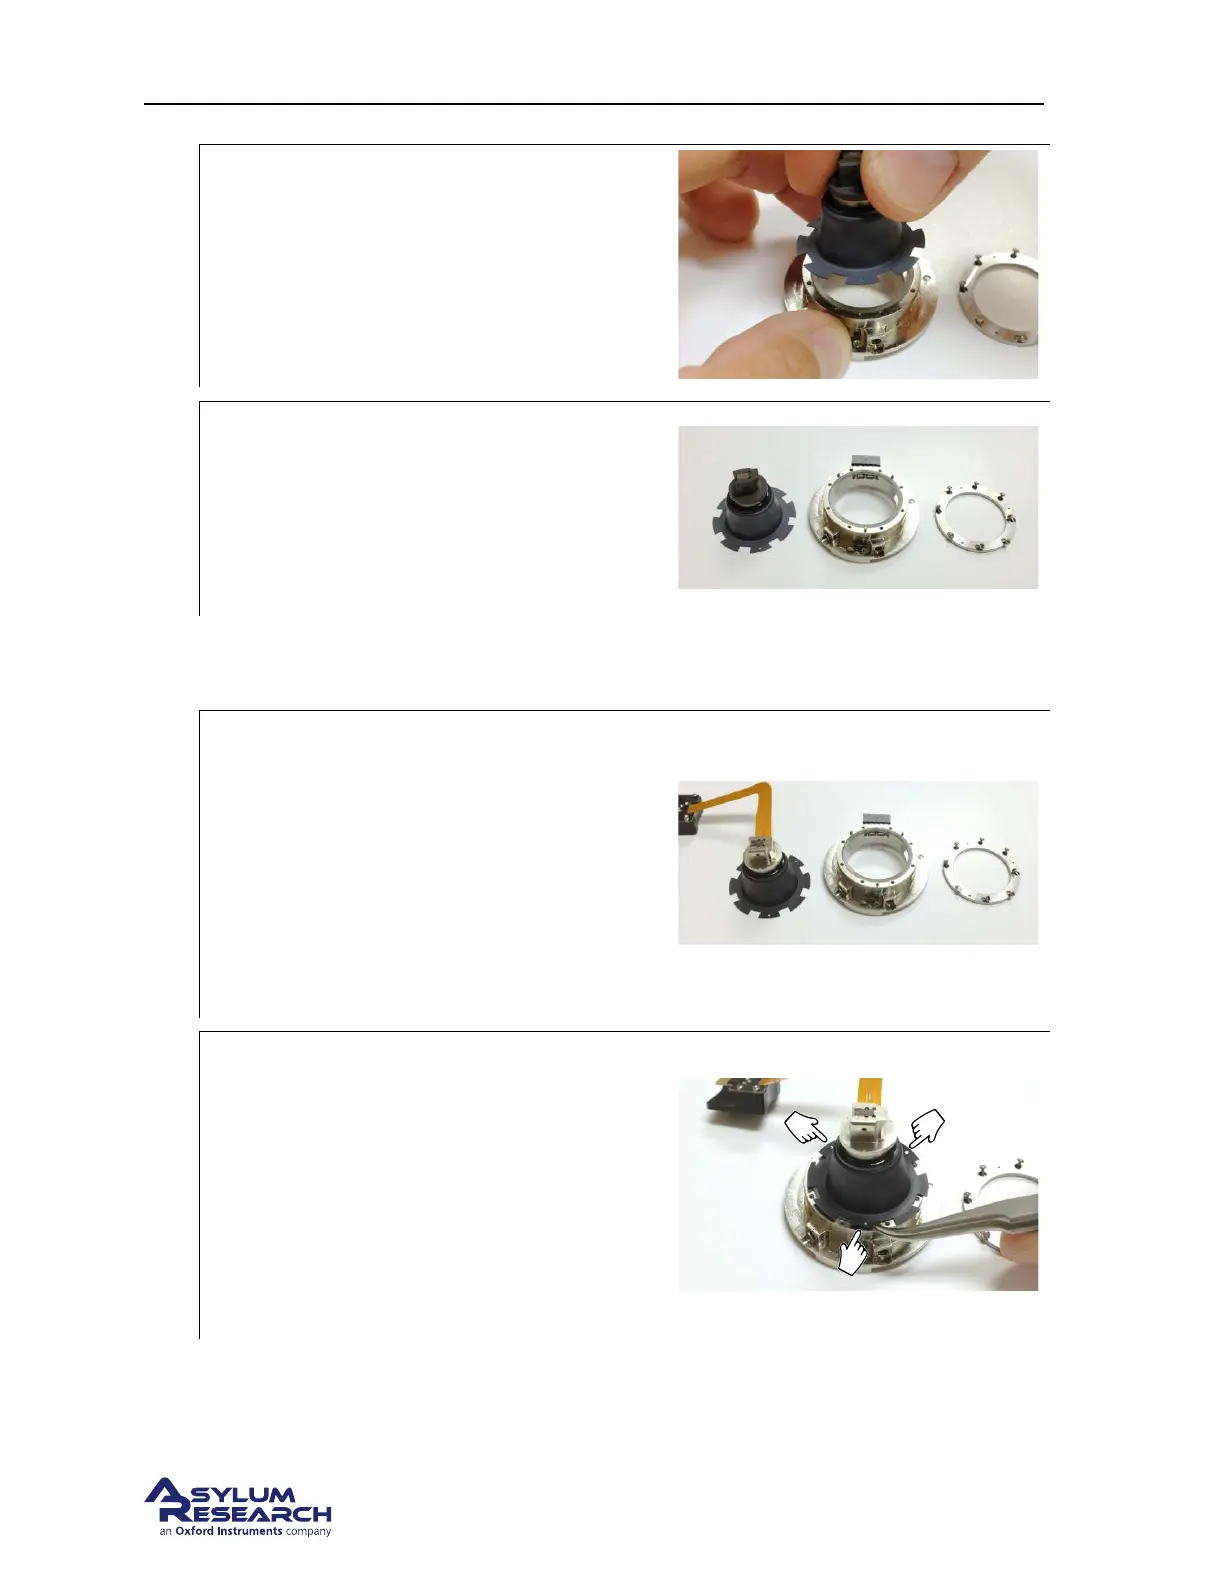
Remove the sample stage:
• Lift off the sample stage.
7.
Finished:
• Your parts should now be as shown to
the right.
• Store the sample stage as discussed in
Section 13.5 on page 171.
13.3.2. Attach Cell Body and Sample Stage
1.
Prepare parts:
• Sample stage on the left.
• Cell body in the middle
• Membrane clamping ring and screws to
the right. More screws (00-90 X 1/8”)
can be found in the Environmental
Scanner accessory kit (see
Section 10.1
on page 115
).
2.
Place the stage:
• Note the three small holes in the
“petals” on the diaphragm perimeter.
• Align those with the three pins on the
bottom of the cell. The parts can only
go together one way.
• Assist the diaphragm so the pins go
through the holes.
DRAFT
Page 161