Installation and Maintenance Manual A. Re-Image DR-SBA from USB
Version 1.0.21 101 Microsoft Teams
A Re-Image DR-SBA from USB
This Appendix describe the process, how to create a bootable USB dongle, loaded with the
DR-SBA for Teams image.
Note: This section is only relevant for OSN-based devices and is not relevant for the Virtual
Appliance.
A.1 Burn the DR-SBA via USB
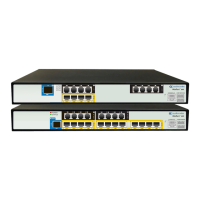
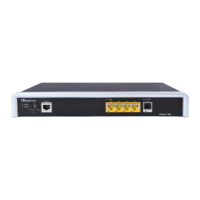
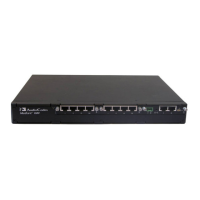
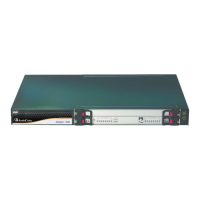
1. Insert the USB in the back of the Mediant 800/Mediant 1000B
2. Connect cable to the console port or use KVM and screen depending on hardware.
3. For COM Console connection: on your PC/Laptop, find the COM port via the Device
manager and use putty, for example to open a console (115200, n8).
4. Reset the power.
5. Boot from the USB:
• Most of the hardware boots from the USB automatically if a USB is detected. If
this is not the case, access the BIOS and select to boot from the USB, or access
the Boot menu and select to boot from USB.
6. Proceed to one of the following procedures:
• COM Console (see below)
• KVM/VGA Systems (see Section A.3)
A.2 COM Console
1. After booting from USB, the SAC console appears; wait to see the following message:
“EVENT: The CMD command is now available.”.
2. Type the following:
cmd
3. Type the following:
sh -sn Cmd0001 (Cmd0001 the channel that is open for you see
the exact number on the screen)
4. To burn the SSD, type the following:
goRecovery.exe
when prompted, click ‘Yes’ to approve and continue
When completed, a text message is displayed to remove the USB and reset; remove
the USB, enter ‘exit’ and when the SAC console appears, type ‘restart’.
The system boots twice due to the sysprep.
5. After the second boot, connect the OSN (back panel of the Mediant device) to the
network.
6. Type “i” and then the IP address that was retrieved from the DHCP should be displayed.

 Loading...
