56-101-01175 Revision H Page | 68
F. Combine Testing of the Aircraft Pitot and Static System
CAUTION: Observe all safety precautions detailed in the AMM and or CMM.
CAUTION: The AMM or CMM procedure should always be recognized as the primary
authority and this manual should be recognized as a secondary aide. As
such the primary objective of this manual is to provide instruction relevant
to general Test Set operation while the AMM or CMM dictates the specific
test process, sequences and values.
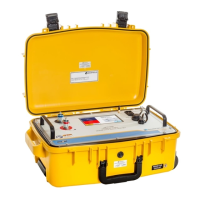
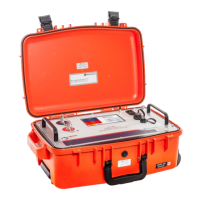
1. Verify the DPS1000 is powered ON. Ensure Initialization has completed, the system
is safe at Ground and the display indicates “Vented”.
If required, select Go To Ground and wait for the Test Set to indicate “Unit Safe
at Ground”.
2. Connect the hoses, both Static (Ps) and Pitot (Pt) to the DPS1000 ports.
Note: The Pitot (Pt) hose is not required to perform a Static system test however it is
highly recommended as a safety precautions to protect the ASI from possible
damage.
3. If not already accomplished, perform a Leak Test on the Test Set and hoses.
Note: CAP the aircraft end of each hose.
4. Connect the hoses to the aircraft Static and Pitot ports.
5. Verify that the alternate pneumatic system(s) (co-pilot, standby auxiliary, etc.) share
the same pneumatic lines. If so, they must be sealed or isolated from the current
pneumatic system about to be tested.
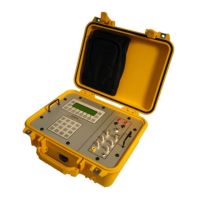
6. If necessary, change the displayed parameters on the Test Set to those required.
This can be accomplished by touching “Display Setup” from the Main Menu. From
the “Display Setup” screen, select the desired aeronautical parameters.
7. If necessary, different units can be selected by touching the “Units” icon from the
main menu. From the “Units” screen, touch the desired units.
8. Ensure the limits selected are appropriate for the aircraft and or Instruments that are
going to be tested.
9. If there is a height difference between the Test Set and the aircraft or instruments
about to be tested, enter the Altitude Correction.
From the Main Menu, touch the blue icon “page2”. Select “Setup 1”. Touch
‘Altitude Correction” from the “Limits View/Select” screen. A yellow screen is
displayed. Touch “OK” to display the “ALT Correction” keypad screen. Input,