2. Login as root on your ESXi host :
• Connect on the ESXi host with an SSH client
• Provide root credentials when prompted
3. Install Data Safe Restore Client :
# cd /tmp
# wget http://{IP de the
Beemo appliance}/exe/setup-esx.tgz
# tar -vxzf setup-esx.tgz
# cd dsr_esx
# ./install.sh
REMARK : It is also possible to download the installation package using the the Beemo
appliance
web interface. Then copy the setup-esx.tgz file on your ESXi system by another
way to proceed with the installation.
WARNING : ESXi system update may involve reinstallation of Data Safe Restore Client on
the host
3.10 ESX/ESXi hypervisor setup
1. In order to function correctly, you must modify System Resource Pools so the Data Safe Restore Client can
allocate memory.
• Connect to your ESX/i as root with Vsphere client
• Select the host in the inventory panel
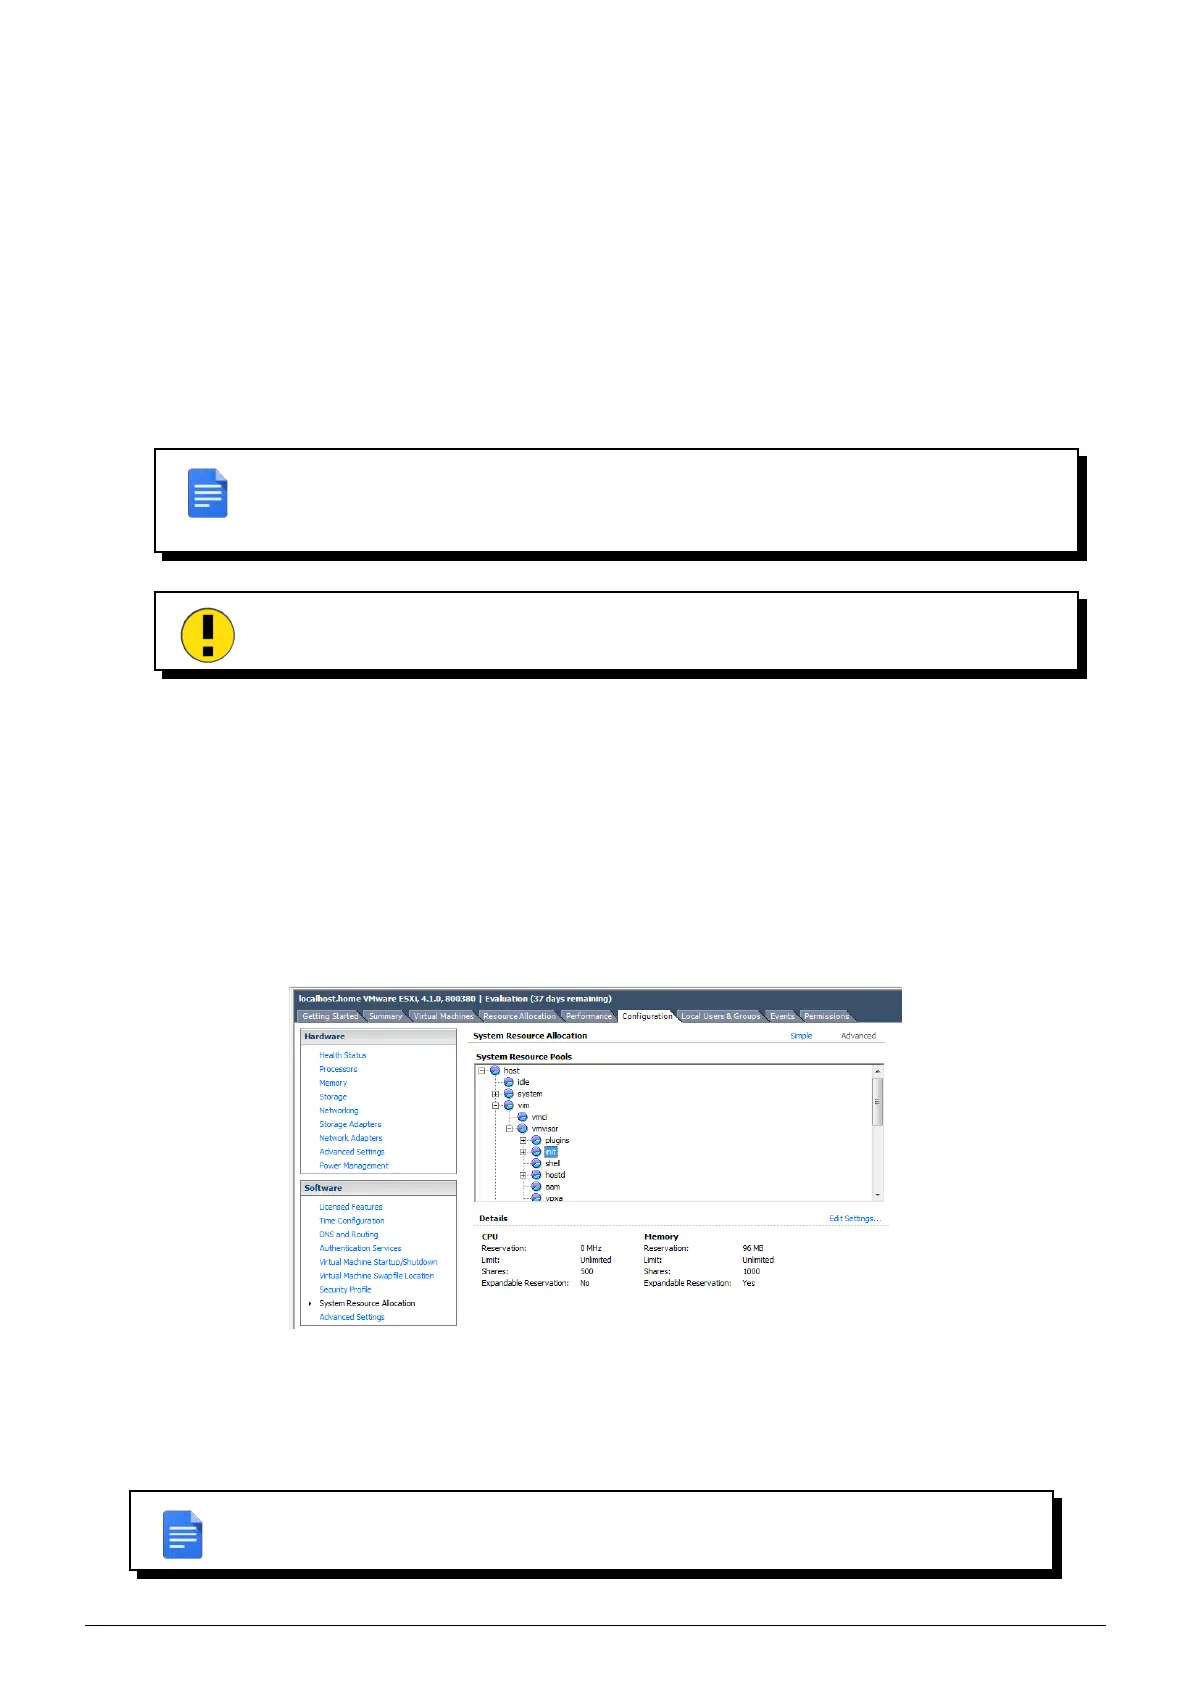
• In the Configuration tab, click System Resource Allocation
• Click Advanced (allow allocated CPU/memory modifications of host functions or resources)
FIGURE 3.11 – Advanced setup configuration of ESX/i host
You have to modify the limits of the following elements in the tree.
Select each element and click Edit settings...
In the Memory Resources section, if the Unlimited checkbox is not ticked then set the limit to 2500MB.
REMARK : Depending on ESX/i version certain elements might not exist.
Data Safe Restore User manual Version 3.08 Page 12