SmartControl™ Meter & TouchPoint™ 65 9E-926
Operation Instructions
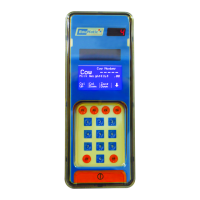
7.2 Replace the TouchPoint
Use the following procedure if a TouchPoint Control needs to be
replaced with a new control. See Figure 1a for a detailed view
of the back of the TouchPoint Control.
1. Record the stall address of the TouchPoint that is being re-
placed as this will be needed later.
2. Remove the replacement TouchPoint from the shipping
container and remove the back cover.
3. Turn the power supply off to the programming assembly.
4. Remove any connectors that may be on J1 and J2.
5. Connect the communication cable/connector to J2 of the
control to be programmed or addressed.
6. Connect the power cable/connector to J1.
7. Turn the power supply on for the programming assembly
8. Using the PC software, program the stall address, stall pa-
rameters and update software.
9. Turn power off to the control that is going to be replaced.
10. Remove the back junction box cover.
11. Remove all the connectors from the circuit board. A pair of
needle nose pliers can be used to grip the connectors.
12. While holding the TouchPoint, loosen the four clamps on
the back of the control and rotate them out of the way.
13. Remove the old TouchPoint
14. Install the new TouchPoint.
15. Reinstall the mounting ring and secure the clamps.
16. Reinstall the connectors at their original positions.
17. Turn the power back on.
18. Verify the operation of the TouchPoint by observing the
milking of a minimum of three cows.