192
COOLING SYSTEM
PRESSURE RELIEF VALVE SERVICING
Inspection
Inspect all parts for cracks, heat damage, or signs
of corrosion. Replace damaged parts. Clean
debris from housing and parts.
Assembly
Assembly is the reverse of disassembly. Pay
close attention when performing the following
additional tasks.
Coat threads of each cylinder head thermostat
cover with Gasket Sealing Compound. Install and
tighten the cover to a torque of 120 to 144 in. lbs.
(13.5 to 16.5 N·m).
PRESSURE RELIEF
VALVE SERVICING
The pressure relief valve assembly should be ser-
viced at the same time as the thermostat.
Disassembly
Remove the EMM. Refer to EMM SERVICING on
p. 68.
Remove the four screws holding the electrical har-
ness base.
Loosen electrical harness connections as neces-
sary to lift harness base away from the pressure
relief valve.
Remove screws and cover from pressure valve
assembly.
Remove the pressure relief valve assembly.
Inspection
Inspect all parts for cracks, heat damage, or signs
of corrosion. Replace damaged parts. Clean
debris from housing and parts.
Assembly
Assembly is the reverse of disassembly. Pay
close attention when performing the following
additional tasks.
Tighten cover screws to a torque of 60 to 84 in.
lbs. (7 to 9.5 N·m).
000756
1. Harness base screws 005378
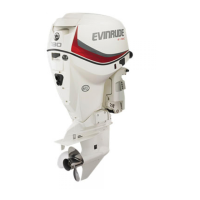
1. Pressure valve cap screws 005395
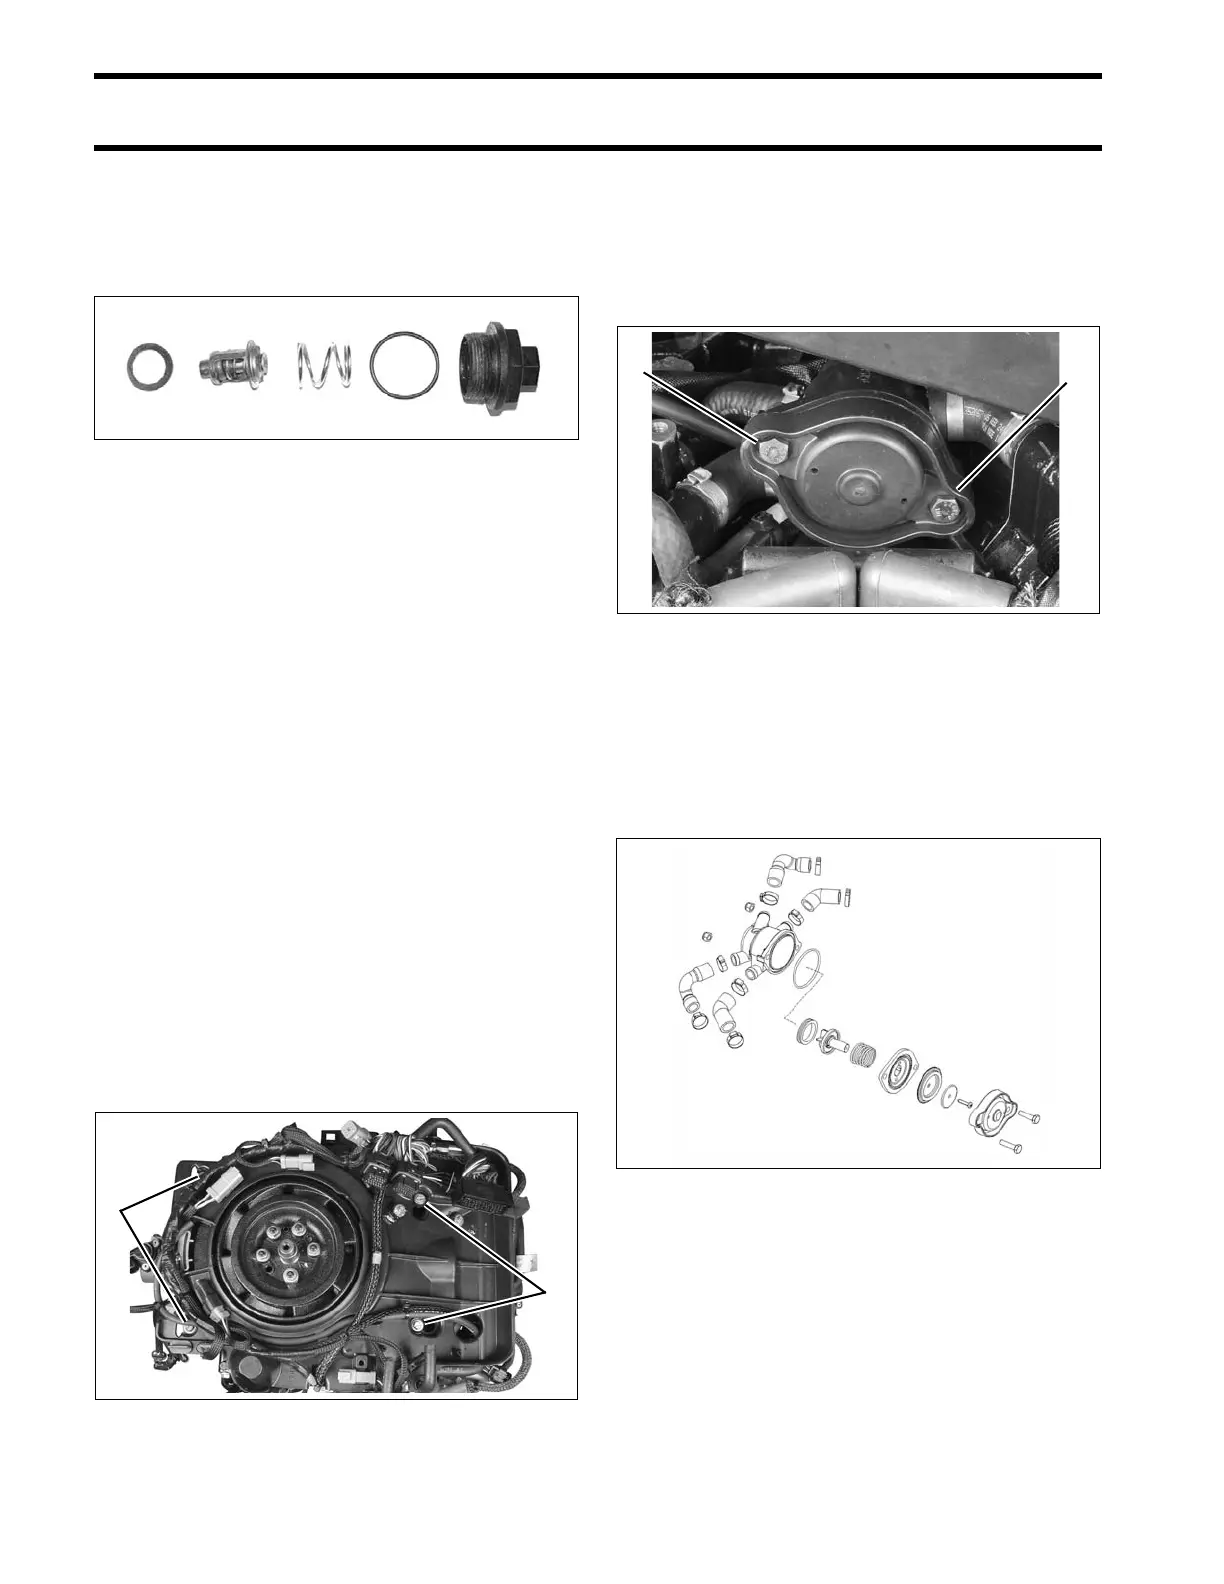
Pressure relief valve assembly components 005391