Taking Measurements and Analyzing Data 4-5
5 Click Tower Down in the Live Video Display. The tower lowers to the measurement position with the
stylus down, and the stylus makes brief contact with the sample. The stylus then moves to its Up position.
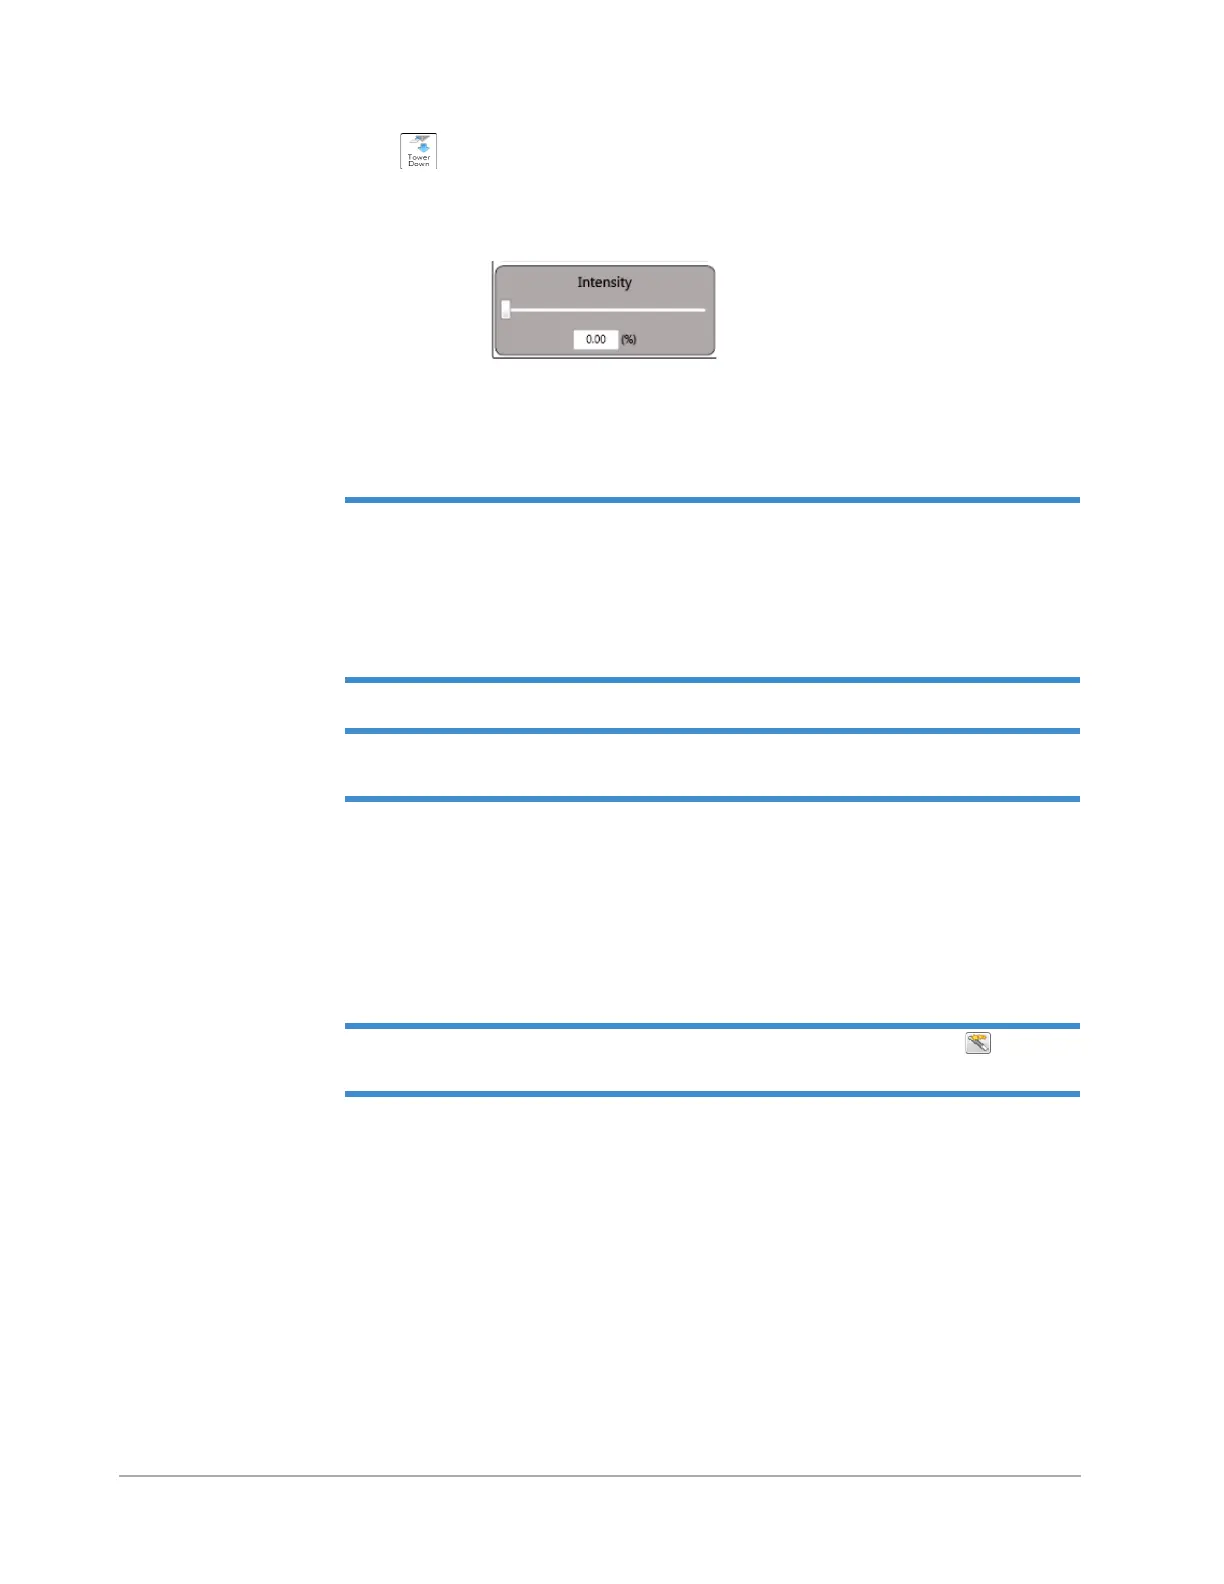
6 If necessary, adjust the Intensity slider in the Live Video Display so that the sample is clearly illuminated.
Figure 4-3: Illumination Bar
7 Adjust the position of the X-Y or theta stage until you find the location of interest on your sample.
8 Fine-position the location of interest in the center of the Live Video Display.
NOTE – Since the stylus scans across the sample in the Y direction, it is important to
position the features of your location of interest so that they are perpendicular to the scan
direction. For example, if you are measuring a step height standard, the step must run
horizontally across the Live Video Display. Samples such as metals should be positioned so
that the lay (the predominant direction of the surface texture) runs horizontally across the Live
Video Display.
NOTE – Because the scan will move “Up” in the Live Video Display, the trace must be
positioned above the stylus, thus ensuring that it will be fully measured.
9 On the Measurement Options tab of the Measurement Setup window, select Standard Scan (see Figure
4-4).
10 If you do not want to use the default Measurement Options settings that are stored in your Vision recipe,
change any other settings on the Measurement Options tab of the Measurement Setup window. For
definitions of the parameters in the Measurement Options window, see Setting the Measurement Options
on page 4-2.
NOTE – If your system includes the X-Y auto stage, click the Teach button to the left
of the Length field open a window that lets you drive the stage to the start-point of the scan.