4-6 Taking Measurements and Analyzing Data
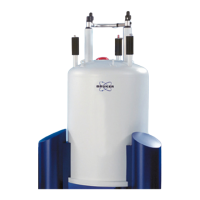
Figure 4-4: Measurement Options Window
11 Click the Advanced Options tab and make sure that the Number of Measurements is set to 1.
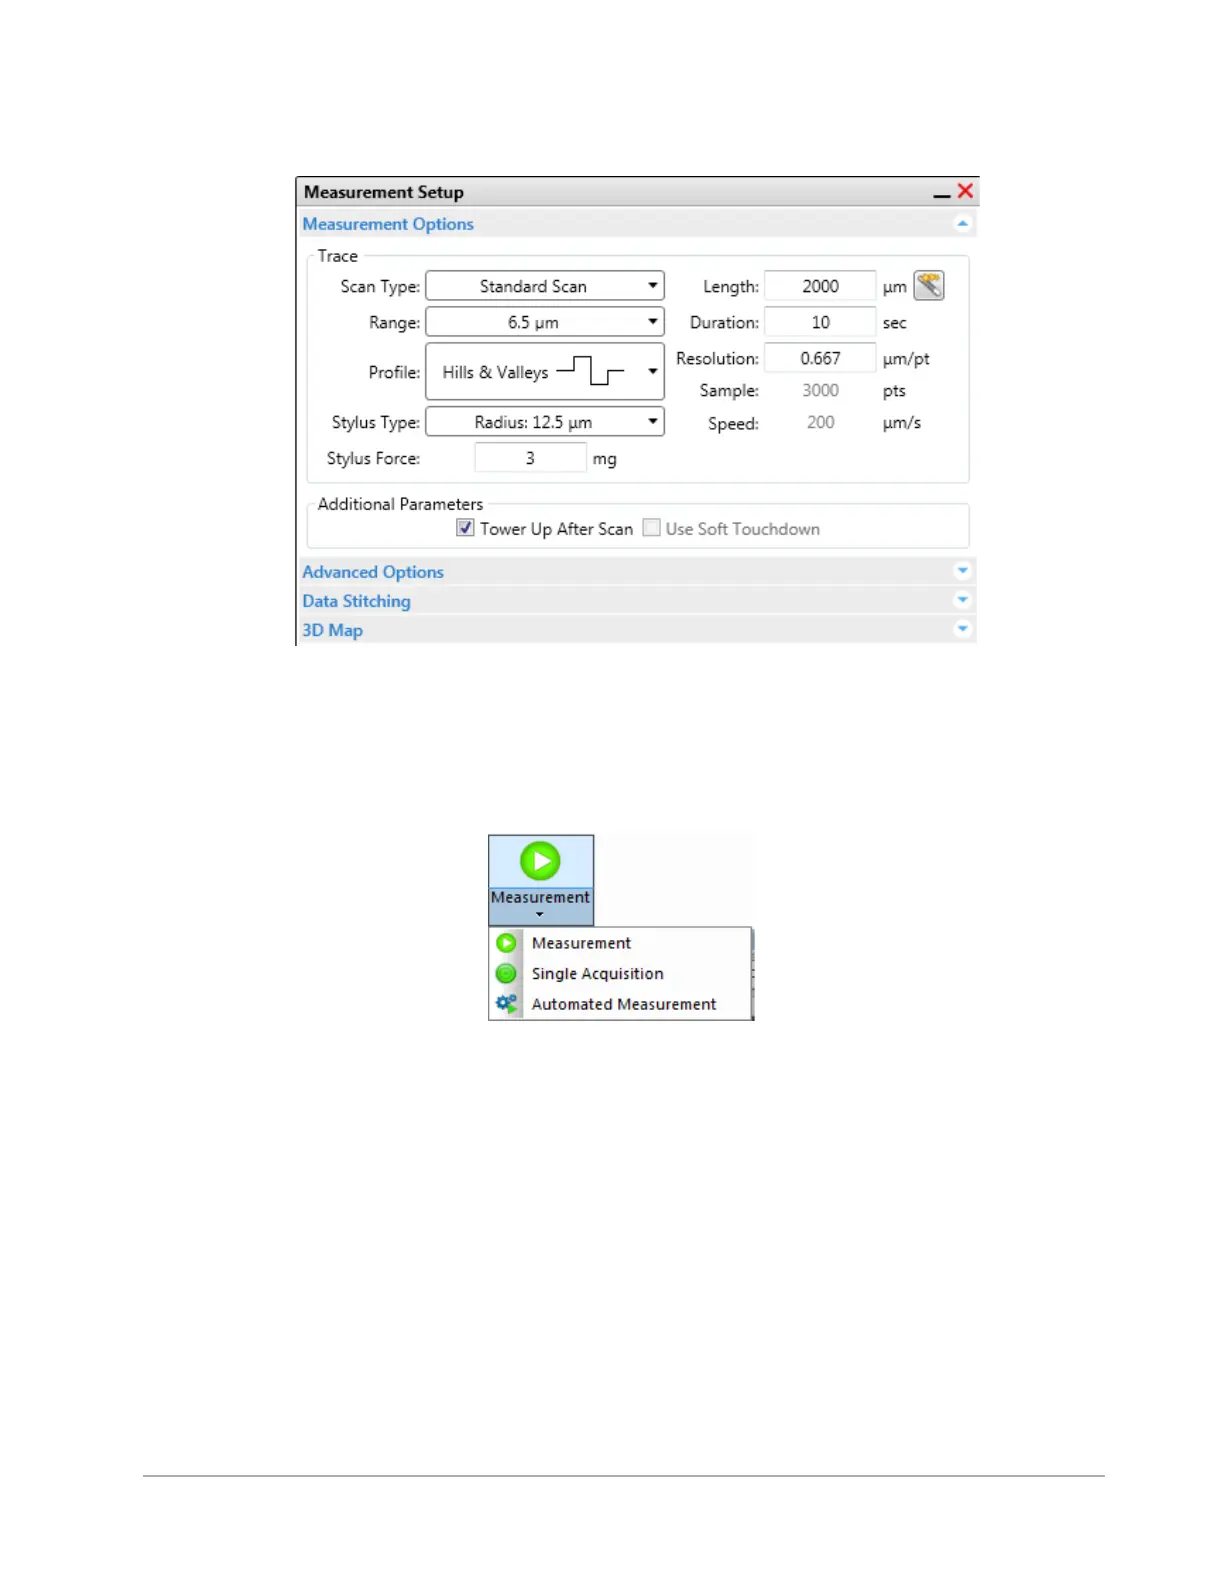
12 Click the Measurement button on the Ribbon (see Figure 4-5) and then select Measurement. The events
that now occur are described in What Happens During a Scan Measurement on page 4-6.
Figure 4-5: Measurement Buttons
13 Observe the measurement in real-time in the Data Acquisition window. If the scan hits or exceeds the top
or bottom border of the Data Acquisition window, adjust the tilt on the scan stage (see Figure 4-6) and/or
increase the Scan Range value in the Measurement Options window.
 Loading...