Lamps (ACT/D) Configuration and Numbering
SMART MATRIX - 2-18 -
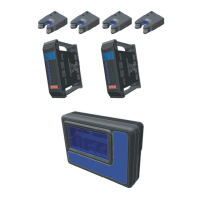
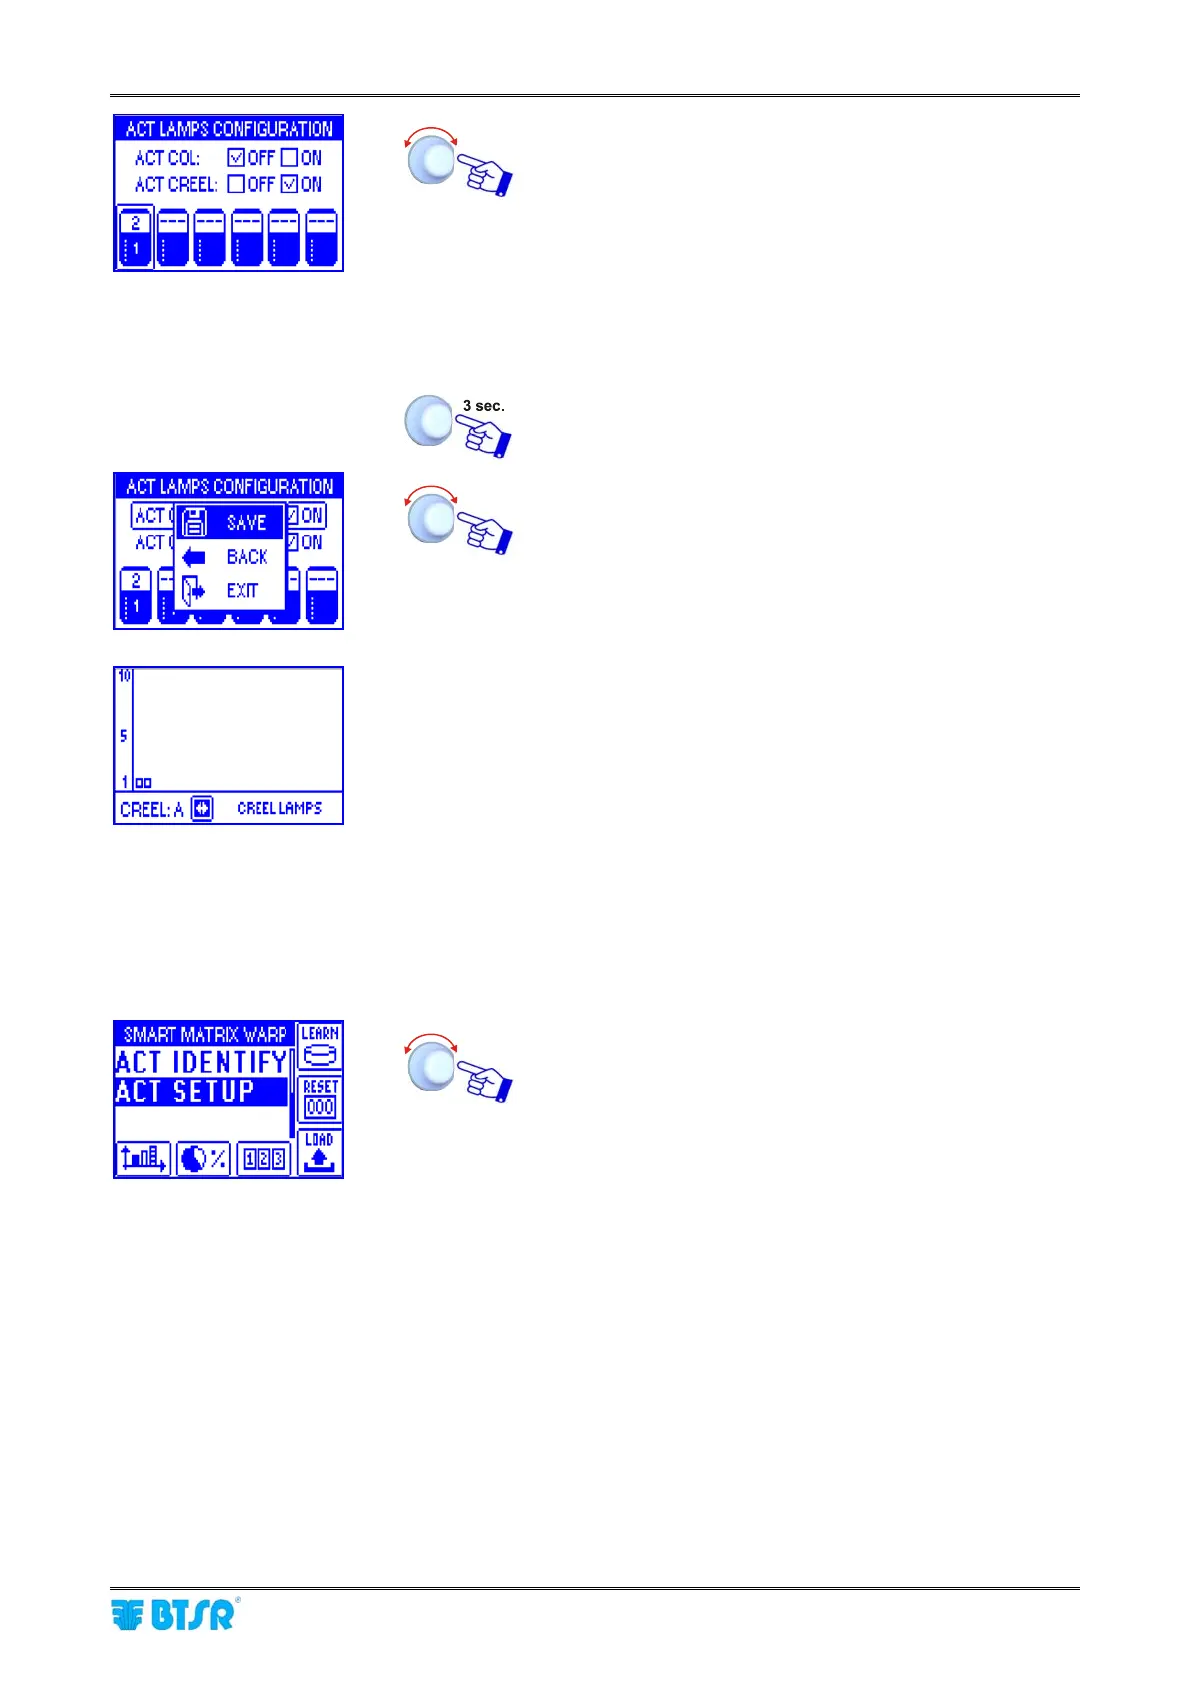
• Select the field indicating the number of ACT/D
modules connected to Board 1.
• Set the number of ACT/D modules actually connected
to Board 1 (e.g. 2) and confirm.
Note: If you use the lamps both on Column and on
Creels, this number must be the sum of all
ACT/D modules (Columns + Creels).
• Point the symbol of 2
nd
Board and so on for all the
Boards used.
Once you have configured all the Boards.
To save the configuration and continue with the numbering
operation.
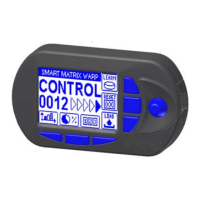
• The example shown indicates that the numbering of the 2 ACT/D
modules associated with the 2 Creels is going to start.
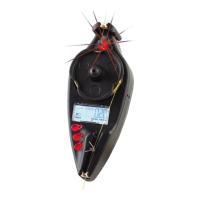
• The green leds will flash on all the ACT/D modules.
• Press the P button on ACT/D module to be numbered.
• The green led turns off and the red one turns on.
• On SMART MATRIX display the small square corresponding to the lamp
of Creel B will start flashing.
• Press the P button of the second ACT/D module and continue with the
numbering of remaining modules (if any).
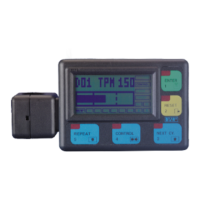
• At the end of numbering operation the ACT IDENTIFY sub-menu, will
automatically appear.
Select ACT SETUP.