4
4
4-9
4-9
Parts Replacement and Cleaning Procedure > Main Units/Parts (Reader) > Removing the ADF Scan Glass > Action to Take after Replacing the ADF Scan Glass
Parts Replacement and Cleaning Procedure > Main Units/Parts (Reader) > Removing the ADF Scan Glass > Action to Take after Replacing the ADF Scan Glass
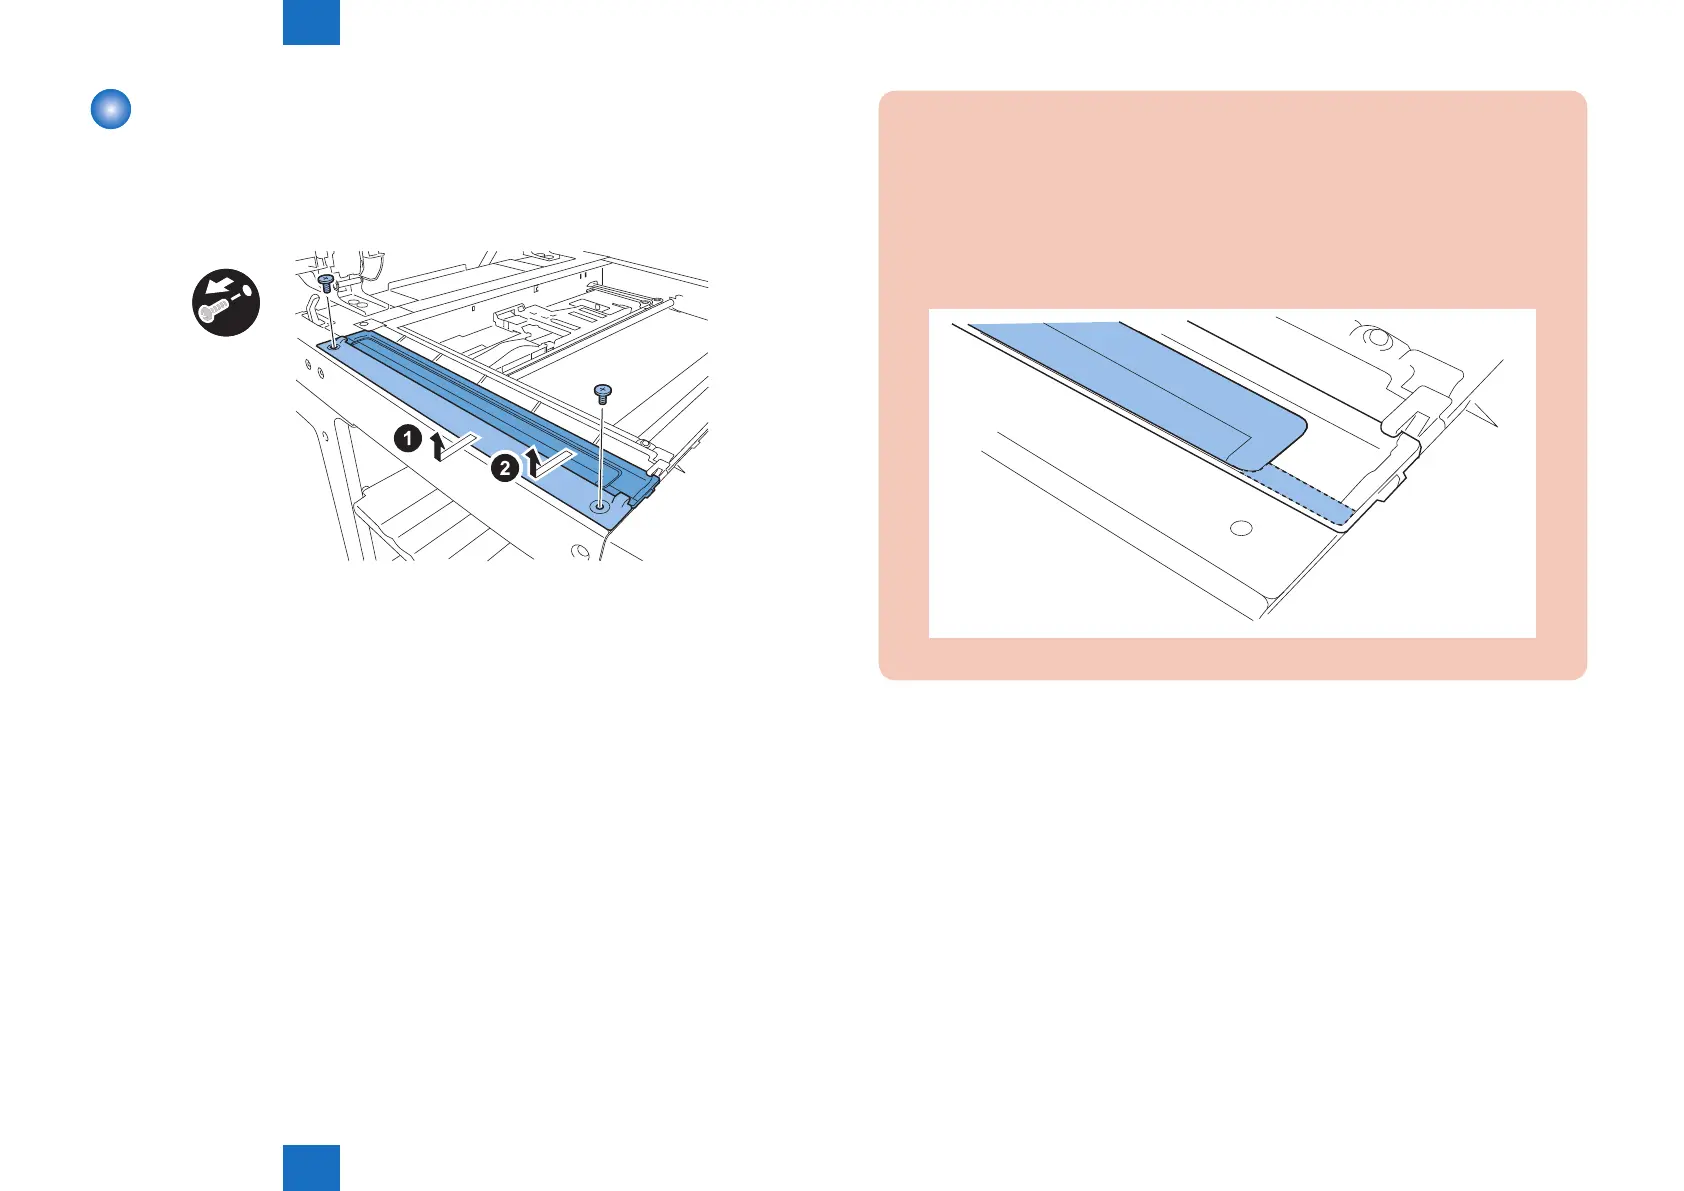
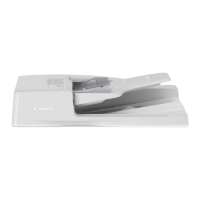
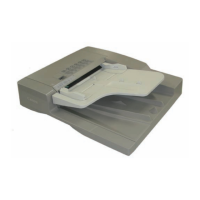
Removing the ADF Scan Glass
1) Open the platen cover (platen board cover/ADF).
2) Remove the glass retainer.
• 2 screws
3) Remove the ADF scan glass.
x2
F-4-17
CAUTION:
• When removing the ADF scan glass, take care not to touch the glass surface with
your ngers.
• Soils on the glass surface may cause white/black lines on images.
• If the glass surface is soiled, clean them with a lint-free paper moistened with
alcohol.
• Be sure to install the ADF scan glass with its seat facing front left.
F-4-18
■
Action to Take after Replacing the ADF Scan Glass
1.Enter the service mode, and then select the following:<D1 Only>
COPIER > FUNCTION > CCD > DF-WLVL1/2/3/4 (DF white level adjustment)
1) Place a sheet of paper that the user usually uses on the platen glass, enter the service
mode, and then select COPIER > FUNCTION > CCD > DFWLVL1.
Read the white level in the BOOK mode. (Check the transparency of the glass for BOOK
mode.)
2) Place a sheet of paper that the user usually uses on the DF, enter the service mode, and
then select COPIER > FUNCTION > CCD > DF-WLVL2.
Read the white level in the DF mode (stream reading). (Check the transparency of the
glass for stream reading.)(Read both sides of the chart.)
3) Place a sheet of paper that the user usually uses on the platen glass, enter the service
mode, and then select COPIER > FUNCTION > CCD > DFWLVL3.