4
4
4-15
4-15
Parts Replacement and Cleaning Procedure > Main Units (DADF) > Removing the Feed Unit
Parts Replacement and Cleaning Procedure > Main Units (DADF) > Removing the Feed Unit
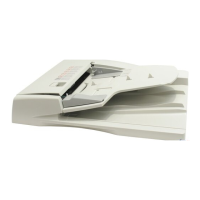
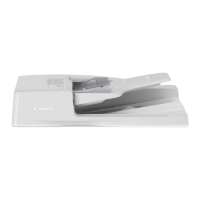
Main Units (DADF)
Removing the Feed Unit
1) Remove the DADF from the host machine.
2) Open the feeder cover.
3) Remove the front cover.("Removing the Front Cover"(page 4-13).)
4) Remove the feeder cover.("Removing the Feeder Cover"(page 4-14).)
5) Remove the tray holder.(Refer to page 4-23)
6) Remove the rear cover.("Removing the Rear Cover"(page 4-13).)
7) Disconnect the nine connectors from the ADF driver PCB.("Removing the ADF Driver
PCB"(page 4-21).)
8) Remove the document tray.(Refer to page 4-23)
9) Remove the ADF motor.("Removing the ADF Motor(M1)"(page 4-19).)
10) Remove the left hinge.
- Screw 5 pcs.
x5
F-4-28
11) Remove the harness guide.
- Connector 5 pcs.
- Screw 1 pcs.
x1
x5
12) Remove the pickup clutch/registration clutch.("Pickup Clutch/Registration Clutch(CL1/
CL2)"(page 4-20).)
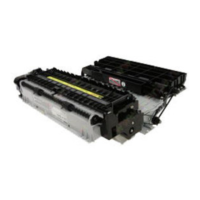
13) Remove the feed unit.
- Screw 8 pcs.
x8
F-4-29
F-4-30