4
4
4-22
4-22
Parts Replacement and Cleaning Procedure > Clutch Solenoid Motor Fan PCB (DADF) > Removing the Fan
Parts Replacement and Cleaning Procedure > Clutch Solenoid Motor Fan PCB (DADF) > Removing the Fan
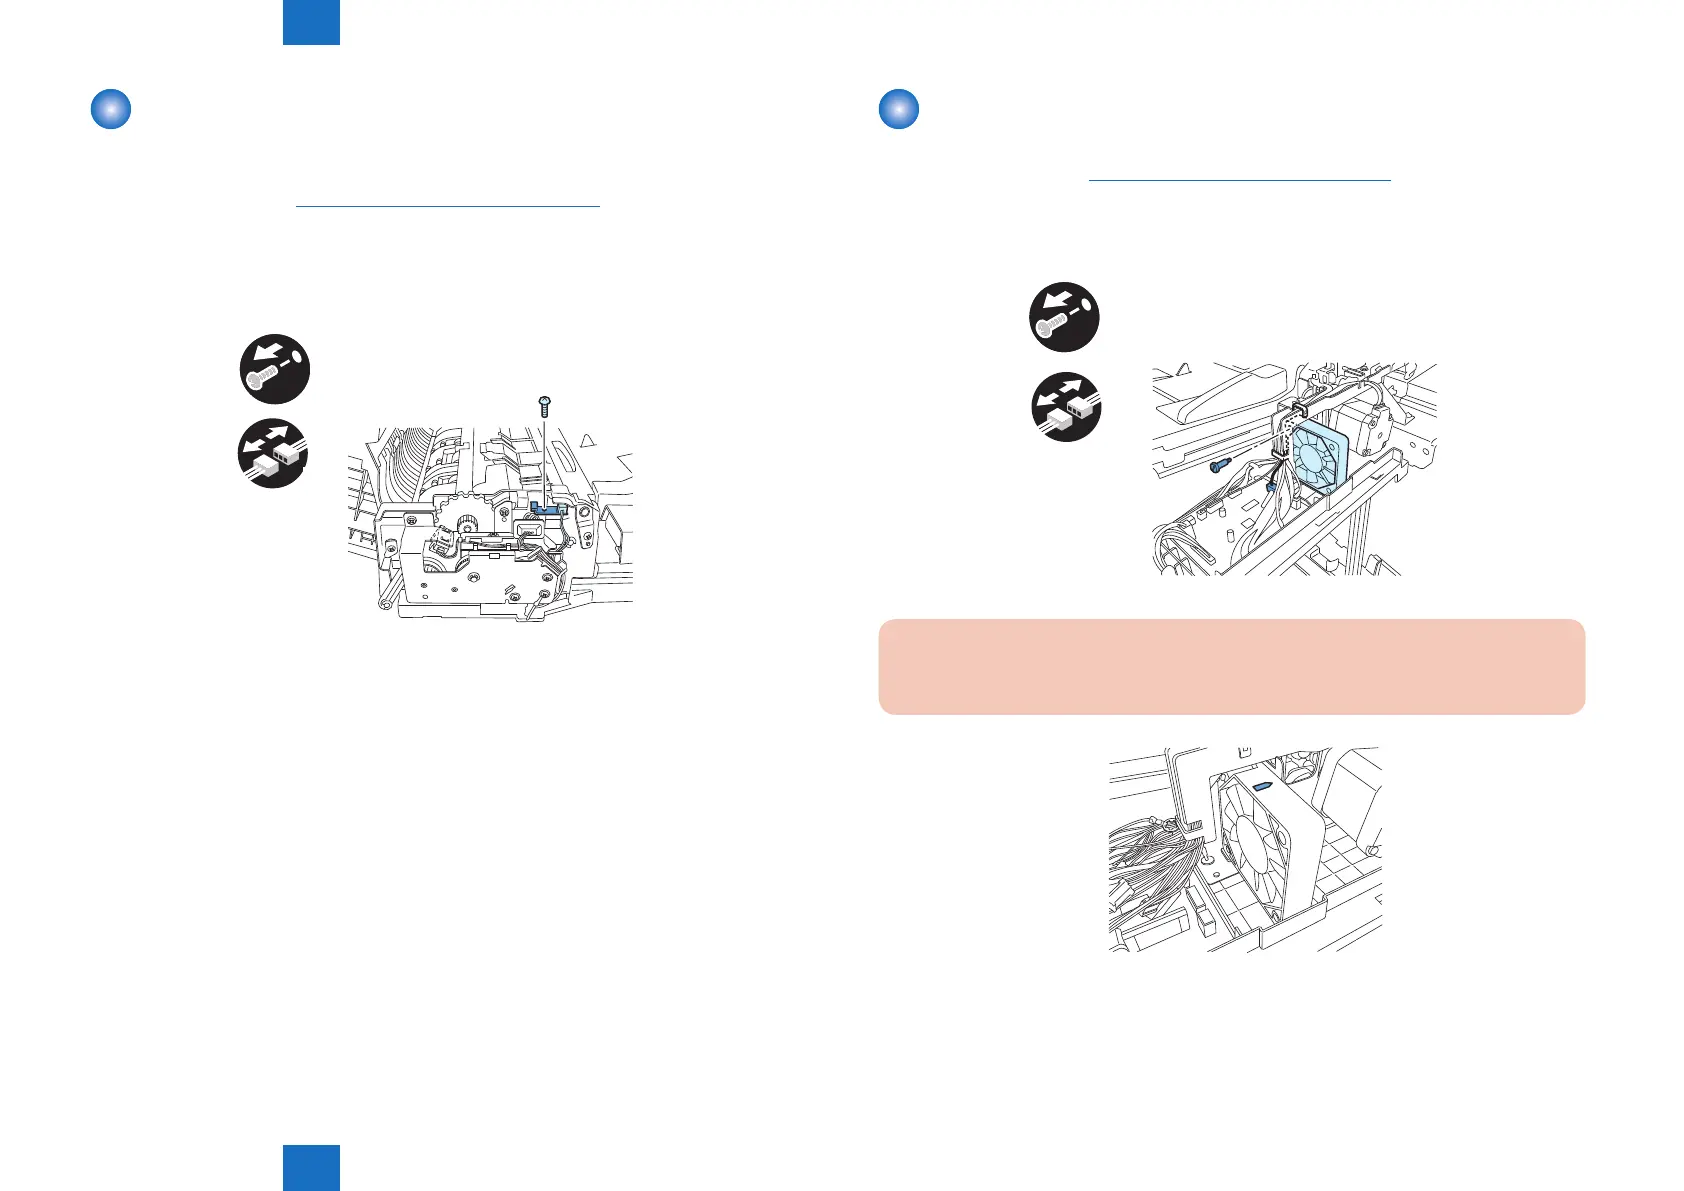
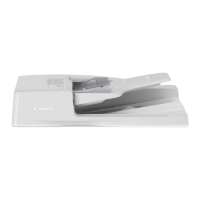
Removing the LED PCB
1) Open the feeder cover.
2) Open the DADF.
3) Detach the front cover.("Removing the Front Cover"(page 4-13).)
4) Close the DADF.
5) Remove the LED PCB.
- Screw 1 pc
- Connector 1 pc
x1
x1
F-4-45
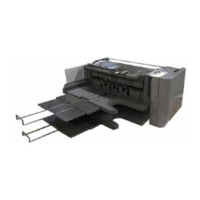
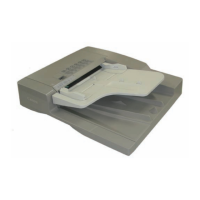
Removing the Fan
1) Open the feeder cover.
2) Remove the rear cover.("Removing the Rear Cover"(page 4-13).)
3) Remove the fan
- Screw 1 pc
- Connector 1 pc
x1
x1
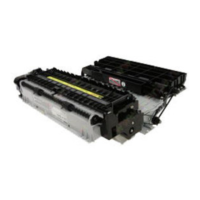
Caution
Install the fan with the arrow oriented as shown.
F-4-46
F-4-47