Table 7-4: FDT settings
Note: The first time the FDT is run, the settings dialogs are displayed by default. After the FDT
has been configured, the settings dialogs are no longer shown by default.
Tip: For more information about installing and configuring the Renesas FDT, see
Appendix E: Hitachi Renesas Flash Development Tool.
5. In the Download window, click Options and ensure that:
• Auto-Disconnect is selected (checked).
• Download File Area has User Area selected (checked).
• The Download File radio button is selected.
6. Select ‘…’ for the User area and select the appropriate MVX code file from the
Eclipse HX v9.1 software USB. According to your requirements, select either:
• Drivers USB > ECLIPSE DRIVERS > Omega-Median-Delta > xxxxxx-
MVX Boot
Where xxxxxx represents the product number. The folder contains the
*.mot file and a Read Me file (*.txt) with version information.
• Drivers USB > ECLIPSE DRIVERS > Omega-Median-Delta > xxxxxx-
MVX Combined Boot & Application
Where xxxxxx represents the product number. The folder contains the
*.mot file and a Read Me file (*.txt) with version information.
7. Upgrade / program the device:
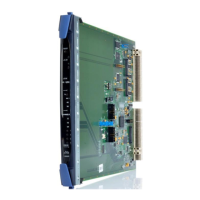
a. Connect the MVX serial cable (CAB-MVX-48Z) between the COM port on the
PC and CON8 on the MVX-A16 card.
Note: The MVX connection is polarized to ensure correct connection.
b. On the MVX card, ensure that jumper JP1 is made.