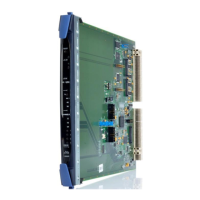
2. Fit the AES-6 card to either the IMF-3 interface frame or Eclipse HX-Median Matrix. If
there is a jumper on J6, move the jumper to J3.Reset or power-cycle the card so
the jumper change takes effect.
3. Connect the serial cable to the front of the AES-6.
4. Run Flash Development Toolkit BASIC (FDT). Configure the FDT (Options > New
Settings) as follows:
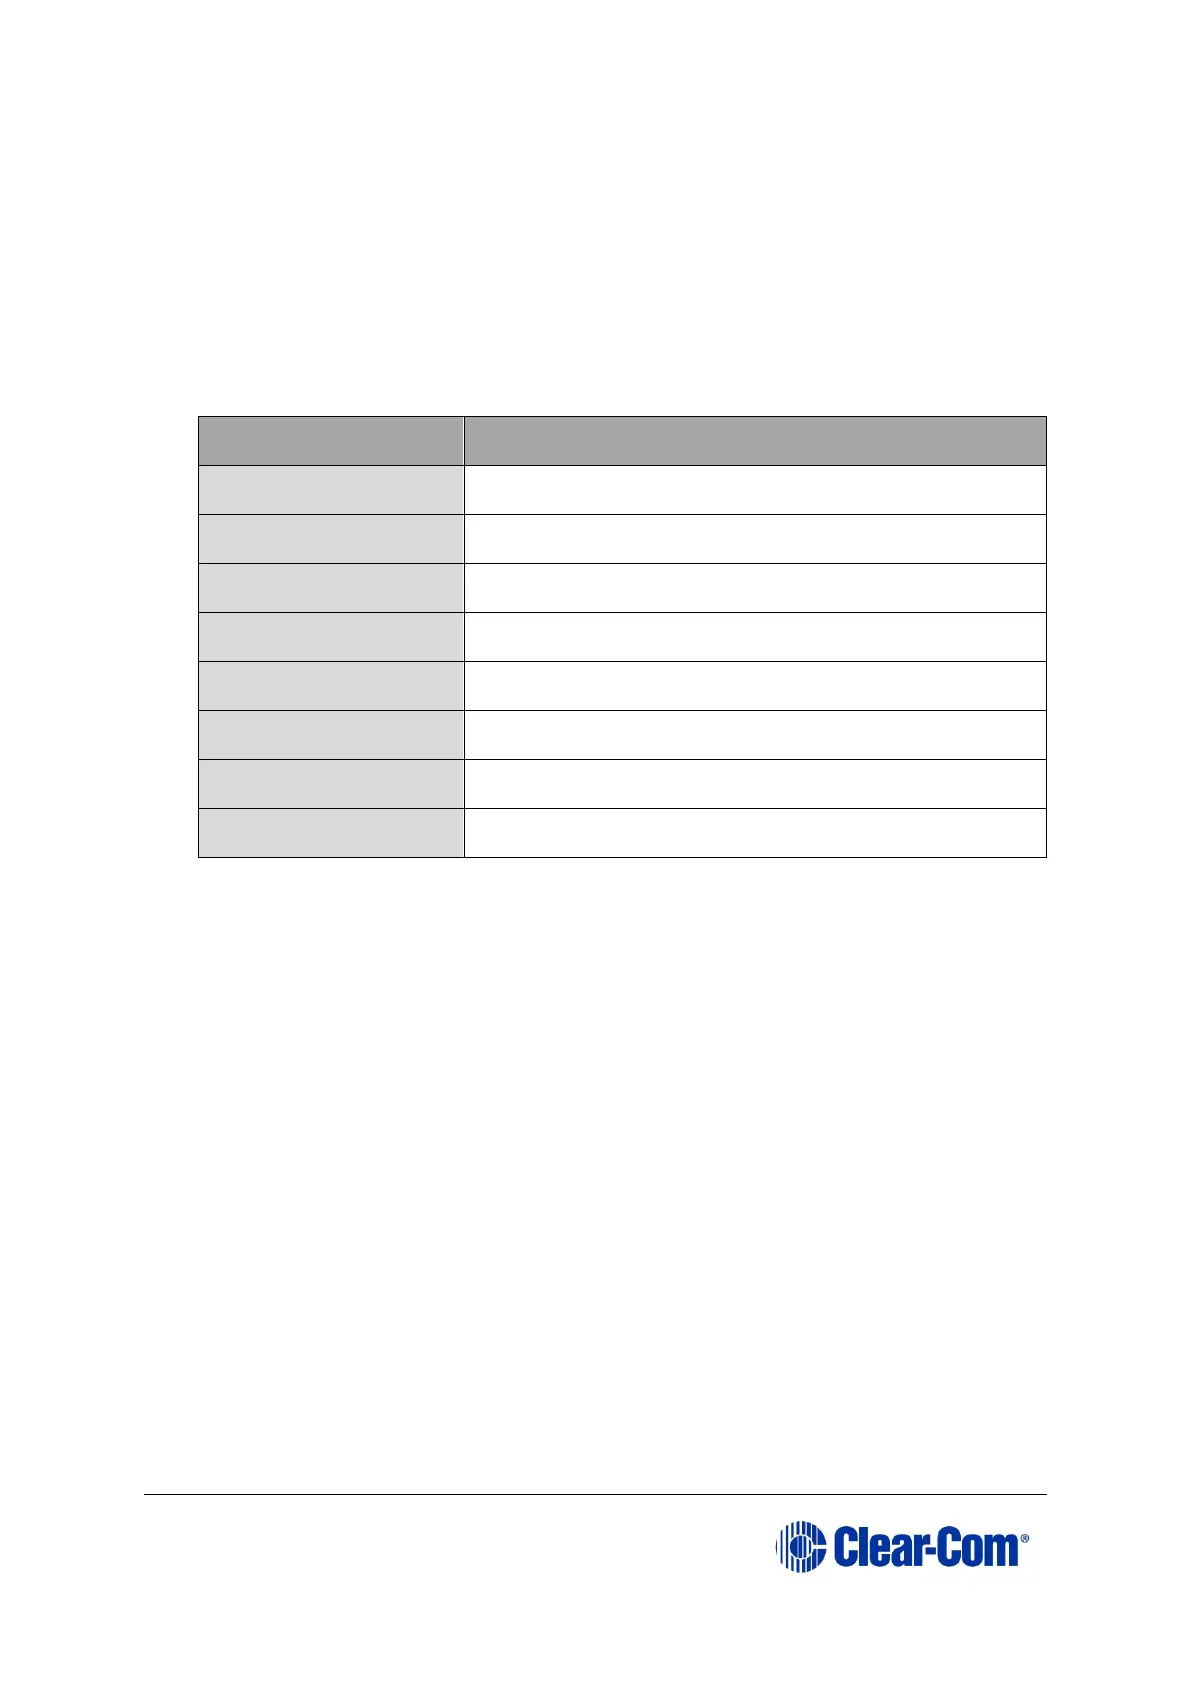
Table 16-2: FDT settings
5. Navigate to the AES-6 application code (*.mot format file) on the software USB:
Drivers USB > ECLIPSE DRIVERS > Other_Software > xxxxxx - AES-6
Application
Where xxxxxx represents the product number).
6. Select Program Flash and download the AES-6 application code (*.mot format
file).
7. When the download is complete, move the jumper on J3 back to J6. Reset or
power-cycle the card.
Note:
If an FPGA image is present, the card will now run normally. If an FPGA image is
not present, you will be prompted for an FPGA image. See 3.33.1 Upgrading
AES-6 FPGA.
16.1 Upgrading AES-6 FPGA
Before attempting any upgrade of the AES-6 card, ensure that anti static precautions are
taken, as the Eclipse items are sensitive to static discharges.