Note: Take care not to confuse these two three-pin connectors with the identical (but
differently labeled) three-pin connectors which are used to upload new application code.
8) Run Tera Term. If necessary, press Enter on your keyboard or the MVX reset
switch a few times. The version information is displayed in the Tera Term
window.
Note: Reports the MVX application code version only.
9) Repeat the procedure with the second MVX card / section.
6.6 Upgrading the Eclipse HX-PiCo CPLD and FPGA
code with Xilinx tools
To upgrade either the Eclipse HX-PiCo U1 CPLD code or FPGA code with Xilinx tools:
1) Ensure that the latest version of the Xilinx programming tools has been
installed.
Tip: For more information about installing Xilinx programming tools, see
Appendix J:Xilinx tools.
Connect the USB connector of the download cable (Platform cable USB DLC9G)
to the USB port of the PC.
2) If you are upgrading the FPGA code, connect the 14way IDC header to
CON12.
3) If you are upgrading the U1 CPLD code, connect the 14way IDC header to
CON25.
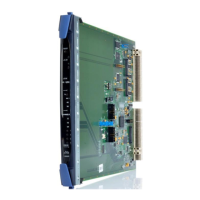
Tip: For the location of CON12 and CON25, see Figure 6-14: Eclipse HX-PiCo
main board.
4) Power up the Eclipse HX-PiCo and start the iMPACT programming tool.
5) In Load Project, select Cancel.
6) In Flows, double click Boundary Scan. Right click the main window and select
Initialise Chain / Ctrl+ I: