• If you are running EHX in Client-Server mode, select File > Import
project. Navigate to the configuration (*.ccn) file and click Open to
import the file.
• If you are running EHX in Client-Only mode, select File > Open.
Navigate to the configuration (*.ccn) and open the file.
Note: EHX can open *.ccn format files as well as its own *.hxn format
configuration files.
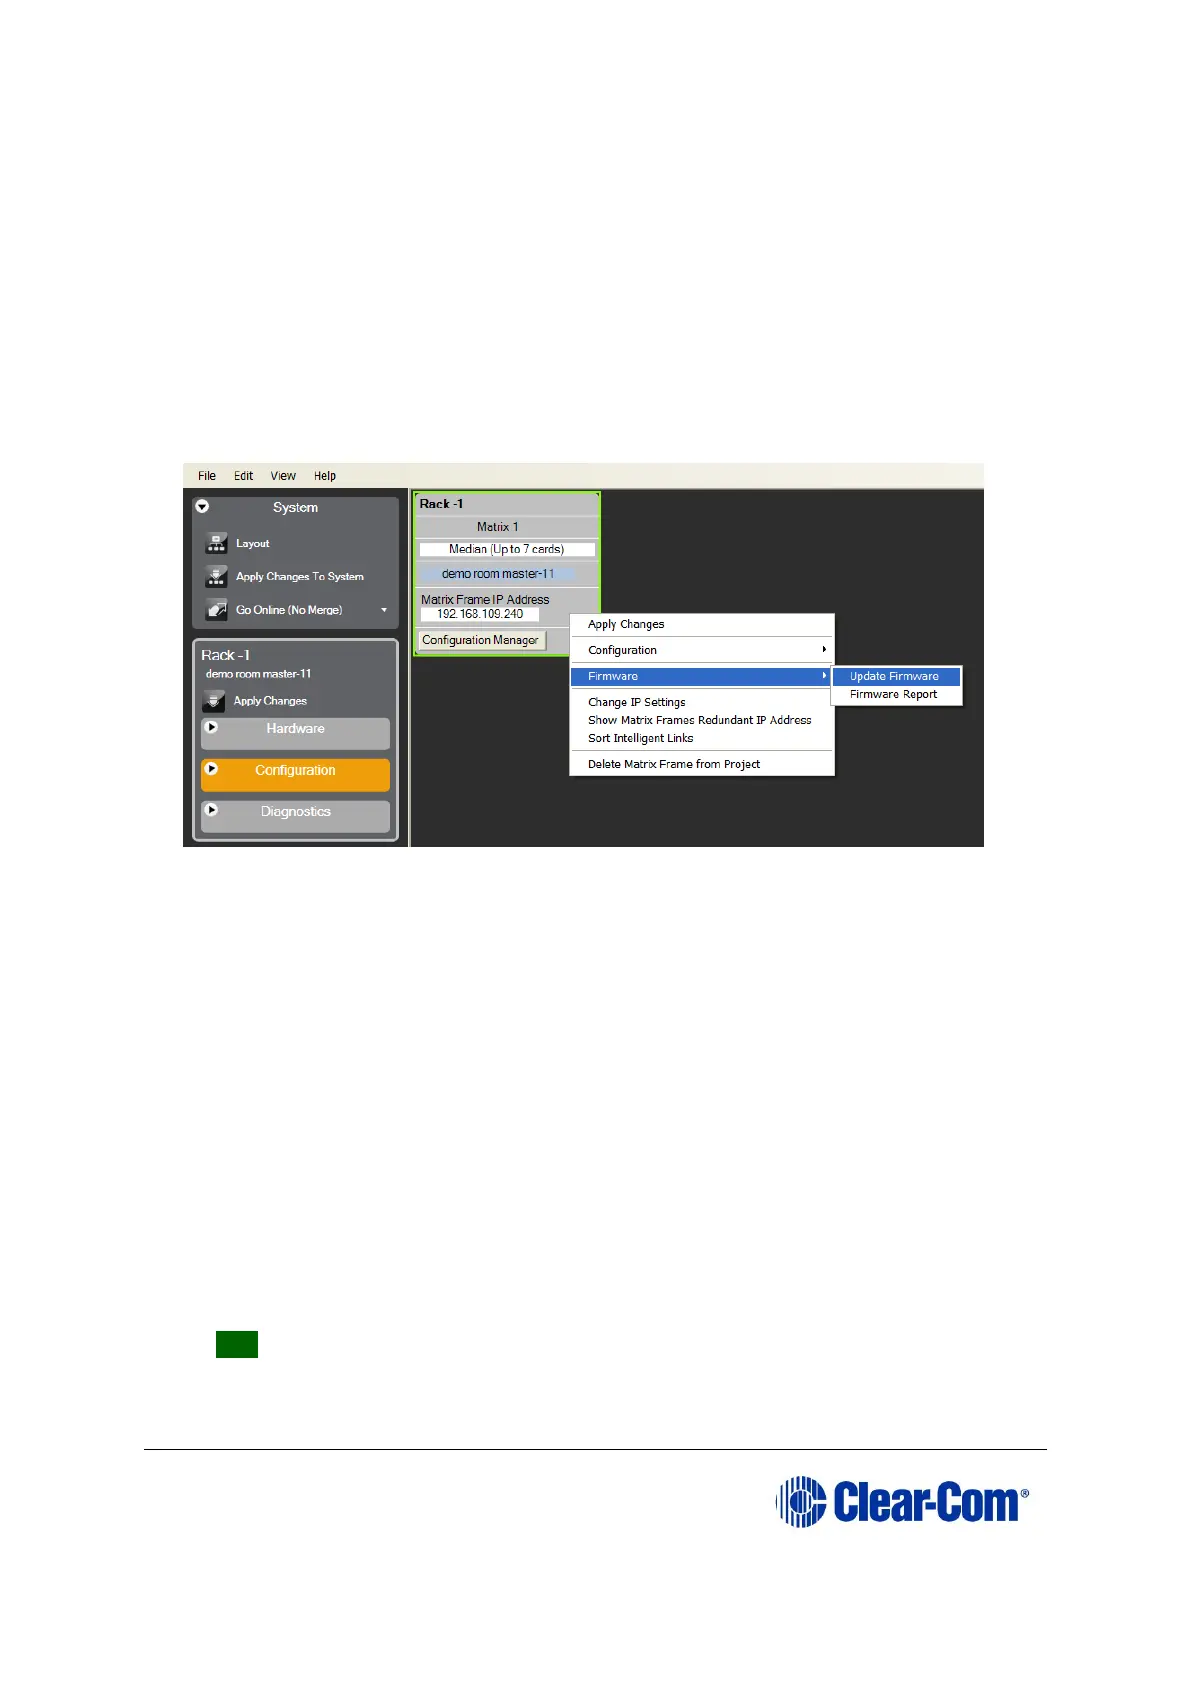
6) In EHX, select System > Layout. In the work area, right click the matrix.
7) From the menu, select Firmware > Update Firmware.
Figure 6-5: Upgrading app code: Matrix firmware update
8) In the Firmware update wizard, click Next. Ensure that Matrix is selected in the
following dialog, then click Next again.
9) In the next dialog, click Browse and navigate to the required *.fwr file for the
Eclipse HX-PiCo application:
a. Go to Software USB > SOFTWARE - EHX.xxx > Eclipse HX-PiCo >
xxxxxx – Application Code (where xxxxxx represents the part
number).
The folder contains the *.fwr file and a Read Me file (*.txt) with version
information.
b. Select the*.fwr file and click OK / Open. Ensure that the correct file
name is displayed in the dialog.
10) Click Next. Confirm that the correct file has been selected, and click Next again
to start the firmware update. The upgrade will take approximately 2 minutes.
Tip: While the update is in progress, the LED on the front of the CPU card will
flash rapidly. Rapid flashes indicate communication with the PC.
Note: If you are upgrading from v5.2.5 to Eclipse HX v9.1, the
download dialog does not automatically finish. This is due to a