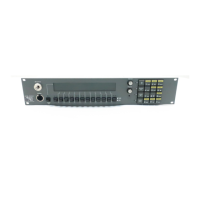
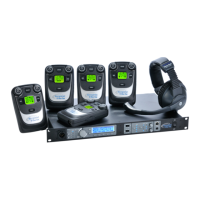
User Guide| FreeSpeak II for Eclipse HX
The menus that appear depend on the menu access level. See Setting full menu access on
page 43.
5.3.1 Setting headset autodetect
Use this setting to allow the beltpack to automatically detect when you plug in a headset, and route
the audio to the headset.
Note: To use this feature, first set Mic Type to Auto. See Setting the microphone type on page 39.
1. To enter the beltpack menu, press and hold the Menu key.
2. Use the rotary and Menu Select keys to select Settings > Headset Options > Auto Detect.
3. Use either rotary control to select between:
n On
n Off
4. To confirm the selection and exit the menu screen, press the Menu Select key (D).
5.3.2 Setting the sidetone level
Use this setting to set the level of the sidetone. You can either set the sidetone to a fixed level, or
choose to have the sidetone track the master volume level. To set sidetone to a fixed level:
1. To enter the beltpack menu, press and hold the Menu key.
2. Use the rotary and Menu Select keys to select Settings > Headset Options > Sidetone >
Sidetone Level.
3. Use either rotary control to select the sidetone level between -70dB and 0dB.
4. To confirm the selection and exit the menu screen, press the Menu Select key.
5.3.3 Setting the headset limiter
Use this setting to limit the incoming headset audio level to prevent excessive sound levels.
1. To enter the beltpack menu, press and hold the Menu key.
2. Use the rotary and Menu Select keys to select Settings > Headset Options > Limiter.
3. Use either rotary key to select the limiter level between -12 and 8dB. The default is 0dB.
4. To confirm the selection and exit the menu screen, press the Menu Select key (D).
5.4 Configuring the beltpack microphone
You can configure the following microphone settings:
Page 38

 Loading...