PBD175 (Spire 3.0) Service Manual
Publication Number: 620062609SER - 46 - © 2015-2016, Cornelius Inc.
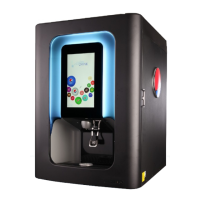
3. Place ice maker on top of unit and push until rear of
ice maker is flush with bracket OR ice maker rear is
flush with rear of the dispenser
Figure 93.
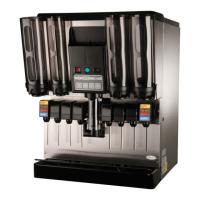
4. Make sure ice maker is centered on unit and equal
distances on each side.
Figure 94.
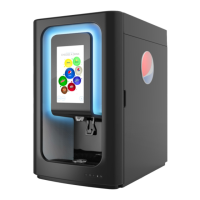
5. Locate on the rear of the ice maker a good place to
secure the supplied ice maker bracket to with #8
self-tapping screws.
Be sure to screw into sheet metal, be sure to check and not
to screw into refrigeration componentry behind the sheet
metal.
Figure 95.
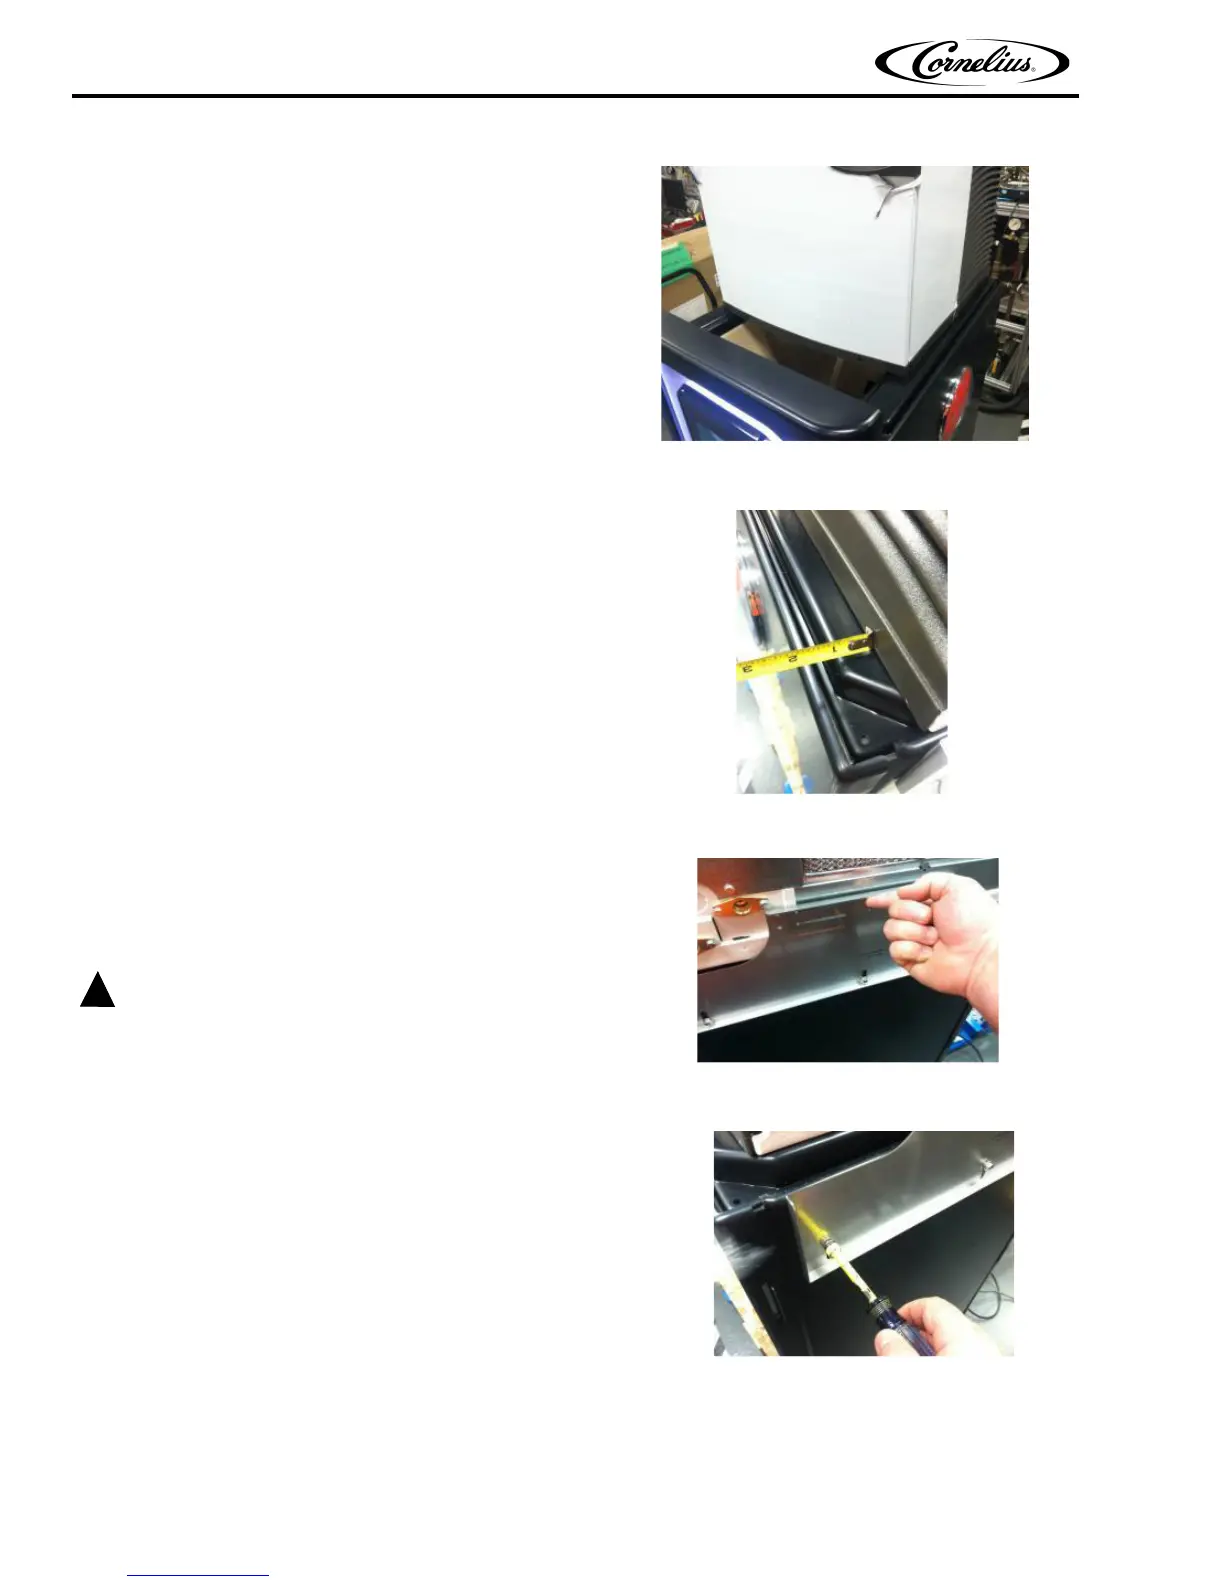
6. Lift ice maker bracket as shown until either slots or
holes in bracket are within area chosen to screw
into. Tighten the (3) ¼-20 bolts.
Figure 96.