PBD175 (Spire 3.0) Service Manual
© 2015-2016, Cornelius Inc. - 47 - Publication Number: 620062609SER
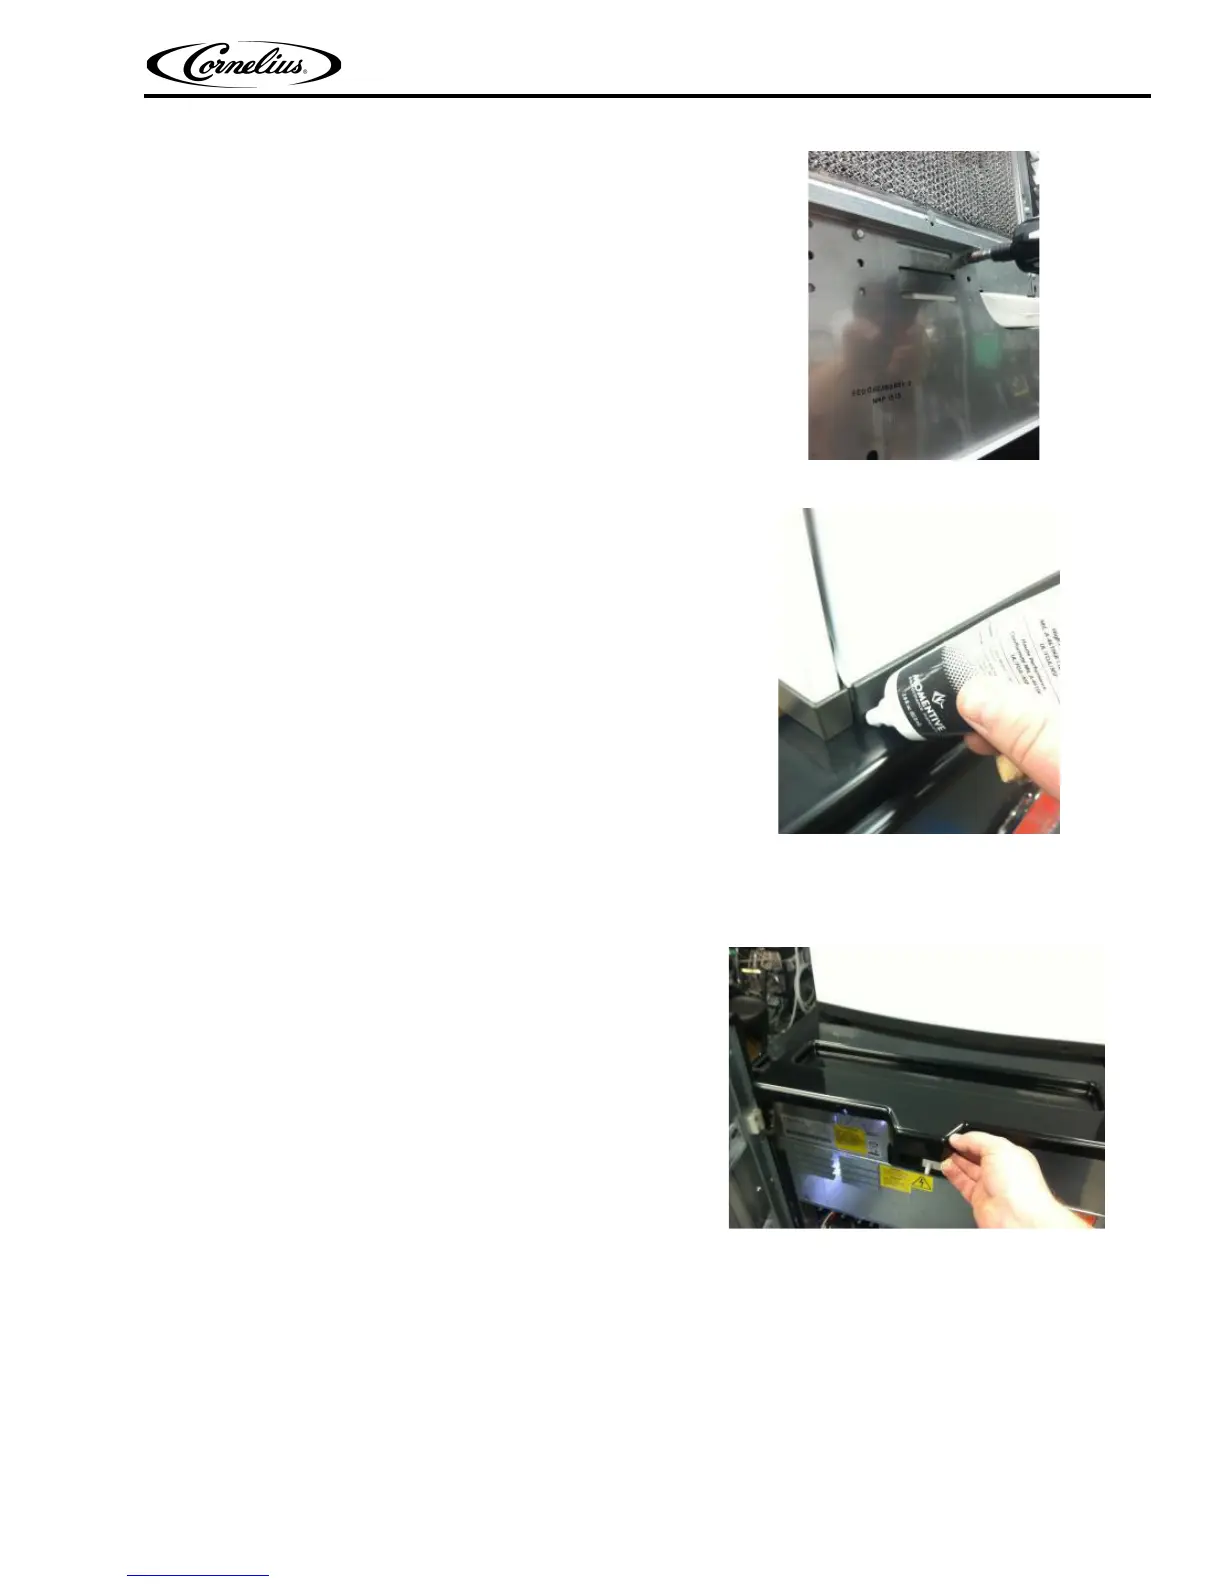
7. Now using the #8 self-tapping screws, screw into
the ice maker as shown. A minimum of (2) screws
are needed to safely secure ice maker to dispenser.
Any hole or slot in bracket can be used.
Figure 97.
8. Seal ice maker all around using 100% silicone.
NOTE: If ice maker has swinging front door, do not
use silicone on door.
Figure 98.
9. Complete installation of ice maker electrical and plumbing connections. Be sure to follow and abide by
any local or state codes.
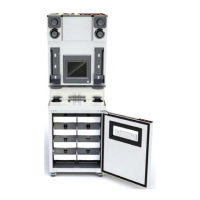
10. Install manual fill lid as shown in Figure 99.
Figure 99.