Adjustments and Maintenance
2-7
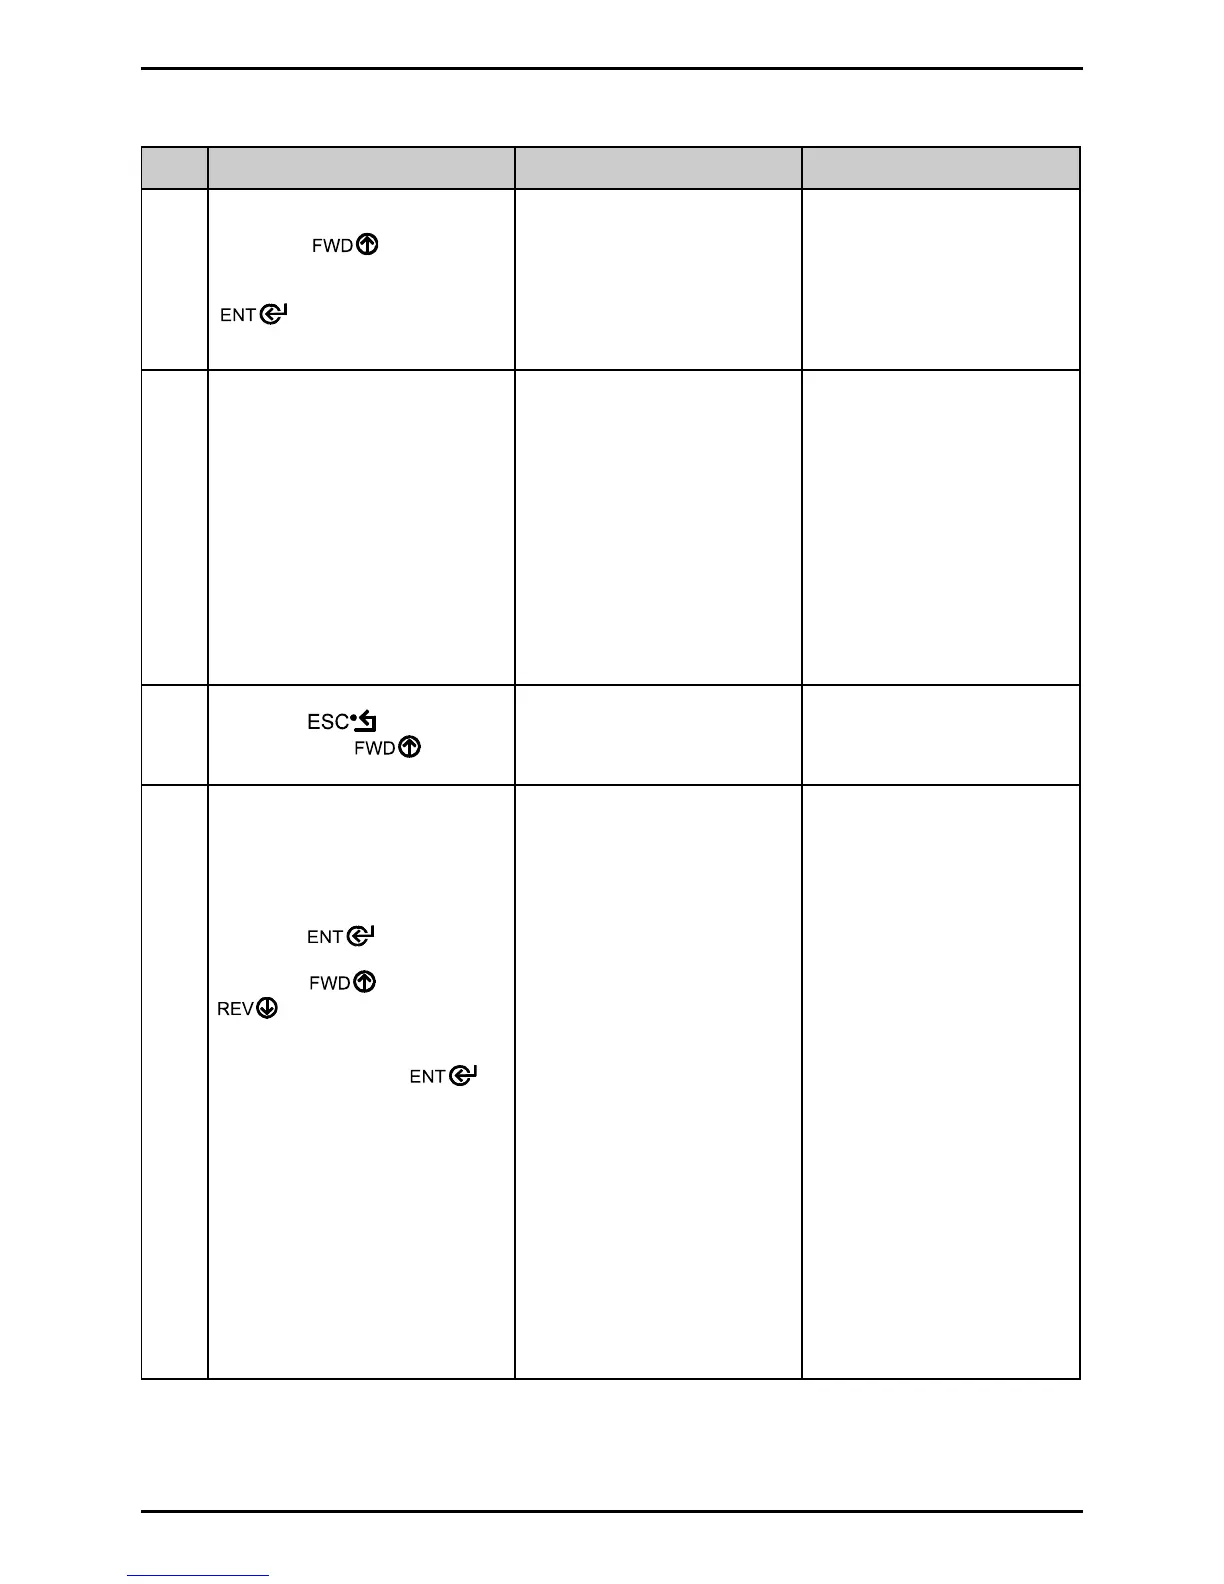
Step Action Displayed Message Comment
13
Using the Key, scroll to
the Gain Number determined in
Step 12, and then press the
Key.
GAIN TRAN <yyy>
*08 <0 - 31>
Or, for reflective media:
GAIN REFL <yyy>
*08 <0 - 31>
14
a) Place the media in the
sensor. Record the reading
and label it “P” (paper).
b) Place the backing, notch, or
mark in the sensor. Record
the reading and label it “G”
or “M” (Gap or Mark).
c) Remove media. Record the
reading and label it “E”
(Empty).
GAIN TRAN <yyy>
*08 <0 - 31>
Or, for reflective media:
GAIN REFL <yyy>
*08 <0 - 31>
The samplings using the
selected Gain Number are
taken.
15
Press the Key, and
then press the
Key.
ADVANCED ENTRY
SENSOR LEVELS
The sensor readings must
be entered into the printer.
16
Press the Key.
Using the Key or the
Key, set the Paper
Sensor Level to the value
determined in the previous
step. Then press the
Key to select the entry and
advance the menu.
Repeat for the Gap Sensor
Level (or Mark Sensor Level)
and the Empty Sensor Level
entries.
PAPER SENSOR LEVEL
P*198 G*084 E*014
GAP SENSOR LEVEL
P*198 G*084 E*014
EMPTY SENSOR LEVEL
P*198 G*084 E*014
Or, for reflective media:
PAPER SENSOR LEVEL
P*015 M*181 E*213
MARK SENSOR LEVEL
P*015 M*181 E*213
EMPTY SENSOR LEVEL
P*015 M*181 E*213
Selection is denoted by an
asterisk (*).
The displayed message will
change and the selection
will flash to indicate the
next entry.
(continued)
 Loading...


