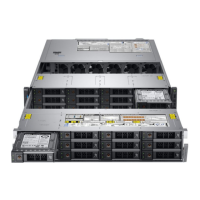
Figure 38. Installing the intrusion switch
2 Connect the intrusion switch cable to the connector on the system board.
NOTE
: Route the cable properly when you replace it to prevent the cable from being pinched or crimped.
Next steps
1 Install the internal PERC riser.
2 Install the air shroud.
3 Install the system cover.
4 Place the system into the rack. For more information, see the Rail Installation Guide available at www.dell.com/poweredgemanuals.
5 Open the drive bays, install all drives, and then close the drive bays.
6 Install the power supply units.
7 Follow the procedure listed in After working inside your system.
Drive bay
Opening the drive bays
Prerequisites
CAUTION
: Drive bays should not be in service position for more than 5 minutes because of thermal concerns. When the drive
bay is open for more than ve minutes, the cooling fans spin at a higher speed to provide extra cooling to the system. Thus
system health status changes from the normal to critical state, and system event "The BP1 drive bay is kept open for an
extended period of time" is logged.
1 Follow the safety guidelines listed in Safety instructions.
2 If installed, remove front bezel.
Installing and removing system components
67

 Loading...


