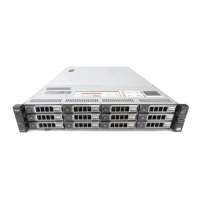
Connect SAS cables
NOTE: You must wait to connect the SAS cables to the DM5500 server until after you have initially logged into the
PowerProtect Data Manager Appliance UI and configured the Getting Started items and storage assets as described in the
PowerProtect Data Manager Appliance Administrator Guide. Do not connect the SAS cables to the DM5500 server at this
point in the installation process.
Each enclosure only supports redundant configurations. Both EMMs must be connected to the DM5500 server for the
enclosure to function properly. The following diagrams show how to connect the SAS cables from the DM5500 server to
one, two, or three enclosures. The SAS ports on each EMM in an enclosure are labeled 1 and 2. Port 1 is the host port and port 2
is the expansion port.
NOTE: The DM5500 server (or head unit) is referred to as Enclosure 1 in the PowerProtect Data Manager Appliance
UI. Therefore, the first expansion enclosure you connect to the DM5500 server is referred to as Enclosure 2 in the
PowerProtect Data Manager Appliance UI. The EMM enclosure IDs on the first expansion enclosure will display a 2, as
shown in the following diagrams. The numbering of the expansion closures is described in the following table.
Table 18. Expansion enclosure numbering nomenclature
Enclosure Referred to in the PowerProtect
Data Manager Appliance UI as:
EMM enclosure IDs display:
First expansion enclosure Enclosure 2 2
Second expansion enclosure Enclosure 3 3
Third expansion enclosure Enclosure 4 4
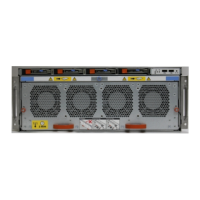
CAUTION: When you connect SAS cables to the DM5500 SAS card ports, it is possible to insert the SAS cable
into the SAS card port in a reversed position. (The cable locks into place in the DM5500 SAS port, but there will
not be a connection.) To avoid this, make sure the SAS cables are oriented in the DM5500 SAS card ports as
shown in the following image.
Figure 42. Correct orientation of SAS cables connected to DM5500 SAS ports
Expansion enclosure cabling requirements
51