64 Drives
Removing the Floppy Drive
1
Boot your computer and enter system setup (see "Entering System Setup" on page 280). Use the
Diskette Drive
option to disable the floppy drive.
2
Follow the procedures in "Before You Begin" on page 21.
3
Remove the computer cover (see "Removing the Computer Cover" on page 27).
4
Remove the drive panel by sliding the drive release latch downward to open the panel, and then
remove it from the hinges.
5
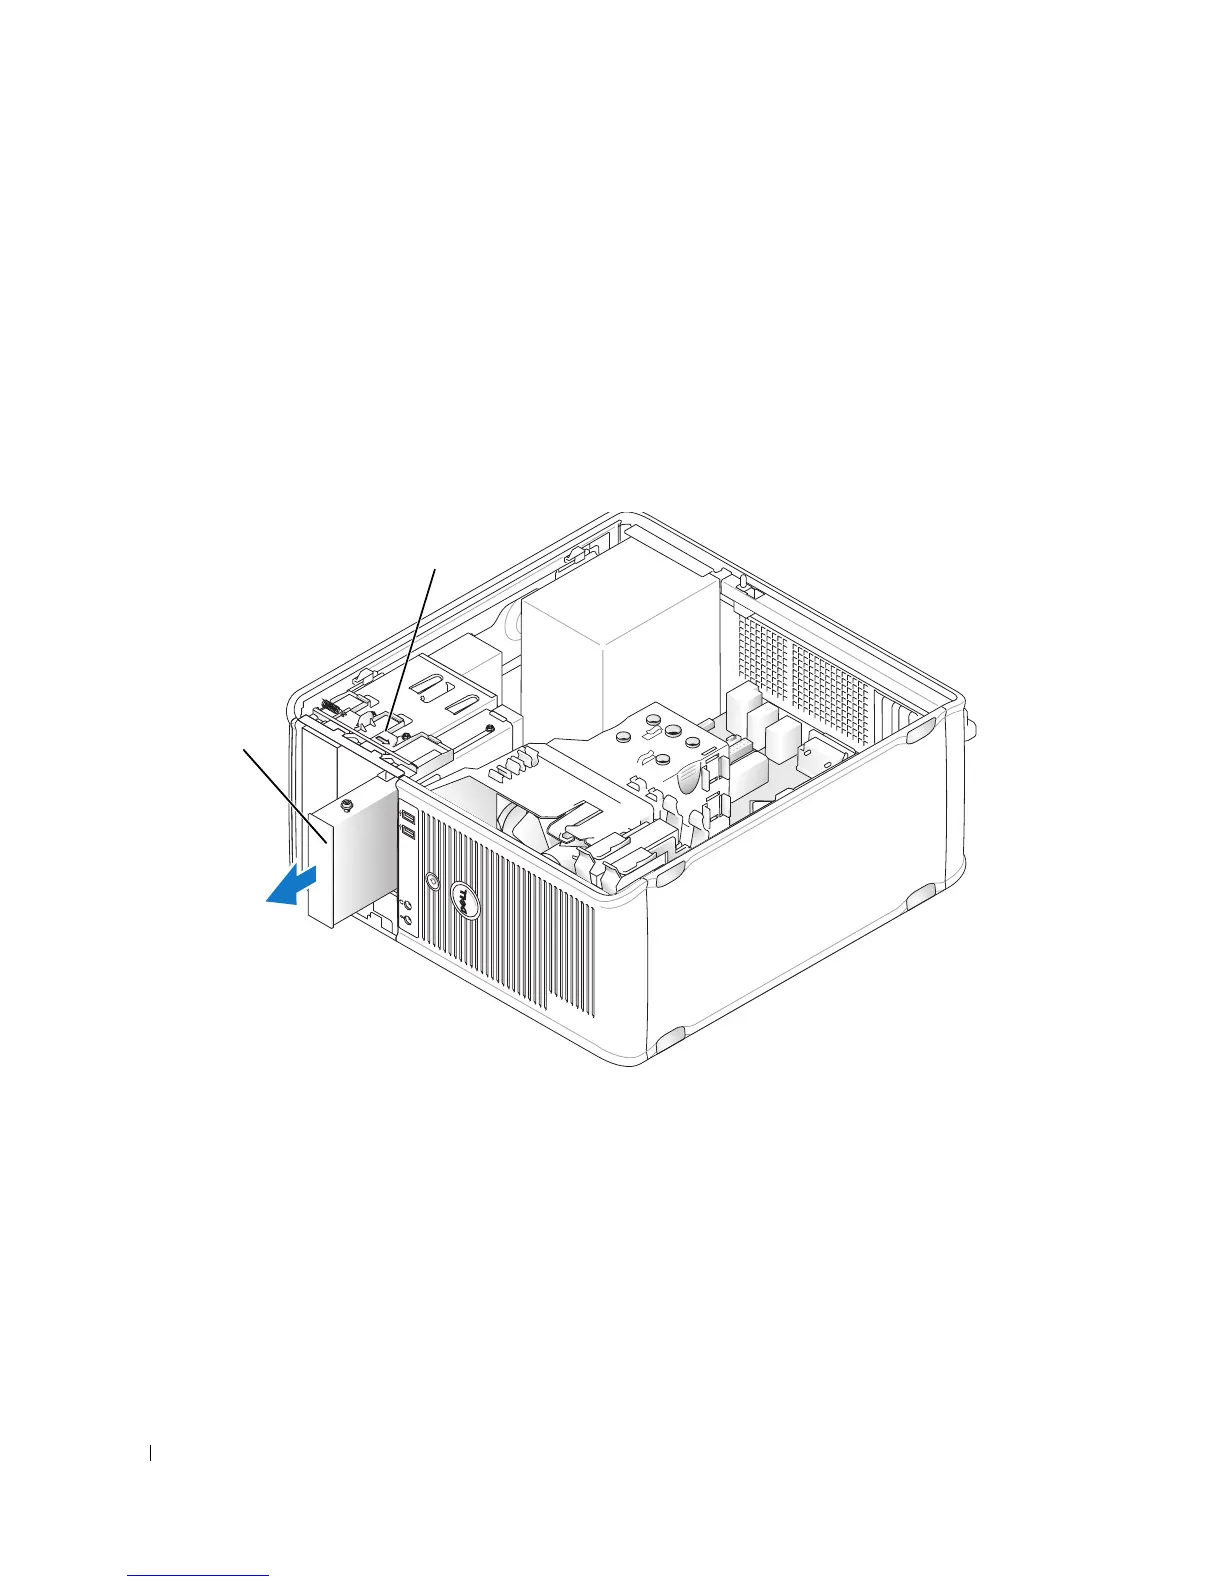
Disconnect the power and data cables from the back of the floppy drive.
6
Grasp the sliding plate lever and slide it towards the bottom of the computer until the drive panel
snaps open; while holding the lever in place, slide the drive out of the computer.
Installing the Floppy Drive
1
If you are replacing a floppy drive, remove the shoulder screws from the existing drive and attach the
screws to the replacement drive.
2
If you are installing a new floppy drive, remove the drive-panel insert for the 3.5-inch drive bay, remove
the shoulder screws from the inside of the drive-panel insert and attach the screws to the new drive.
1 floppy drive 2 drive release latch
1
2