Steps
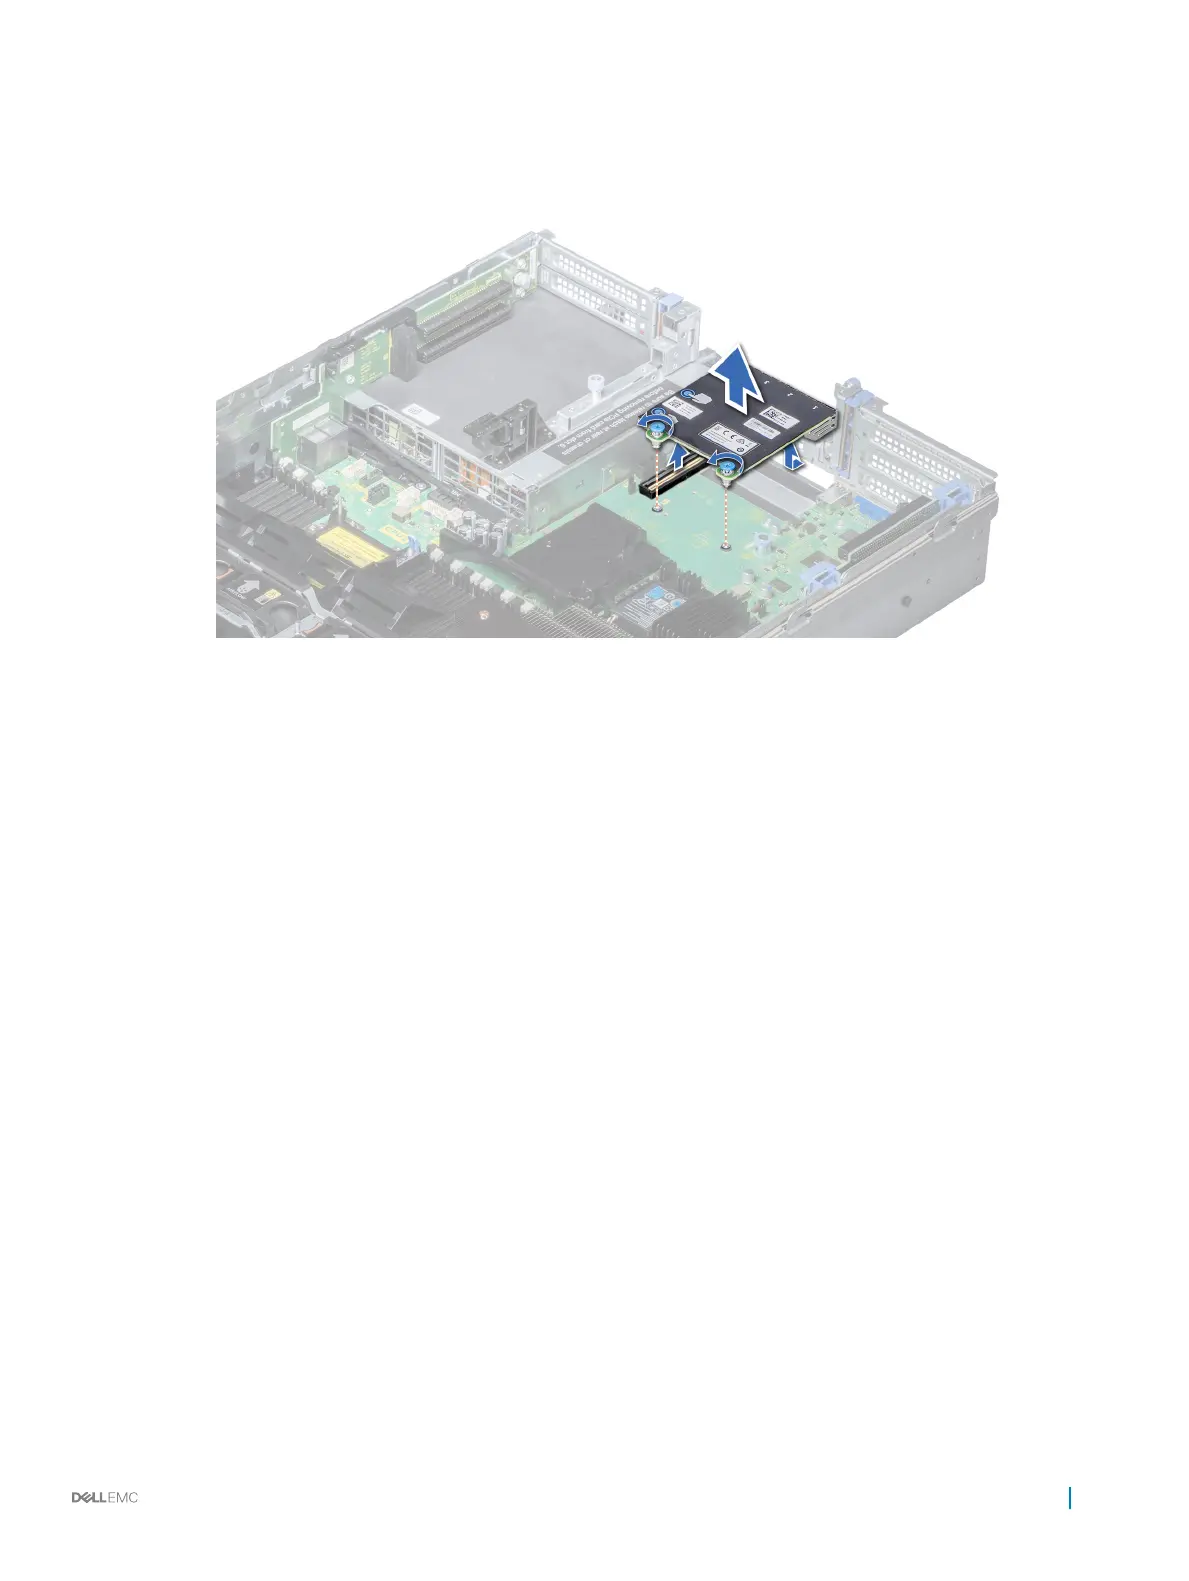
1 Using a Phillips #2 screwdriver, loosen the captive screws that secure the network daughter card (NDC) to the system board.
2 Hold the NDC by the edges on either side of the touch points, and lift to remove it from the connector on the system board.
3 Slide the NDC towards the front of the system until the Ethernet connectors are clear of the slot in the back panel.
Figure 109. Removing network daughter card
Next step
Install the NDC.
Related link
Removing expansion card riser 2
Installing the network daughter card
Installing the network daughter card
Prerequisite
Follow the safety guidelines listed in Safety instructions.
Steps
1 Orient the NDC so that the Ethernet connectors t through the slot in the chassis.
2 Align the captive screws at the back-end of the card with the screw holes on the system board.
3 Press the touch points on the card until the card connector is rmly seated on the system board connector.
4 Using a Phillips #2 screwdriver, tighten the captive screws to secure the NDC to the system board.
Installing and removing system components
157

 Loading...


