Figure 125. Removing 3.5 inch drive backplane (rear)
Next step
Install the rear 3.5 inch drive backplane.
Related link
Removing a drive carrier
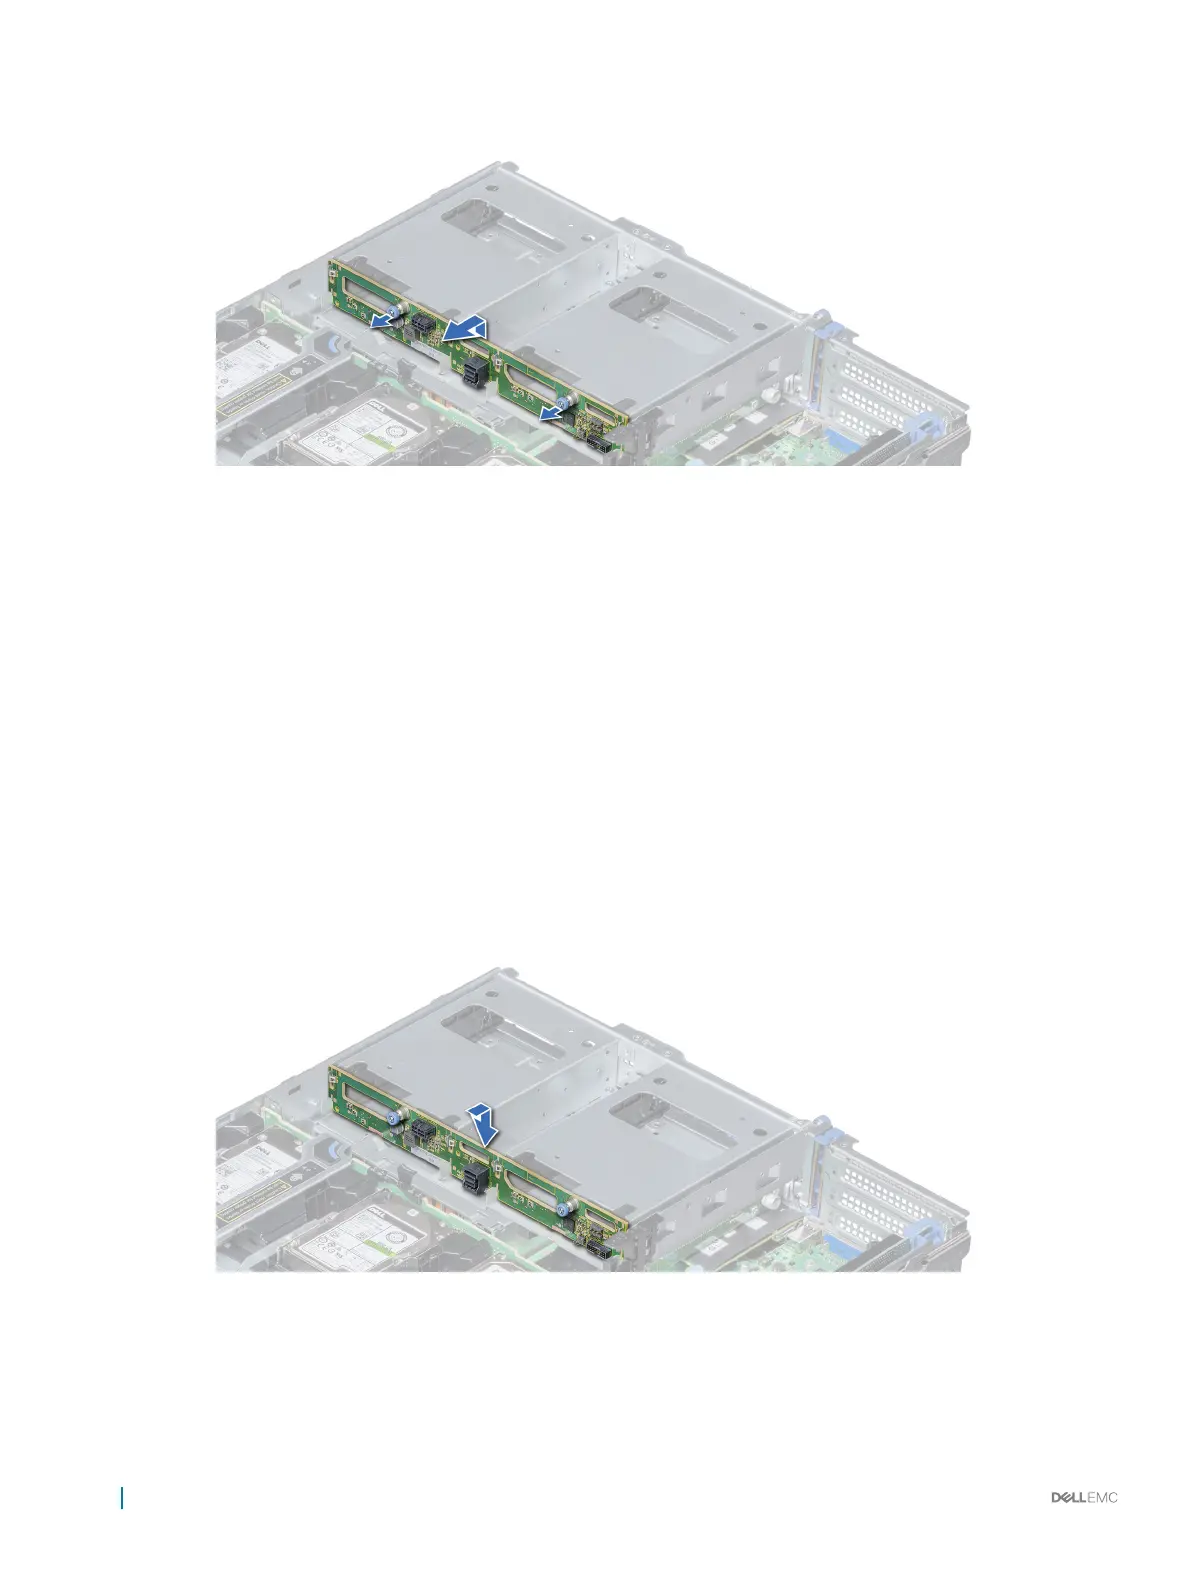
Installing 3.5 inch drive backplane (rear)
Installing 3.5 inch drive backplane (rear)
Prerequisite
Follow the safety guidelines listed in Safety instructions.
Steps
1 Use the hooks on the rear drive module as guides to align the drive backplane.
2 Lower the backplane into the system until it is rmly seated.
Figure 126. Installing 3.5 inch drive backplane (rear)
Next steps
1 Install all the drives.
168
Installing and removing system components

 Loading...


