©2021 ITW EAE. All rights reserved. Despatch is a registered trademark in the U.S. and other
countries. No part of the contents of this manual may be reproduced, copied or transmitted in any form
or by any means without the written permission from ITW EAE, unless for purchaser's personal use.
Danger!
All grounding and safety equipment must be in compliance with
applicable codes, ordinances and accepted safe practices.
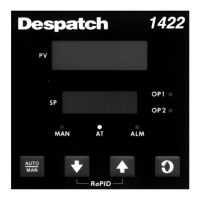
5.1. Install the Protocol 3 Controller
When replacing a Protocol 3 controller, follow the steps below. Tools required for
installation include ¼” socket set with #1-bit, #2 Philips screwdriver.
1. Disconnect the power.
2. Unplug all terminals on the rear of the control, noting the proper
connections (Figure 3).
3. Remove the retaining clips for the controller.
4. Remove the controller.
5. Insert the new controller into the panel.
6. Fasten the retaining clips.
7. Re-plug all terminals.
8. Secure the control panel.
5.2. Protocol 3 Controller Conversion with NO Options
To replace the older model Protocol Plus controller with the newer Protocol 3
controller, connect terminal blocks as indicated in Table 7 below and on Figure 3
above.