DS-320SA
Instruction Manual - 41 -
www.doallsaws.com
10. CUTTING - SEMIAUTOMATIC CYCLE
10.1 BASIC CONDITIONS FOR CUTTING
The vice must be well arrested before cutting.
The turntable must be well arrested before cutting.
WARNING: Before starting the cutting cycle the worker must make one cycle without material
to be sure that the machine is well adjusted !
10.2 HYDRAULIC UNIT – TURNING ON
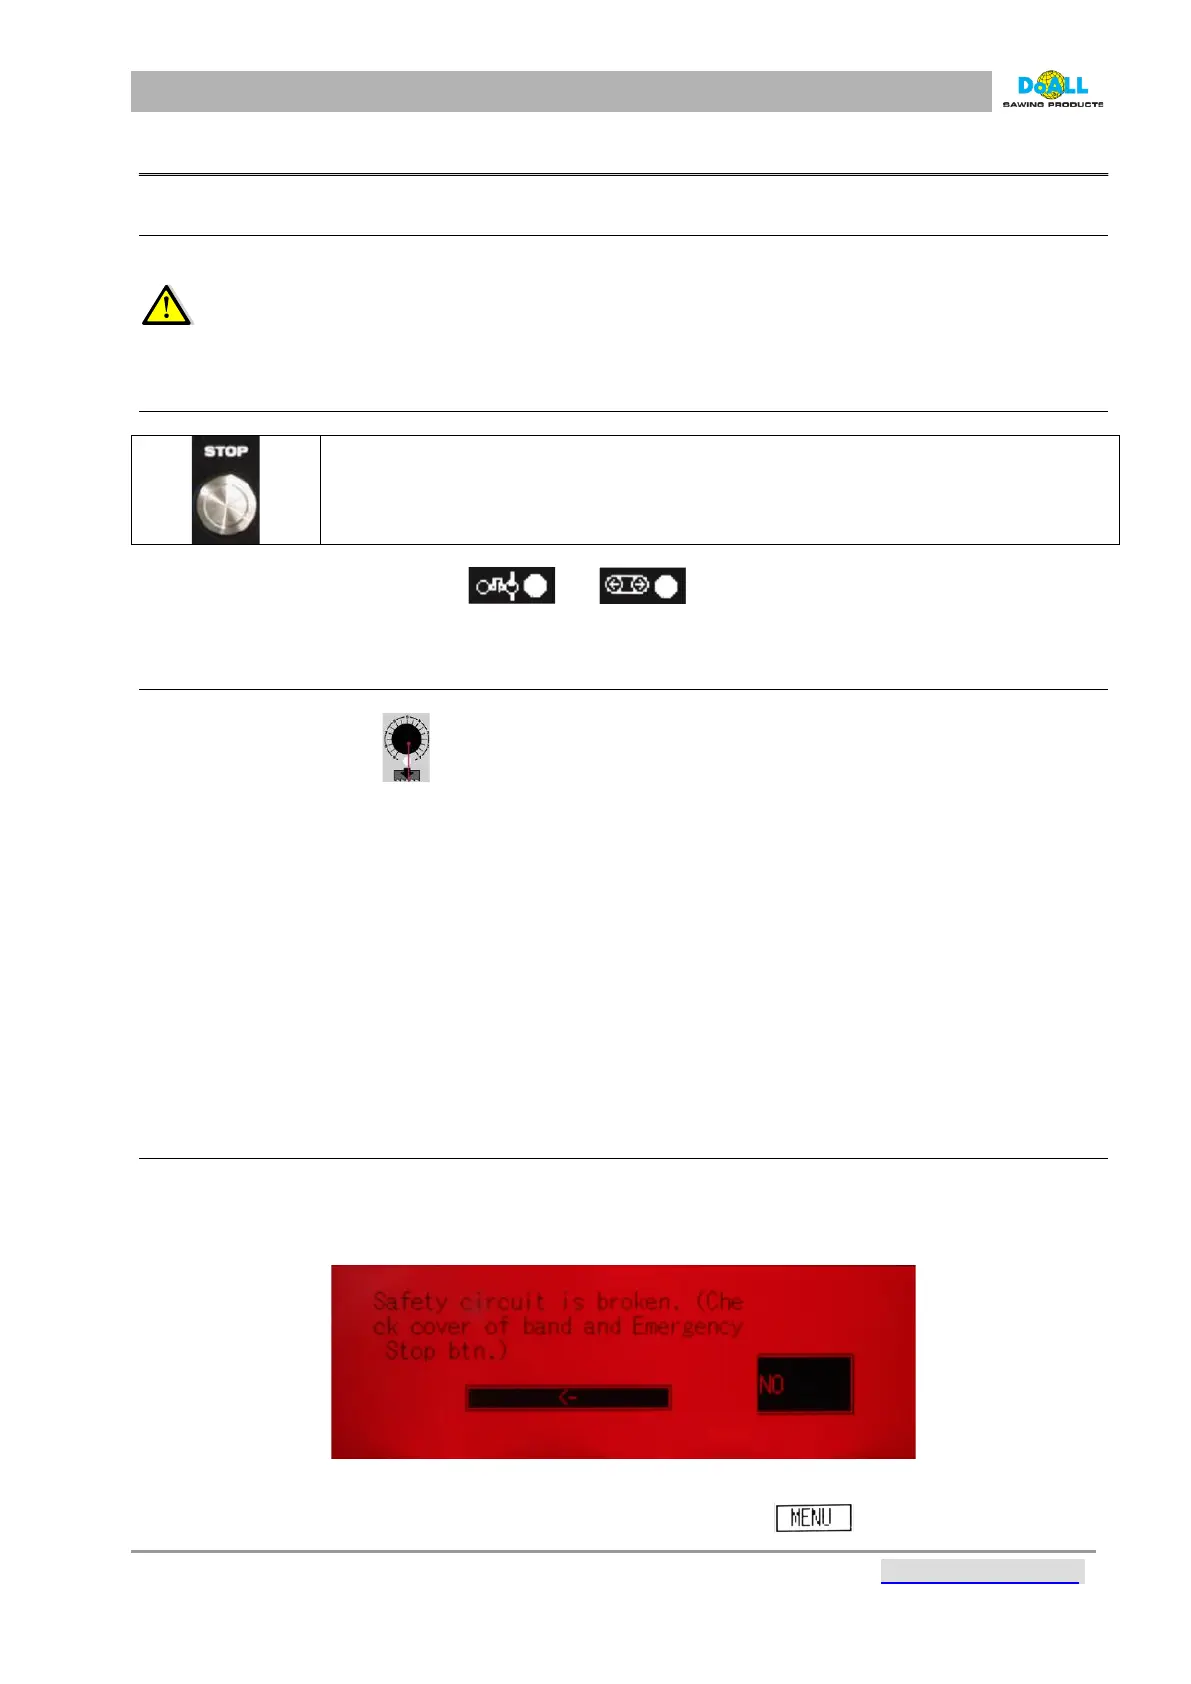
STOP – activates the hydraulic system (by holding the button for 2 seconds)
Basic conditions of cutting: pilot light and must be active. In case some of them does not
light, machine won´t be possible to start.
10.3 CUTTING
1. Move the material to the adjustable stop (it is not supplied in the standard equipment);
2. Set the feed rate valve ( ) to the MIN. position.
3. Set the position of the vice.
4. Press button Start of Cycle
- The saw starts running, the vice grips and the arm moves to a position above the material.
- Set the cutting speed of the arm with the throttle valve.
- The saw cuts through the material by following the set parameters.
- The vice is under pressure after finish of cut and it holds material still (vice is possible to loosen
manually only – at control panel)
5. Remove the cut-off material, push the material to the stop and press the START button (the entire
semiautomatic cycle is repeated).
There is information provided about the correct tension, correctly closed band guards and amount of load on
the band drive during cutting (through the diode ampere meter). The operator can thus modify the speed of
arm’s travel into the cut.
10.4 ERROR MESSAGES
When there is a system error, an message appears on the screen. The screen turns red and blinks while
displaying a brief error message and fault correction solution. After correcting the system error, the machine
returns to its operation mode.
pic: 10-1
To display a history of error messages, press the empty line beside the .