INSTALLATION
Tire Carriage Installation
Version 5 Model 200i and 250i Motorcycle Dynamometer Installation Guide
2-37
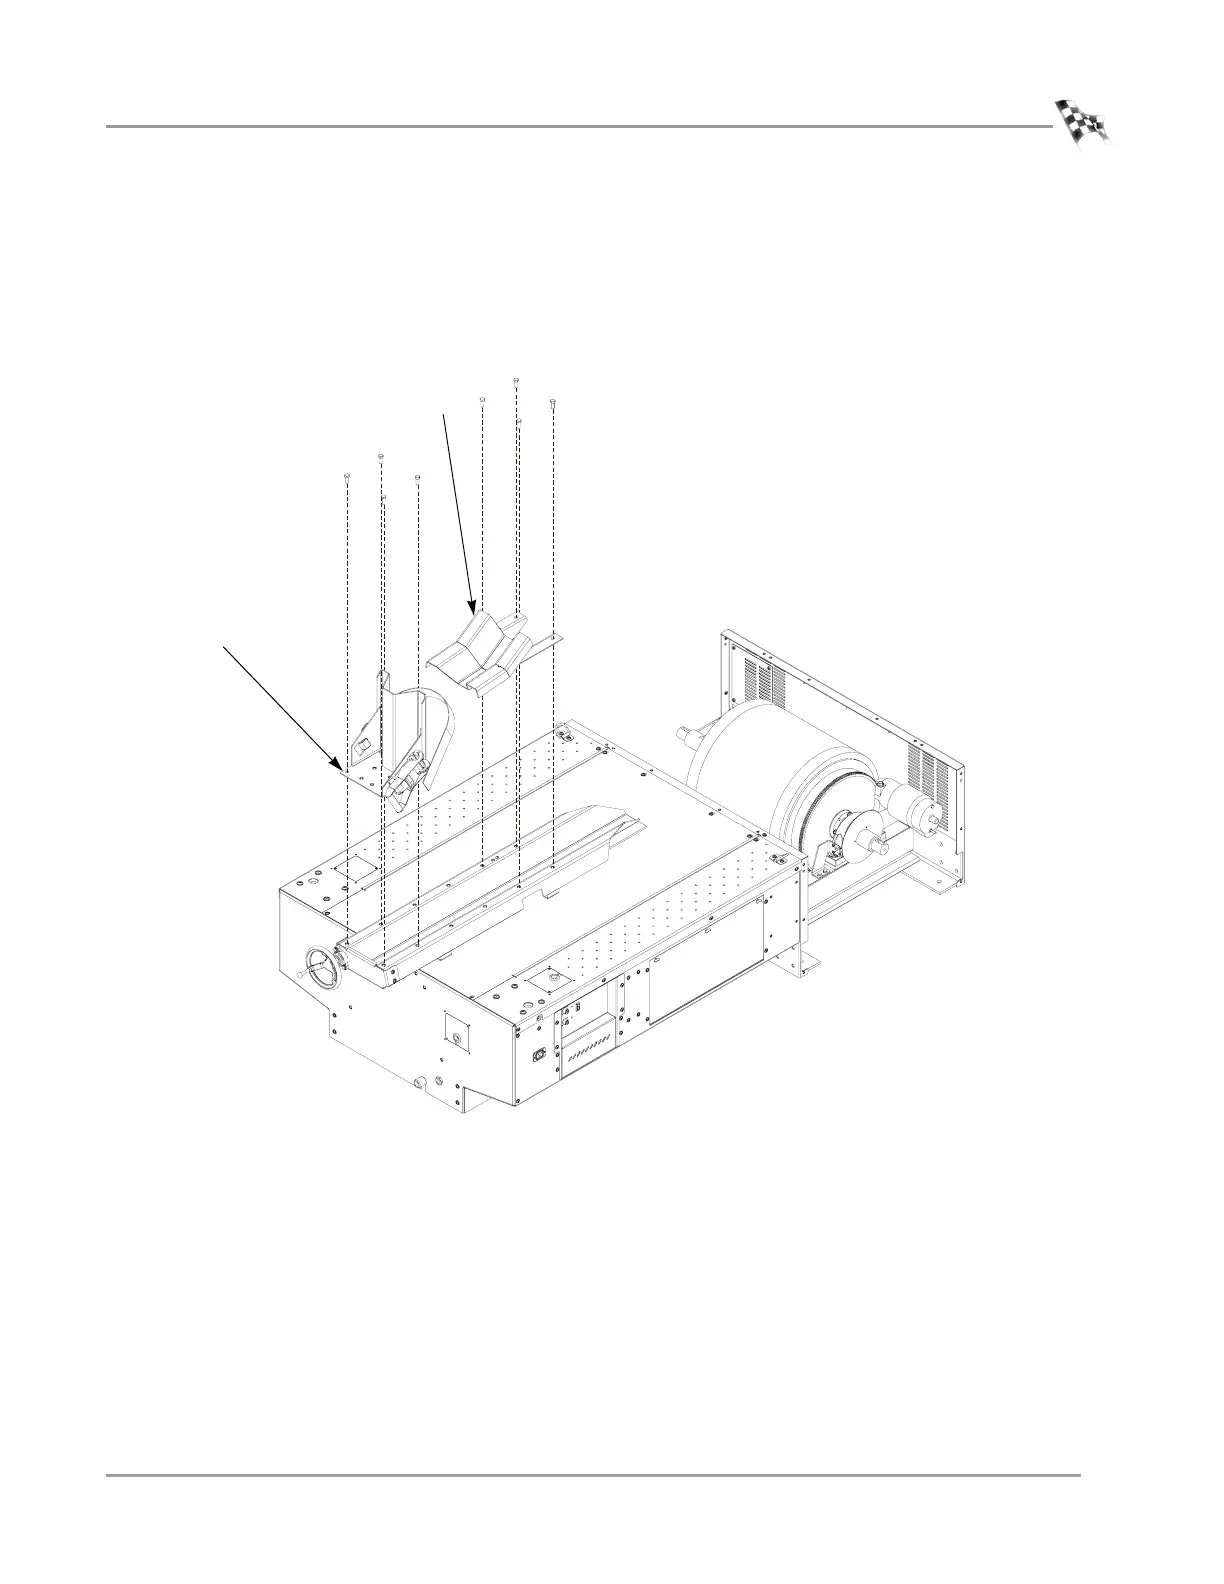
12 Secure the tire stop to the carriage using four 3/8-16 x 1/2-inch button-head flange
bolts.
Note: If you purchased the wheel clamp accessory, refer to “Wheel Clamp” on
page 3-47 for installation instructions.
13 Secure the tire lock to the carriage using four 3/8-16 x 1/2-inch button-head flange
bolts.
Figure 2-38: Install the Tire Stop and Tire Lock
DC032
tire stop
tire lock