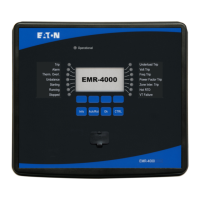
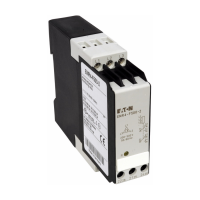
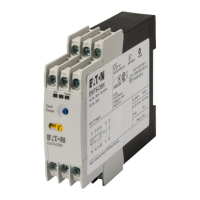
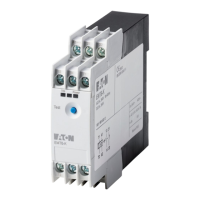
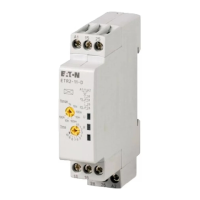
2 Hardware
2.1
Dimension Drawings
NOTICE!
The depth of the device depends on the connection method of the SCADA system. If, for
instance, a D-Sub-Plug is used, it has to be added to the depth dimension.
WARNING!
Even when the auxiliary voltage is switched o, high voltages can remain at the device
connections.
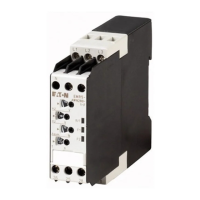
NOTICE!
Note about the parts marked by (*) in the following diagrams: There are two pieces of
metal, the so-called “T-Connectors” that are necessary for fastening a special MP‑3000-
compatibility adapter frame. If these are xed to the EMR-3MP0 the width of the housing
is increased by approx. 5.4 mm [~0.21 in.].
• Devices of type EMR-3MP0‑2A0xxx (standard CT input terminals) always have xed
(non-removable) “T-Connectors”, so that the recommended width of the door cutout
is 107 mm [~4.21 in.].
• For devices of type EMR-3MP0‑2A9xxx (MP‑3000-compatible CT input terminals), the
“T-Connectors” are removable at any time, so that a cutout width of 105 mm
[~4.13 in.] is sucient.
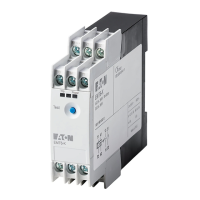
58 www.eaton.com EMR-3MP0
2 Hardware
2.1 Dimension Drawings
 Loading...