2018.12.12
© 2017 Eaton. All rights reserved
190
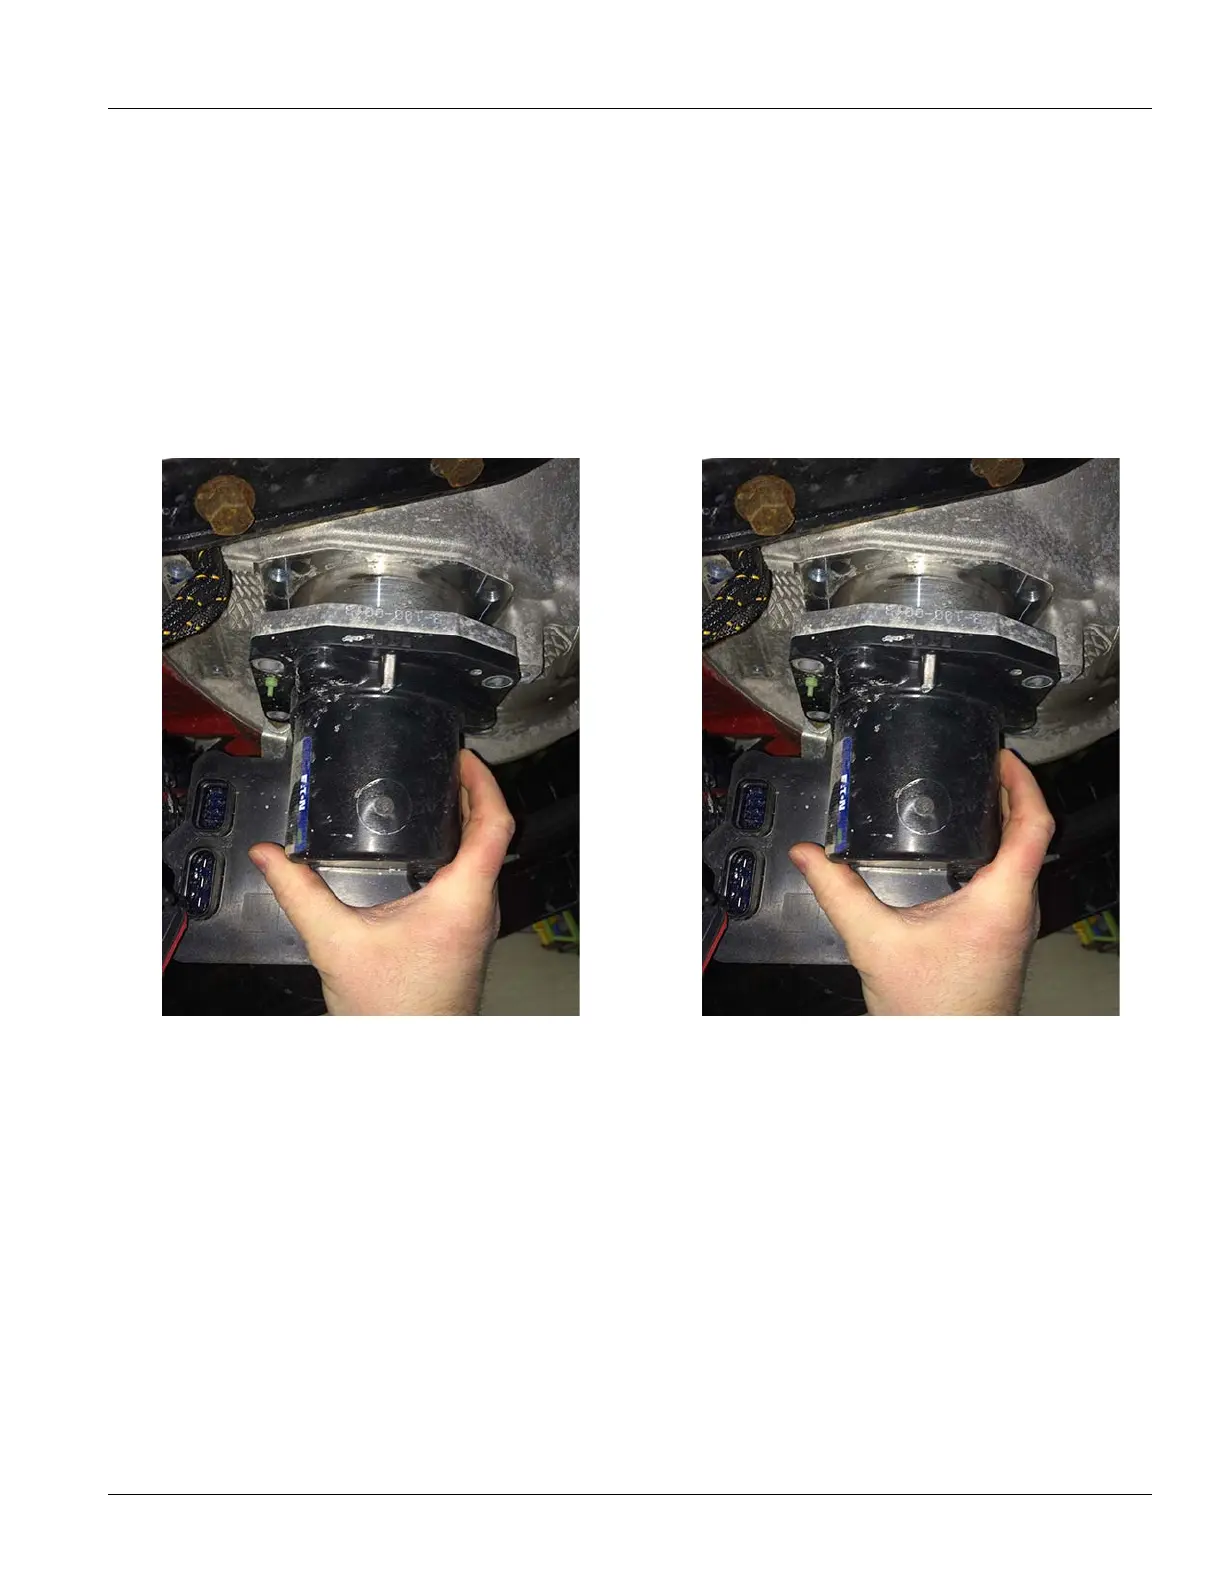
TRSM0940 Service Procedures | Electronic Clutch Actuator (ECA) Removal and Installation
5. Remove the ECA.
Note: The ECA has an ali
gnment pin that requires the
unit to be rotated to exit the Clutch Housing bore.
Note: If ECA will not slide from
the Clutch Housing
after all the fasteners are removed, use the available
pusher holes found on both sides of the ECA casting.
Place the included jackscrews into the holes. Turn each
jackscrew until it touches. Next, turn the upper jack-
screw 1 turn; then rotate the lower jackscrew 1 turn.
Continue until
the ECA is fully displaced from the bore.
ECA Installation
1. Install the ECA into the Clutch Housing bore. Align it
with the lower Cross-Shaft.
Note: The ECA will have to be rotated to align
with the
slot in the Clutch Housing.
Note: Ensure y
ou rotate the Release Yoke as close to
the Case Dowel in the Clutch Housing prior to mating
with the Cross-Shaft. This allows the Release Yoke to
clear the Release Bearing during installation.
 Loading...