EBS
Ink-Jet Systems
®
EBS-6100 Printer User's Manual
Paragraph 2 - Installing the Printe
20070529#20.5
13
12. Holder for labelling immovable objects manually,
13. Additional external alarm device,
14. Additional external alarm device with conveyor control and stop indication,
15. External code switch,
16. Movable platform with a cable for making overprints manually.
In addition, a variety of special service tools are available, such as:
a). Open end spanner to unscrew the nozzle,
b). Service microscope to adjust ink jet parameters in the head,
c). Service tool: a template for adjusting the HV electrode position,
d). Service tool: a template for adjusting the distance between the gutter and nozzle.
e). Service tool for shaping Ø 3 Teflon pipe tips.
NOTE:
• The above list shall not be considered a specification of accessories (to be) delivered
together with a printer or printing system.
• The list of accessories may vary from country to country.
2.3.2. Preparatory Steps
In order to prepare a new or transported printer to operation, you should perform the following
activities:
Place the unit in a room that is free from vibration, shocks, dust, smoke, soil, aggressive
or inflammable vapours and gases.
NOTE: The room shall meet the following requirements:
Environmental conditions: operating temperature from +5°C to +40°C,
relative humidity up to 90% without condensation.
Mechanical requirements: max. vibration 1g at the max. frequency of 10Hz,
max. shocks of 1g over the maximum of 2ms.
Ensure that free and easy access to the
unit is provided.
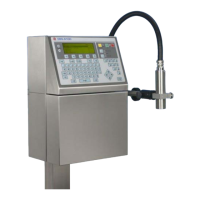
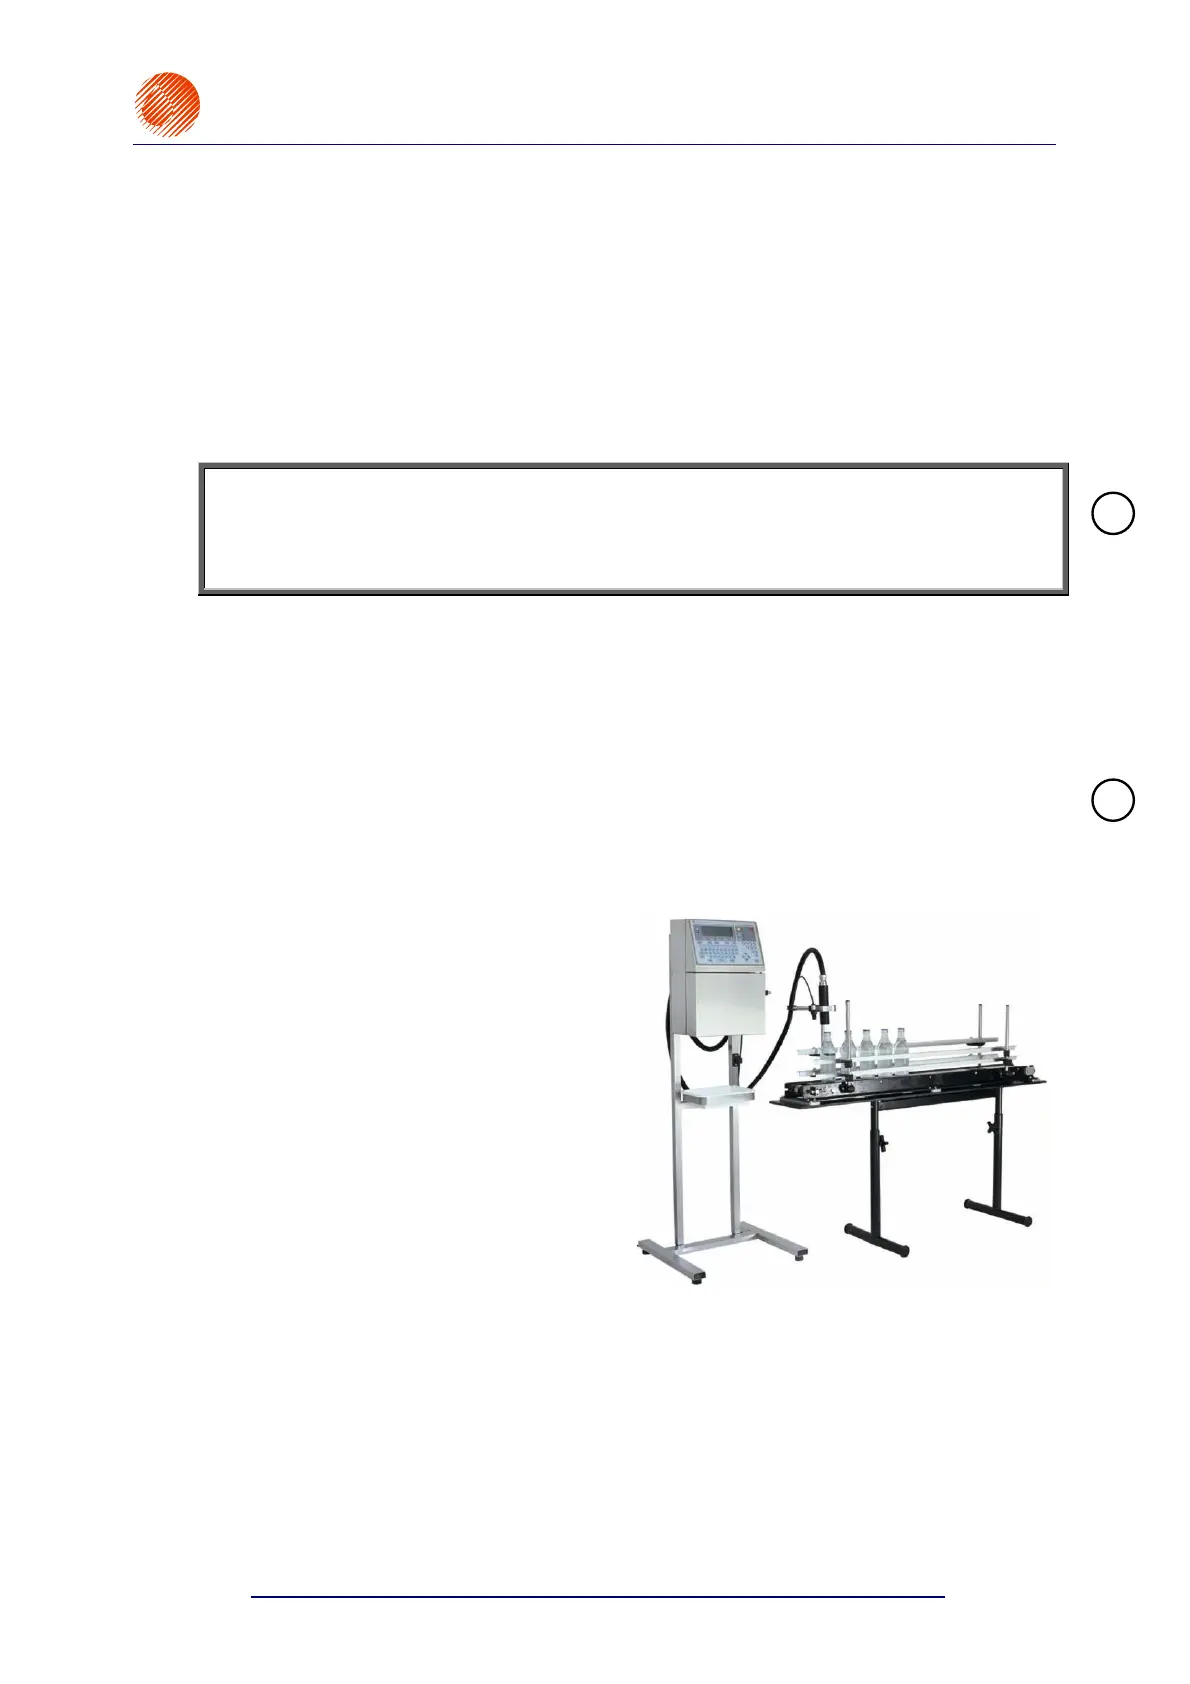
Place the printer on a 0.7 to 1.1 m high
horizontal table or original rack for
EBS-6000 series printers for
convenience.
Check for mechanical damages to the
unit, head and connecting hose, which
might have been caused during
transportation.
Fig. 2.3.2.1.
Secure the print head holder in a convenient position.
!
!