17
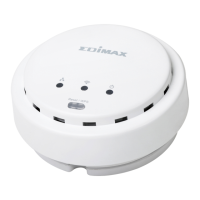
III-2. Mounting the access point to a ceiling
To mount the access point to a ceiling, please follow the instructions below
and refer to diagram A & B.
For Wooden Ceilings (refer to diagram A):
1. Place the ceiling mount bracket to a ceiling in your desired location and
use the included screws x 4 to fix it into place (i).
2. Attach the access point to the ceiling mount bracket by aligning the
grooves in the access point to the ceiling mount, as shown in ii.
3. Secure the access point firmly in place using the included screw as shown
in iii.
For Other Ceilings (refer to diagram B):
1. Drill four holes in your ceiling using the ceiling mount bracket as a guide,
and insert the four included wall plugs/screw anchors (i).
2. Align the ceiling mount bracket with your wall plugs/screw anchors and use
the included screws x 4 to fix it into place (ii).
3. Attach the access point to the ceiling mount bracket by aligning the
grooves in the access point to the ceiling mount, as shown in iii.
4. Secure the access point firmly in place using the included screw as shown
in iv.