57 Installation and Service Guide: Printer Controller EB-34
Replacing Parts
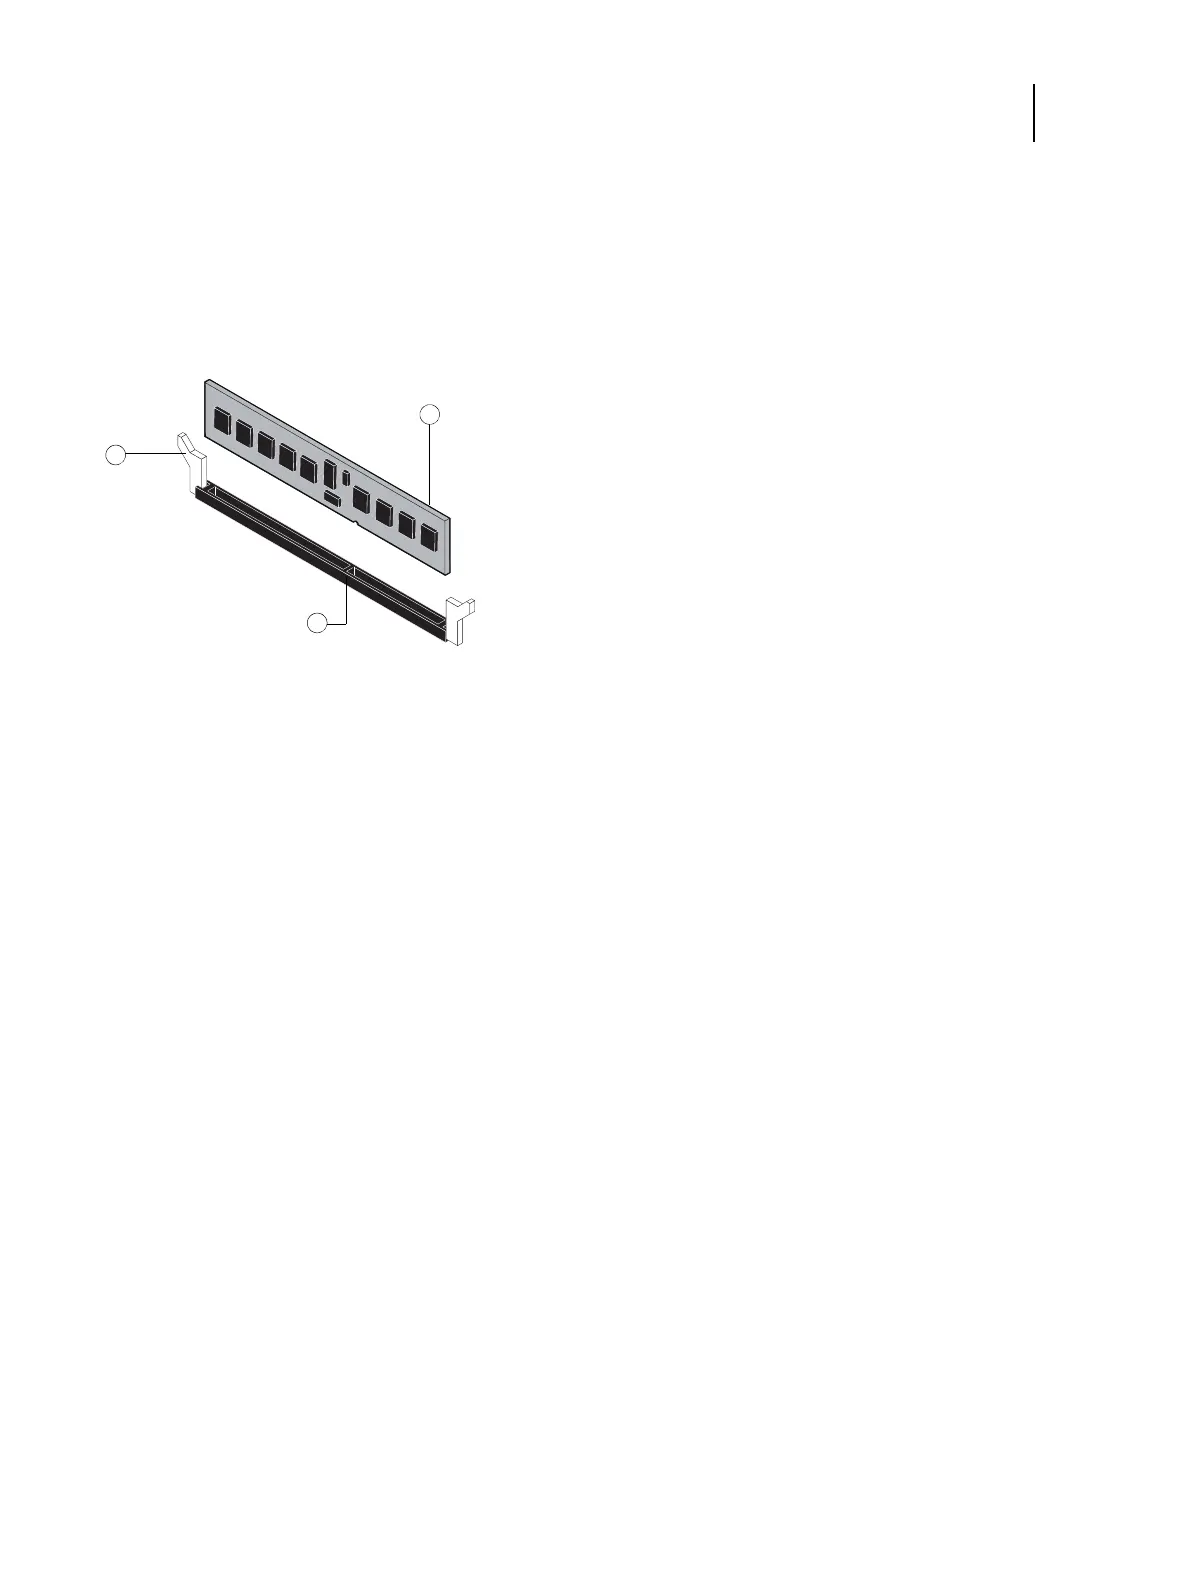
To remove or replace a DIMM
1 Shut down and open the EB-34 (see pages 38).
To remove a DIMM, you must remove the side panel.
2 To release a DIMM, push outward on the levers on each side of the DIMM.
Figure 21: Removing or replacing a DIMM
3 Lift the DIMM straight out of the socket.
4 To replace a DIMM, position the DIMM in the socket and press the DIMM straight down into the socket so the
levers lock the DIMM into place.
Note: DIMMs fit in the socket only one way. The notch on the bottom of each DIMM should line up with the notch
in the socket.
Make sure that the levers close securely around the ends of the DIMM and each DIMM is fully seated in its socket.
5 Reassemble the EB-34 and verify functionality (see page 72).
6 If you installed a new DIMM, make sure to reset the date and time in Setup. For more information, see Configure
Help.
1 Lever
2DIMM
3 Socket notch