(
LX-31M
Service Manual
DisassembiyandAssembly
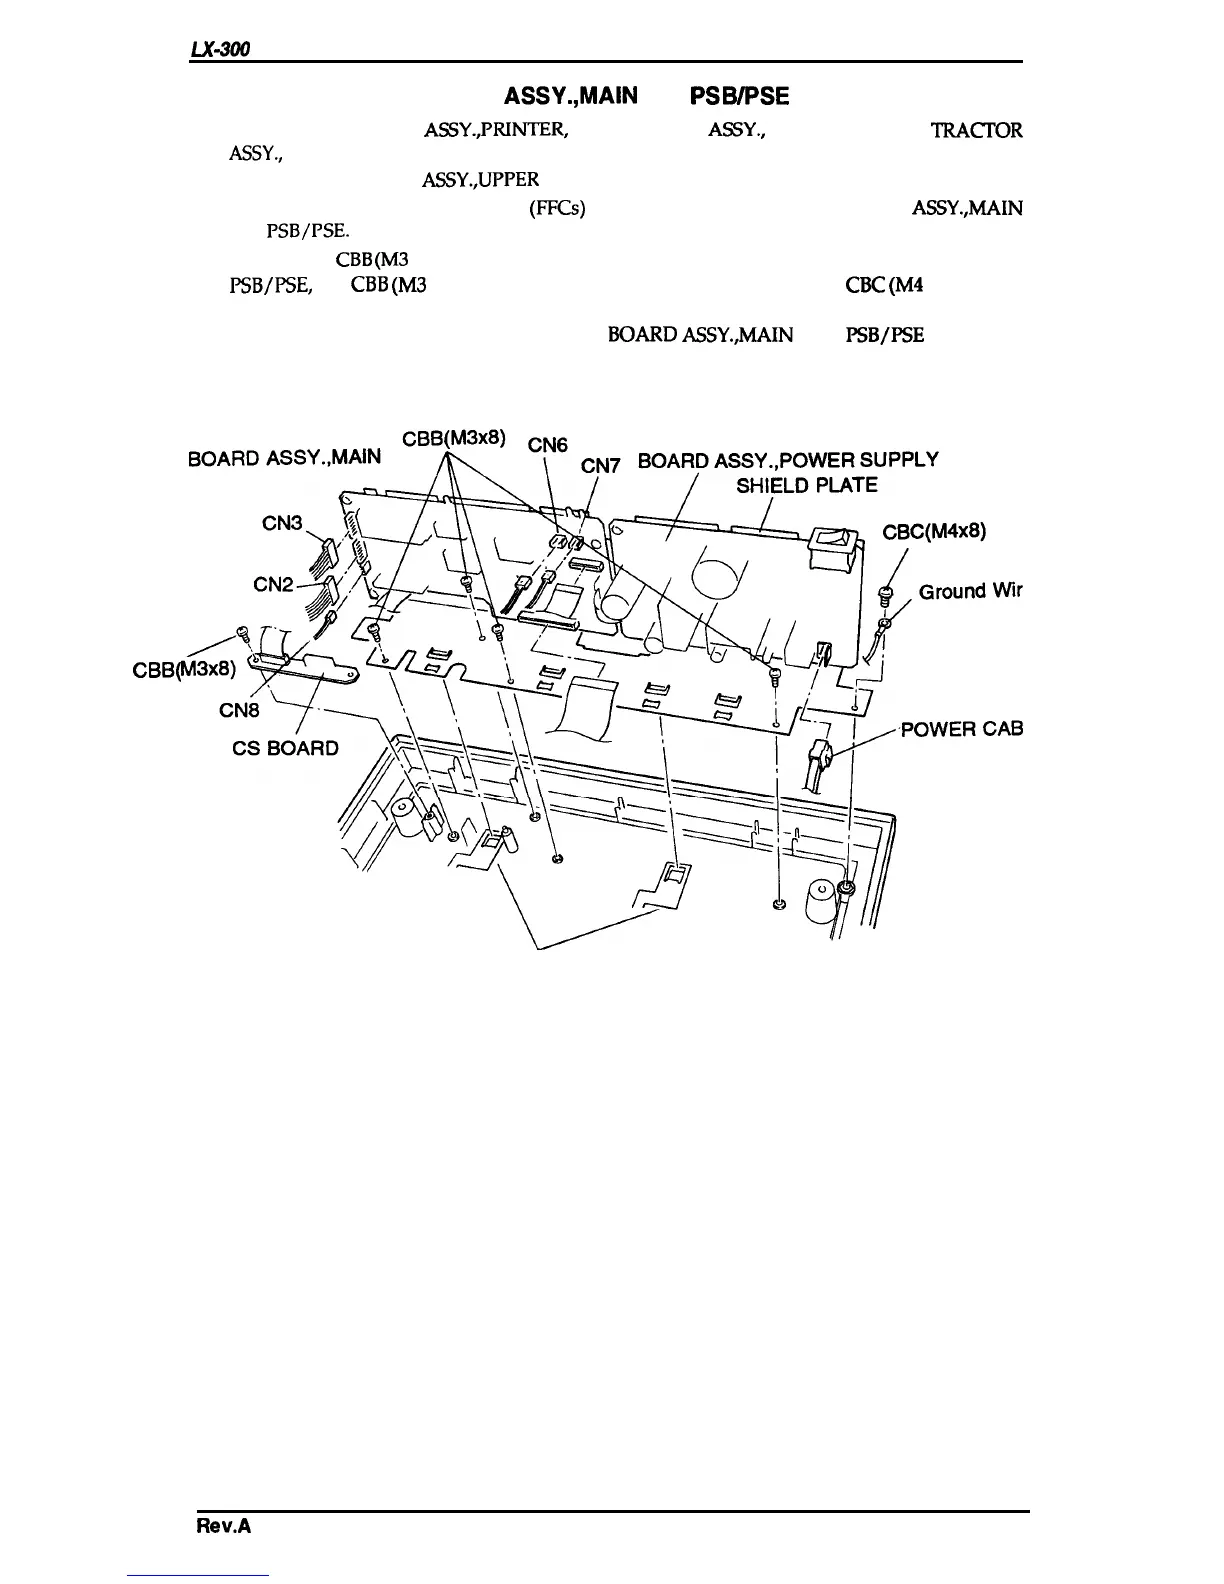
3.2.3 Removing the BOARD ASSY.,MAIN and PSB/PSE
1.
Remove the COVER
ASSY.,PRINTER,
EDGE GUIDE
ASSY.,
ribbon cartridge, TIUU30R
ASSY.,
PLATEN KNOB, and optional color upgrade kit.
2. Remove the HOUSING
ASSY.,UPPER
(see Section 3.2.2).
3. Discomect the 3 flexible flat cables
(FFCS)
and 6 connectors from the BOARD
ASSY.,MAIN
and
PSB/PSE.
4. Remove the 4
CBB
(M3
x 8) screws attaching the shield plate to the main board assembly and
PSB/PSE,
the
CBB
(M3
x 8) screw attaching the CS BOARD and the
CBC
(M4
x 8) screw
attaching the ground wire of the POWER CABLE.
5. Disengage the SHIELD PLATE and
BOARD
ASSY.,MAIN
and
PSB/PSE
from the
GROUNDING PLATE.
e
CBB(
LE
GROUNDING PLATE
Figure 3-5. Removing the SHIELD PLATE
Rev.A
3-7

 Loading...


