L.XWO
Service Manual
Disasaambly
and
Asaambly
3.1 OVERVIEW
This section describes various points to note when
disassembkg
and assembling the printer.
3.1.1 Disassembly Precautions
Follow the precautions below when disassembling the printer.
I
Before
disassemblin~
assemblin~
or adjusting the printer, disconnect the power supply
cablefiom
the
AC power socket.
Failure to do can cause personal
injuy.
I
To
maintain efficient printer operation:
●
Use
only the recommended tools for maintenance work.
●
Use only the recommended lubricants and adhesives (see Chapter 6).
●
Adjust the printer only in the manner
desm”bed
in this manual.
3.1.2
TOOiS
Tables 3-1 and 3-2 list the tools recommended for disassembling assembling or adjusting the
printer. Use only tools that meet these specifications.
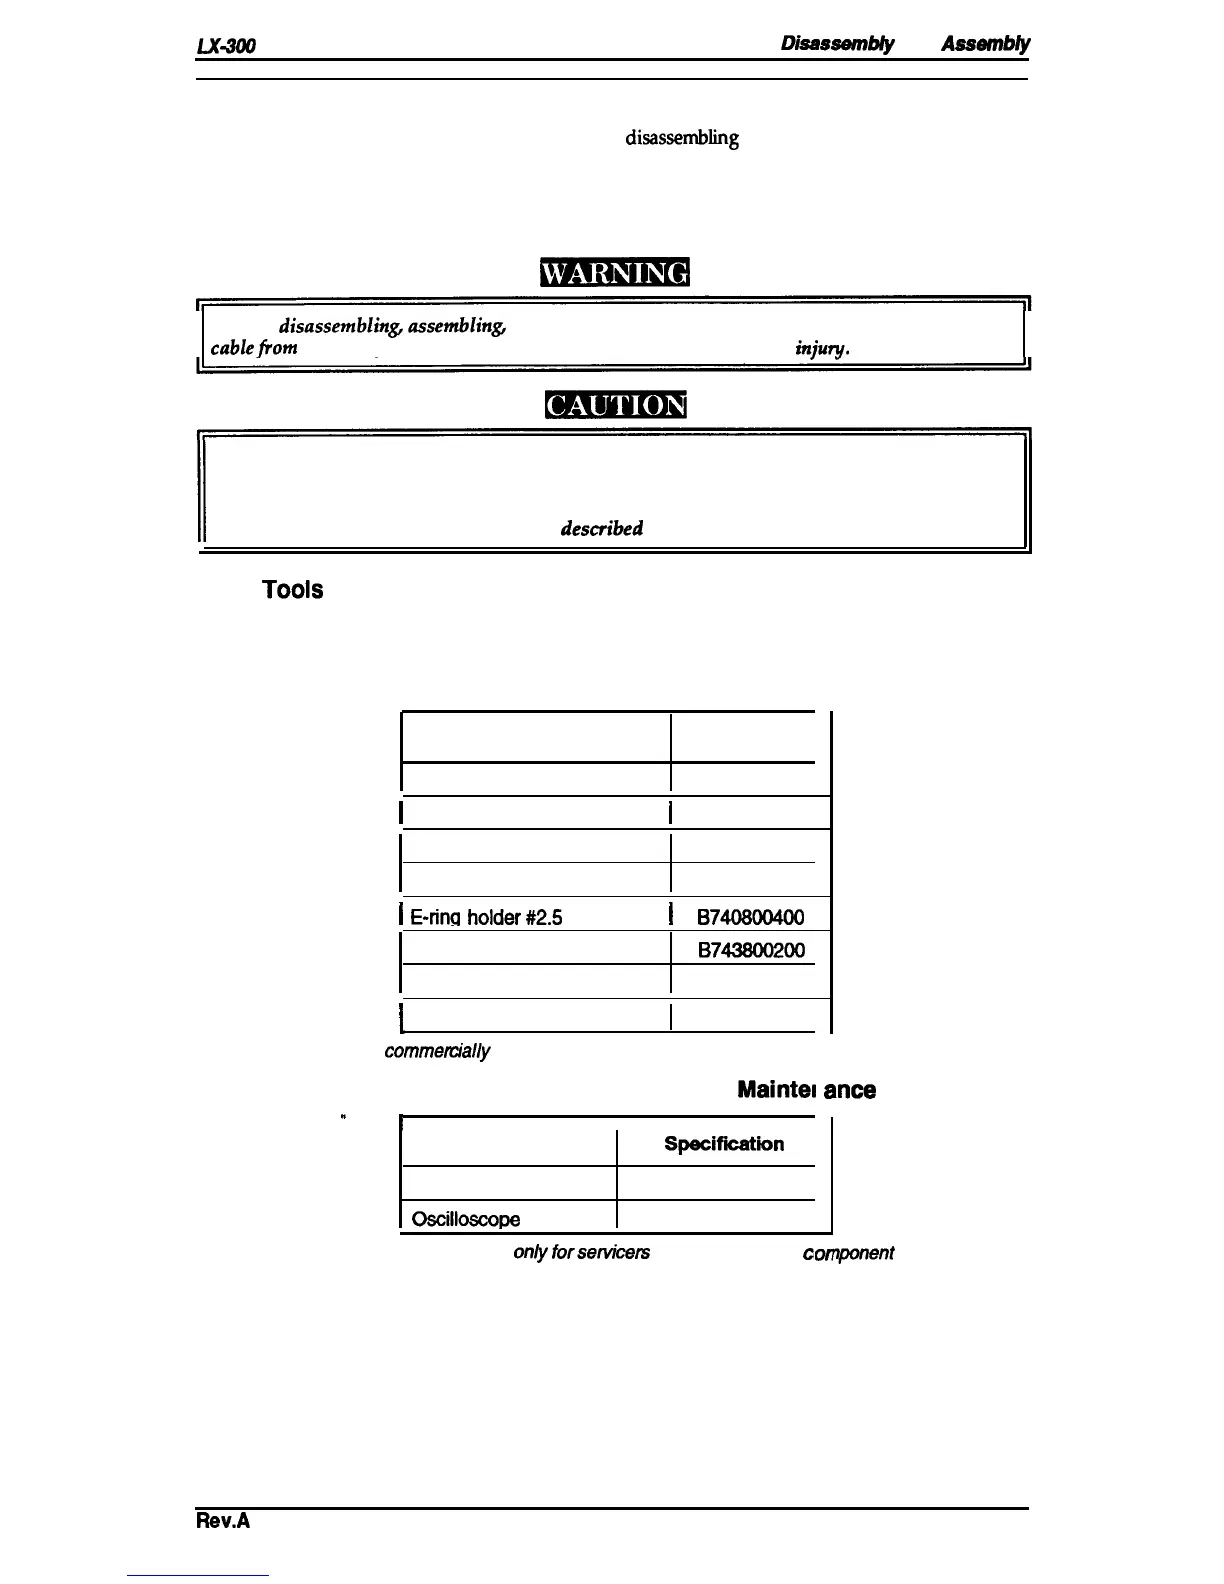
Table 3-1. Recommended Tools
Tool Part No.
Round-nose pliers
B740400100
I
Nippers
I
B7405OO1OO
Tweezers
B741OOO1OO
Soldering iron
B7402OO1OO
I
E-rhw
holder#2.5
I
B740SO0400
Phillips screwdriver No.2
B743800200
Normal screwdriver
B743000100
Thickness gauge
—
Note: All tools are
commemially
available.
Table 3-2. Equipment Required for Maintel
e
i
I
Description
Spaoif*ion
Multimeter
Oecillosoope
50
MHz
Note: An oscilloscope is required
om’y
forsendcers
who repair to the
G
mce
vponent
level.
Rev.A
3-1

 Loading...


