Disassembly and Assembly
LX-3(IQ Service Manual
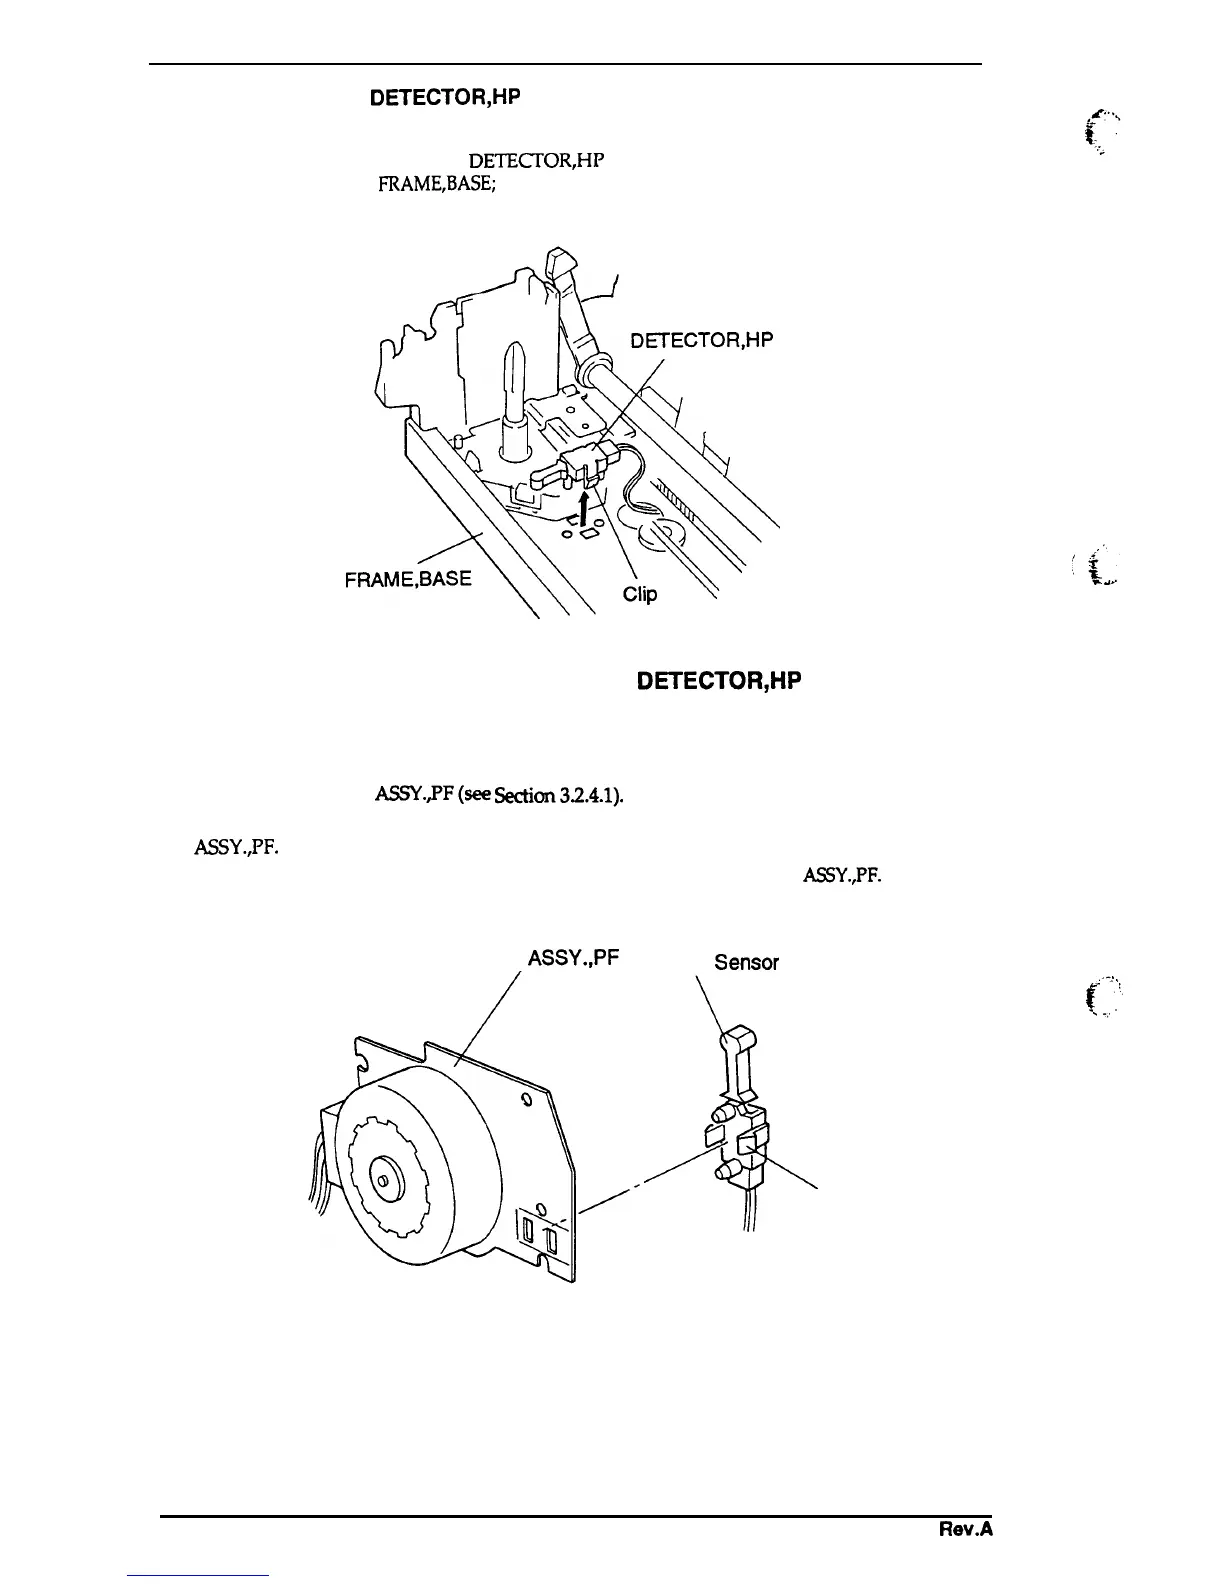
3.2.4.5 Removing the
DETECTOR,HP
1.
Remove the printer mechanism (see Section 3.2.4).
2. Release the 2 clips attaching the
DETECTOR,HI’
and remove it. The clips can be accessed
through
2
holes in the
FRAME,BASE;
to release the clips, push each with a pair of tweezers.
Figure 3-14. Removing the DETECTOR,HP
3.2.4.6 Removing the Release Lever Position Sensor
1. Remove the MOTOR ASSY.lF(See
Wion3.2.4.1).
2. Release the 2 clips that attach the release lever position sensor to the frame of the MOTOR
ASSY.,PF.
3. Remove the release lever position sensor from the frame of the MOTOR
ASSY.,PF.
Frame of the
Release Lever
MOTOR
ASSY.,PF
position
Sensor
.,
.
.
.
.
.
f
“’”’
:
..,,
,
Clip
Figure 3-15. Removing the Release Lever Position Sensor
3-14
Rev.A

 Loading...


