41
5. Open the gas cylinder valve
6. Set the shielding gas flow rate:
If a Feeder inching / Gas test button is fitted:
- Press upwards and hold the „Feeder inching“ / „Gas test“ button
- Turn the adjusting screw on the underside of the pressure regulator until the
pressure gauge shows the desired shielding gas flow rate
- Release the „Feeder inching“ / „Gas test“ button
If a Feeder inching / Gas test button is not fitted:
- Disengage the feed rollers
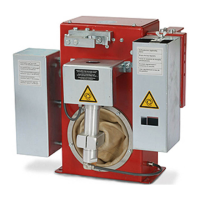
MIG/MAG stan-
dard manual
welding - manual
control panel
(continued)
CAUTION! Risk of injury and damage from electric shock and from wire
electrode emerging from the torch. When pressing the torch trigger:
- hold the torch so that it points away from your face and body
- do not point the welding torch at people
- make sure that the wire electrode does not touch any electrically conduc-
ting or earthed (grounded) parts, such as the housing, etc.
7. Press the torch trigger and start welding
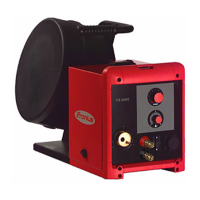
Adjustments
while welding -
manual control
panel
To obtain the best possible welding results, the dynamic correction parameter will some-
times need to be adjusted.
1. Set the required arc-force dynamic using the Dynamic buttons.
The value of the parameter is indicated by the LEDs located between the buttons.
Arc-force dynamic
for influencing the short-circuiting dynamic at the instant of droplet transfer
- harder, more stable arc
+ soft, low-spatter arc
- Press and hold the torch trigger
- Turn the adjusting screw on the underside of the pressure regulator until the
pressure gauge shows the desired shielding gas flow rate
- Release the torch trigger
- Engage the feed rollers
CAUTION! Risk of injury and damage from electric shock and from wire
electrode emerging from the torch. When pressing the torch trigger:
- hold the torch so that it points away from your face and body
- do not point the welding torch at people
- make sure that the wire electrode does not touch any electrically conduc-
ting or earthed (grounded) parts, such as the housing, etc.