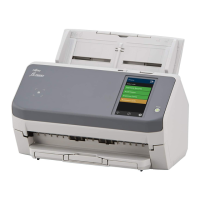
When Connecting the Scanner via Wi-Fi
About the procedure from unpackaging the scanner to turning the power on, refer to Getting Started.
1 Turn on the scanner.
For details, refer to How to Turn the Power ON (page 55).
2 In the screen which asks whether or not to connect via Wi-Fi, press the [Yes] button.
3 Select a configuration method, and press the [Next] button.
Configure the setting for a wireless access point in one of the following ways:
● Select an Access Point
Select a wireless access point from a list of wireless access points to establish a connection.
For details, refer to Connecting to a Wireless Access Point by Selecting One from the List of Wireless Access
Points (page 37).
● Use WPS
Establish a connection by using WPS of the wireless access point.
- To establish a connection by pressing the WPS button
For details, refer to Connecting to a Wireless Access Point by Pressing the WPS Button (page 38).
- To establish a connection by entering the PIN for WPS
For details, refer to Connecting to a Wireless Access Point by Entering the PIN for WPS (page 39).
● Configure manually
Establish a connection by entering the information for the wireless access point.
For details, refer to When Establishing a Connection by Entering the Information for the Wireless Access
Point (page 40).
HINT
● If the network environment requires a certificate, the certificate needs to be registered with the scanner.
● Set up the scanner by referring to When Connecting to a Network Which Requires a Certificate (page
41).
4 Specify the following items:
● IP Address
Set an IP address for the scanner.
When you set an IP address manually, configure [Subnet Mask] and [Default Gateway].
● DNS Server
Set this item to use a DNS server.
Specify IP addresses for [Primary DNS] and [Secondary DNS].
● Network Encryption
Select whether or not to encrypt network communications.
● PaperStream NX Manager
Set this item to use PaperStream NX Manager.
Scanner Setup
34

 Loading...