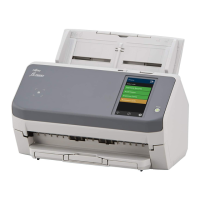
When Connecting the Scanner to the Computer via a USB Cable
About the procedure from unpackaging the scanner to turning the power on, refer to Getting Started.
1 Turn on the scanner.
For details, refer to How to Turn the Power ON (page 55).
2 In the screen which asks whether or not to connect via Wi-Fi, press the [No] button.
3 In the screen for selecting a connection method, select [USB] and press the [Next] button.
4 Check the setting items and their order on the screen displayed, and press the [Start] button.
5 Specify the following items:
● Startup mode
Select a startup mode for the scanner.
● Scanner name
Set a scanner name.
When you finish setting the relevant items, the screen indicates that the setting process is complete.
6 Check the items that are set and press the [Complete] button.
7 Install necessary software to the computer which is to be connected to the scanner.
For details about the software, refer to Installing Software (page 50).
Prepare the bundled Setup DVD-ROM.
a If an old version of the software is installed, uninstall it first.
For details, refer to Uninstalling the Software (page 309).
b Insert the bundled Setup DVD-ROM into the DVD drive.
The [fi Series Setup] window appears.
c Start the installation by following the instructions displayed in the screen.
It is recommended that you select [Installation (Recommended)].
Scanner Setup
47

 Loading...