When Connecting the Scanner via a Wired LAN
About the procedure from unpackaging the scanner to turning the power on, refer to Getting Started.
1 Turn on the scanner.
For details, refer to How to Turn the Power ON (page 55).
2 In the screen which asks whether or not to connect via Wi-Fi, press the [No] button.
3 In the screen for selecting a connection method, select [Wired LAN] and press the [Next] button.
4 Check the setting items and the order of them on the window displayed.
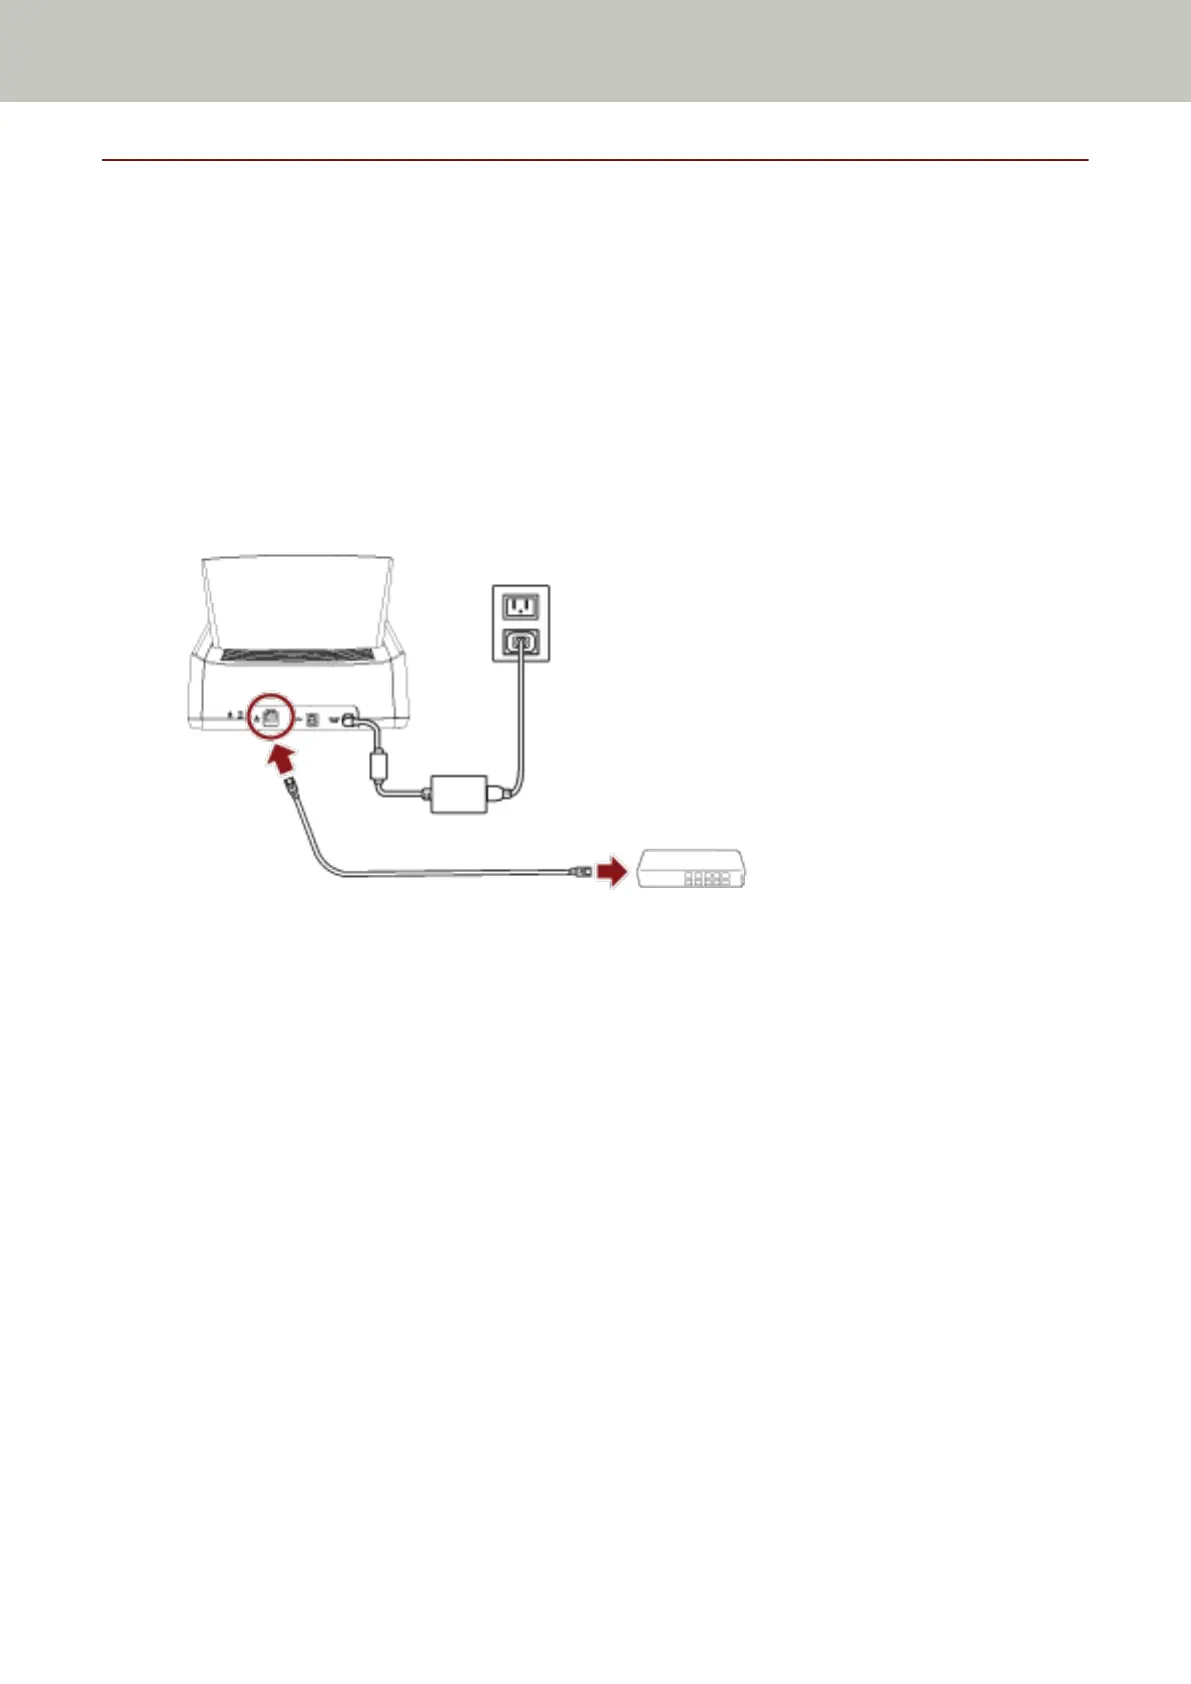
5 Connect the scanner to a network device (such as a switch, a hub, or a router) via a LAN cable.
6 On the window displayed in step 4, press the [Start] button.
7 Specify the following items:
● IP Address
Set an IP address for the scanner.
When you set an IP address manually, configure [Subnet Mask] and [Default Gateway].
● DNS Server
Set this item to use a DNS server.
Specify IP addresses for [Primary DNS] and [Secondary DNS].
● Network Encryption
Select whether or not to encrypt network communications.
● PaperStream NX Manager
Set this item to use PaperStream NX Manager.
Specify [Host Name/IP address] and [Port Number].
● Scanner Central Admin Server
You can set the Scanner Central Admin Server to use PaperStream NX Manager.
Set this item to monitor the scanners or perform a single operation on them at the same time with Scanner
Central Admin Server.
Scanner Setup
44
 Loading...