Actions (for Windows Users)
171
3. Change the settings for [Scan to Rack2-Filer] (If you do not want to
change any settings, go to step 4.).
1. Move the mouse cursor to the mark on the [Scan to Rack2-Filer] icon , and
then select the [Settings] menu.
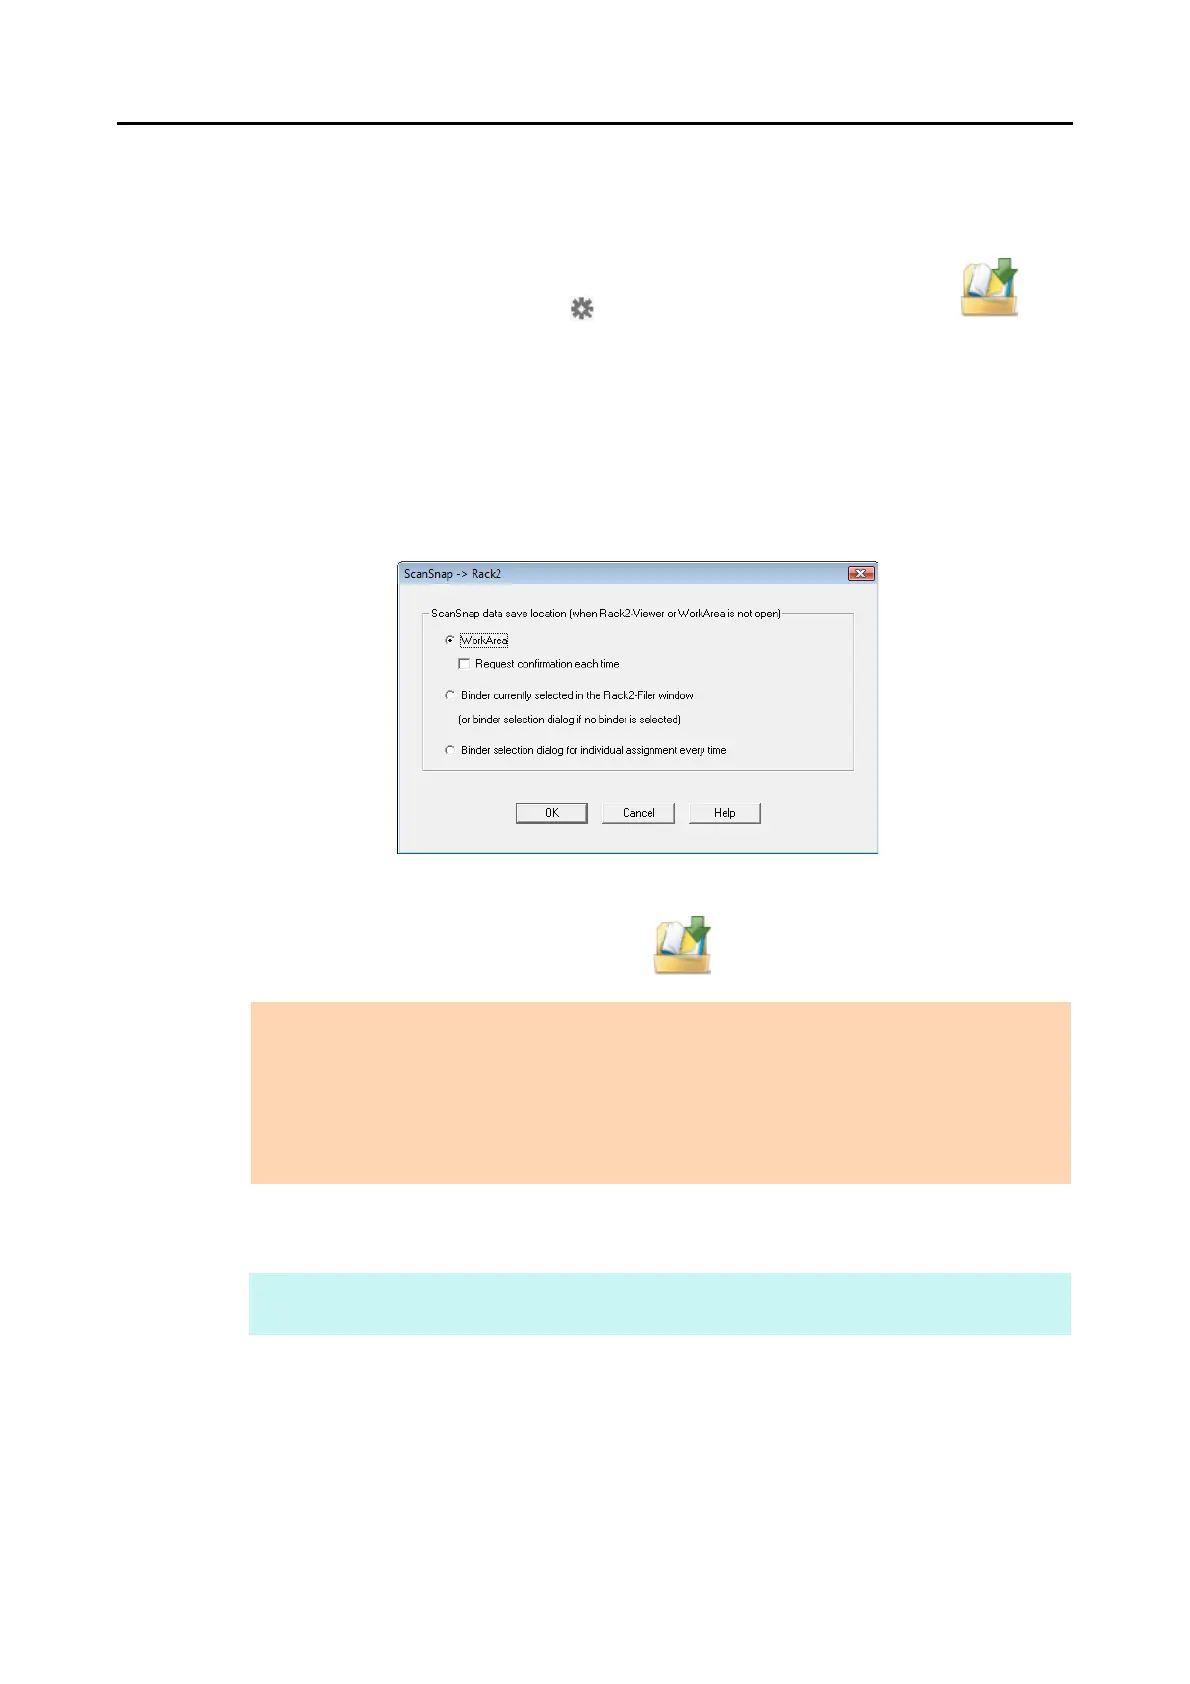
D The [ScanSnap -> Rack2] dialog box appears.
2. Change the settings.
In this dialog box, specify the destination to save the scanned image.
For details about the [ScanSnap -> Rack2] dialog box, refer to Rack2-Filer Help.
Click the [Help] button in the [ScanSnap -> Rack2] dialog box to display Rack2-Filer
Help.
3. Click the [OK] button to close the [ScanSnap -> Rack2] dialog box.
4. Click the [Scan to Rack2-Filer] icon .
D Rack2-Filer starts up, and the PDF file created by the ScanSnap is saved in Rack2-
Filer in accordance with the settings specified in step 3.
ATTENTION
z When you perform a scan with [JPEG(*.jpg)] selected for [File format] in the [File option] tab of
the ScanSnap setup dialog box, you cannot save the image in Rack2-Filer.
z You cannot start scanning when the Quick Menu is displayed. Save the scanned image to Rack2-
Filer before scanning another document.
z Do not move, delete, or rename the scanned image in other applications when the Quick Menu is
displayed.
HINT
For details about how to use Rack2-Filer, refer to the Rack2-Filer User’s Guide.

 Loading...