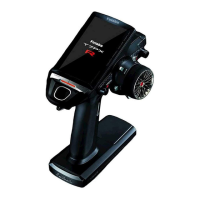
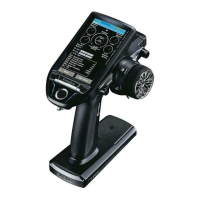
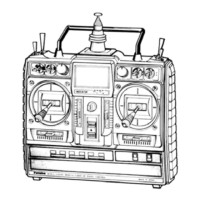
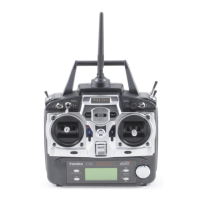
Steering wheel unit
1
2
3
Press to unlock
Unit mounting screws
Wheel unit Switch unit
25
Before Using
1
Remove the two screws (3.0 x12 mm cap
screws) for steering wheel unit mounting.
(Using a 2.5 mm hex wrench.)
- Obliterate the two mounting screws from the trans-
mitter body.
- Obtain 2.5mm hex wrench./Remove The battery.
- The length of the screws used at each part differs. When reassembling the steering wheel unit, always use the
specified screws.
2
Gently remove the steering unit, without
pulling excessively on the wiring.
- Since there are locking tabs on the top and bottom
of the steering unit, please do not pull straight out
forcefully.
- Please slowly remove in the order of 1
3 in the
right figure.
- Remove the steering unit slowly so that the inter-
nal wiring is not pulled unreasonably.
3
Remove the three connectors from the
PC board.
Press the upper side of the connector to release
the lock and remove it from the PC board.
(The 3 connectors each have the same lock type
although they are different in size.)
4
Using a Phillips screwdriver, remove the four screws (2.6x15mm tapping screw) mounting
the wheel unit and switch unit.
Installing the accessory APA steering wheel offset adapter