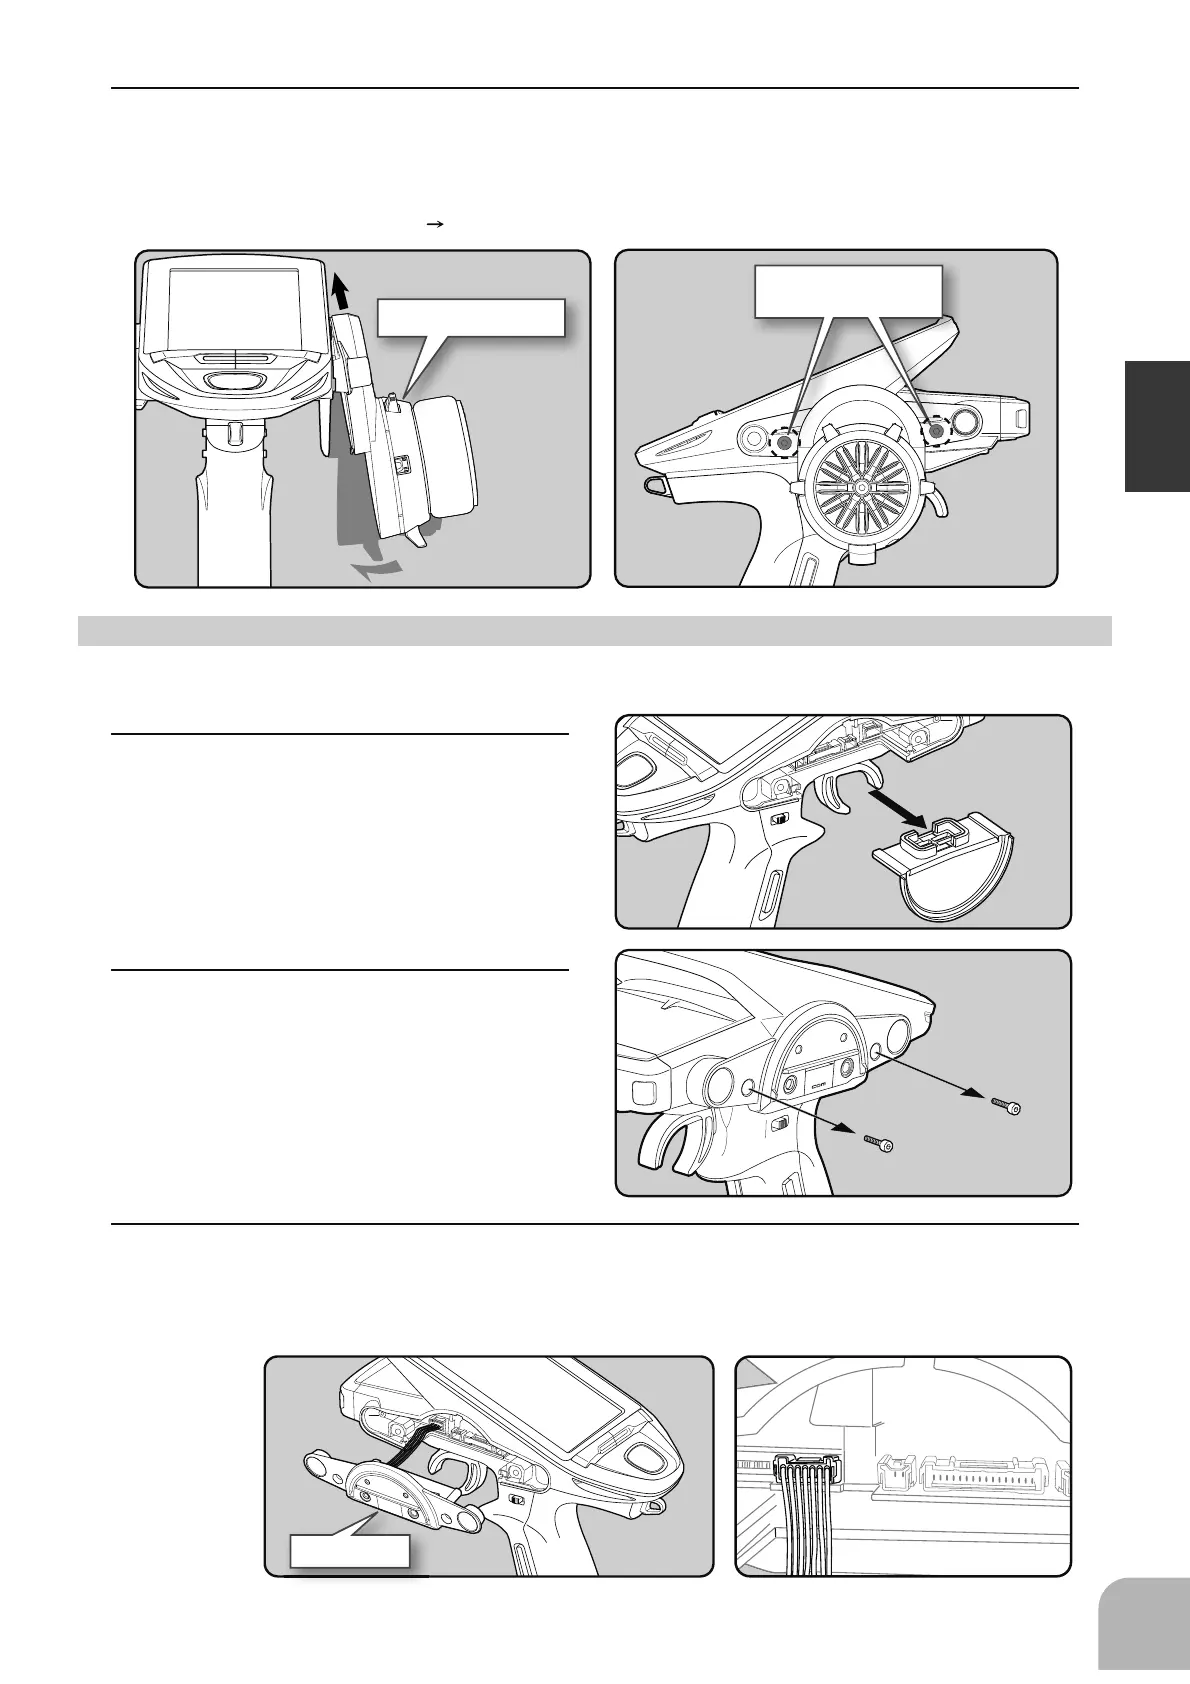
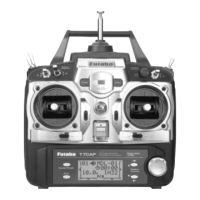
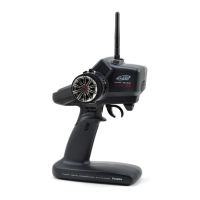
Steering wheel unit
Steering wheel unit
mounting screws
Charging unit
1
2
27
Before Using
8
Install the assembled steering wheel unit and APA to the transmitter using the screw
(3.0x12mm cap screw) supplied.
(Using a 2.5 mm hex wrench.)
- Install slowly so that the wiring is not pinched.
- Installation is easy if inserted in 1
2 order.
1
Slowly pull out the PS5 switch cap and
mounting plate in the arrow direction.
- Be careful that the switch body does not get
caught and damaged.
2
Using a 2.5mm hex wrench, remove the
mounting screws (3.0x1.2mm cap) of the
opposite side charge unit.
- Obliterate the two mounting screws from the trans-
mitter body.
- Obtain 2.5mm hex wrench.
- Refer to 1-2 (page 25) of the APA installation method.
Modifying for left-hand use
3
Being careful that the wiring is not too tight, slowly removes the charging unit. Remove the
connector from the PC board.
- Press the upper side of the connector to release the lock and remove it from the PC board (See page 25).