EasyManuals Logo

Gateway Notebook Reference Guide

Gateway Notebook
170 pages
To Next Page IconTo Next Page
To Previous Page IconTo Previous Page
Page #29 background imageLoading...
Page #29 background image
www.gateway.com
21
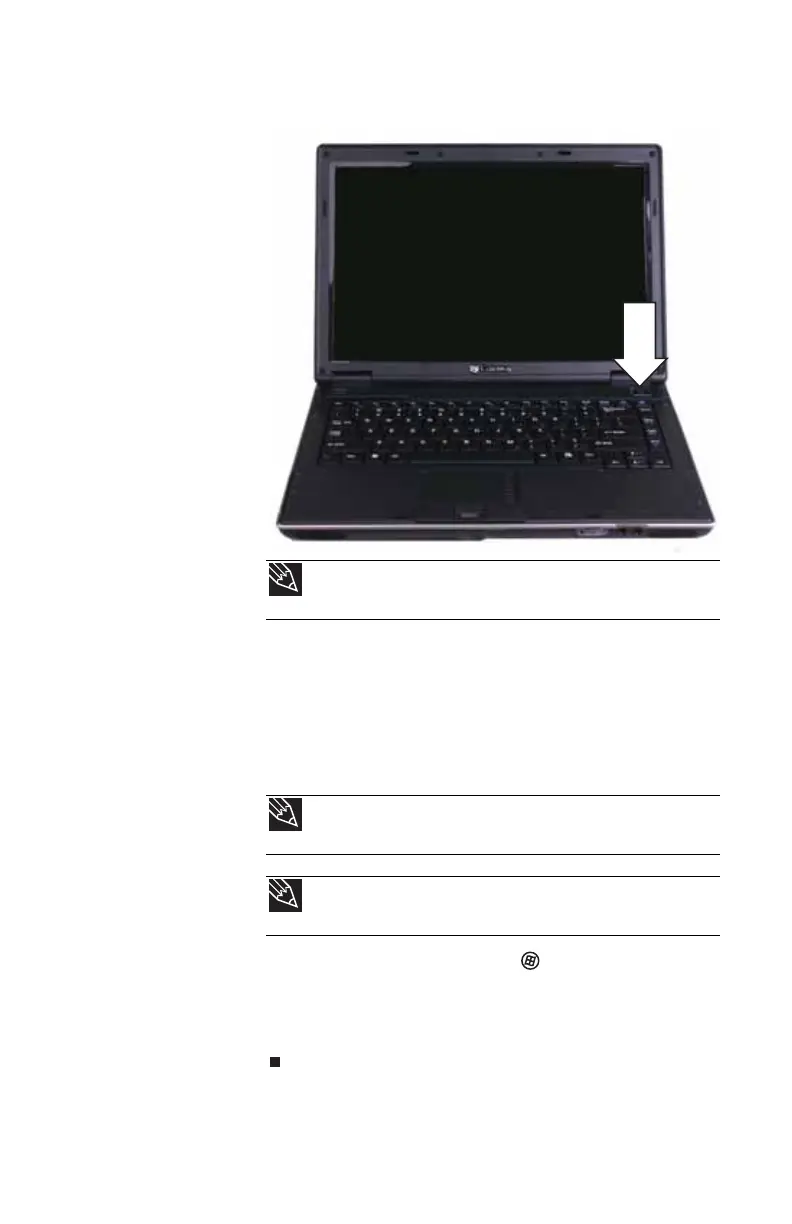
2 Press the power button located above the keyboard.
3 If you are starting your notebook for the first time,
follow the on-screen instructions to select the language
and time zone and to create your first user account.
4 Attach and turn on any peripheral devices, such as
printers, scanners, speakers, and an optional port
replicator.
5 To open the main menu, click (Start). From that
menu, you can run programs and search for files. For
more information on using Windows, see “Using
Windows” and “Customizing Windows” in your online
User Guide.
Tip
For more information about changing the power button mode,
see “Changing advanced settings” on page 71.
Tip
For more information about connecting peripheral devices, see
“Installing a printer or other peripheral device” on page 52.
Tip
See the documentation that came with each device for its setup
instructions.

Table of Contents

Other manuals for Gateway Notebook

Questions and Answers:

Question and Answer IconNeed help?

Do you have a question about the Gateway Notebook and is the answer not in the manual?

Gateway Notebook Specifications

General IconGeneral
BrandGateway
CategoryLaptop
ProcessorVaries by model (Intel Celeron, Pentium, Core i3, Core i5, AMD Ryzen)
RAMVaries by model (8GB, 16GB)
StorageVaries by model (256GB SSD, 512GB SSD, 1TB HDD)
DisplayVaries by model (14-inch, 15.6-inch, FHD)
Operating SystemWindows 10 or Windows 11
GraphicsIntel UHD Graphics
BatteryVaries by model
WeightVaries by model

Related product manuals