228
Chapter 13: Upgrading Your Computer
www.gateway.com
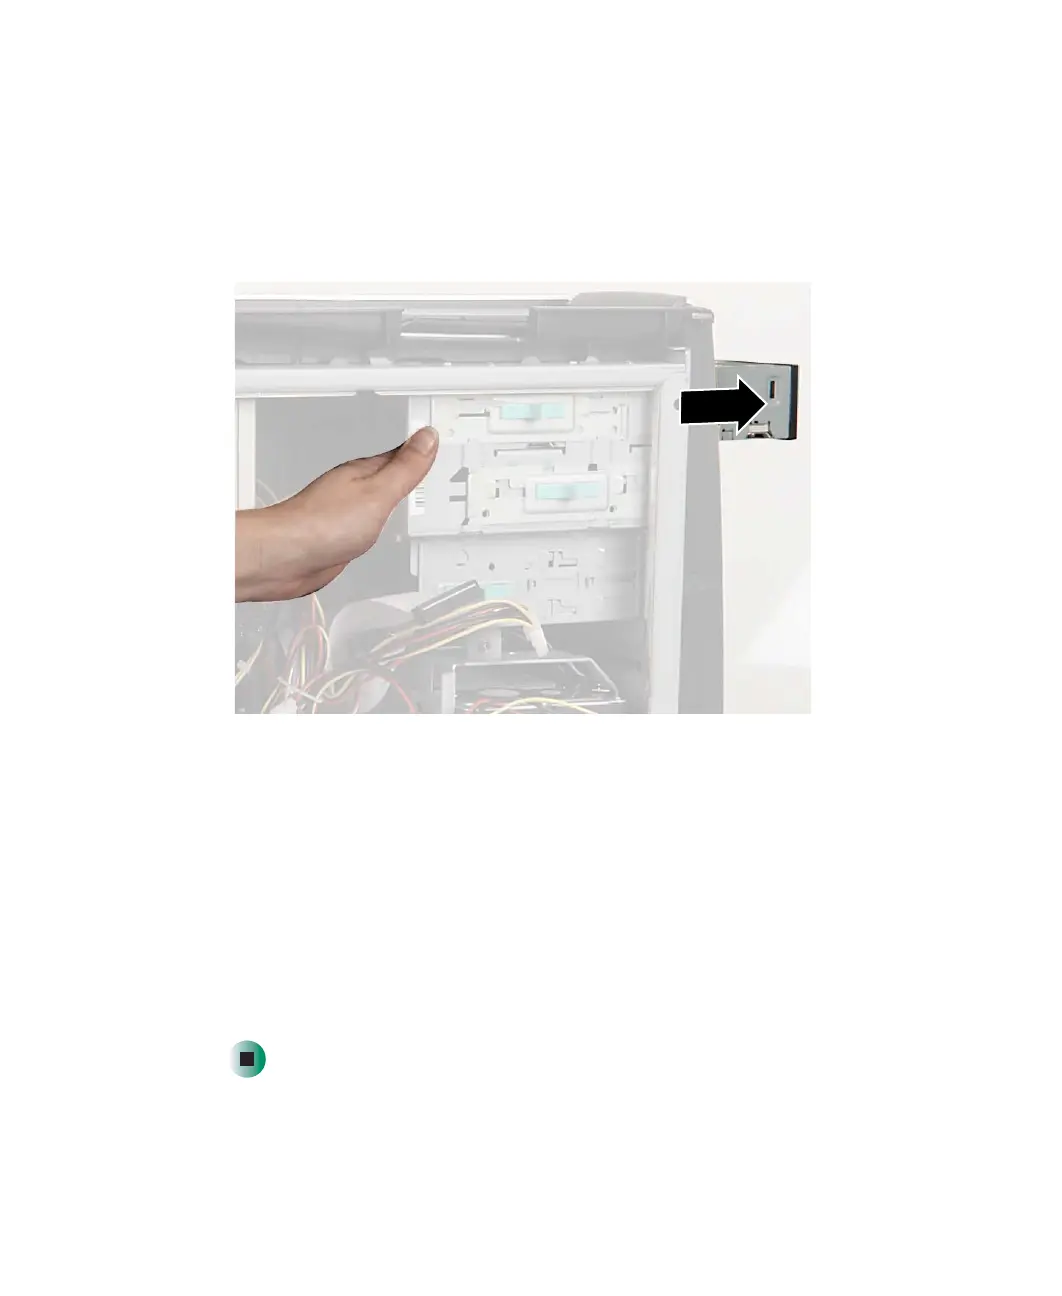
5 If you are replacing a drive, slide the old drive forward and out of the drive
bay.
- OR -
If you are adding a new drive, slide the drive bay cover forward and out
of the drive bay.
6 Set the jumpers. See the drive documentation for further instructions.
7 Slide the new drive into the drive bay until it settles into the indentation
and is flush with the front of the computer case, then slide the release lever
toward the front of the case.
8 Reconnect the drive cables using your notes from Step 3. The red-striped
edge of the data ribbon cable indicates Pin 1 and corresponds with Pin 1
on the drive (typically on the side closest to the power supply connection).
See the drive documentation for further instructions.
9 Close the case by following the instructions in “Closing the case” on
page 224.
8509203.book Page 228 Tuesday, July 1, 2003 7:54 PM